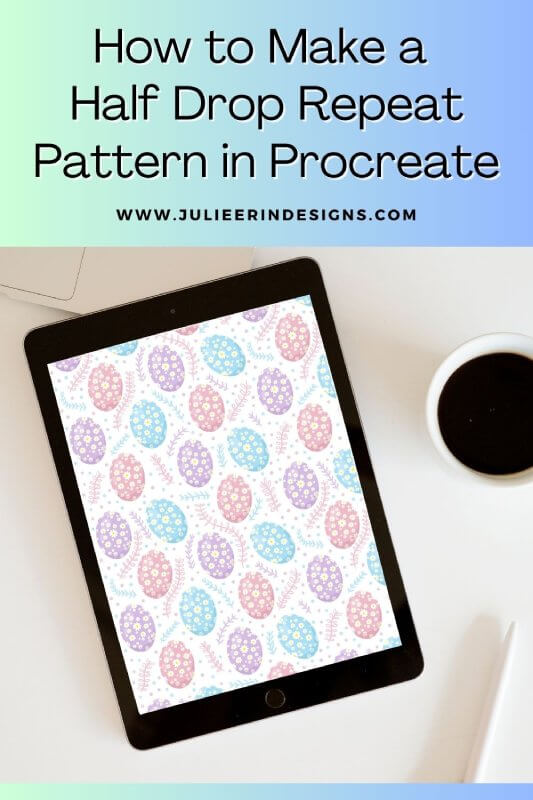
In this step-by-step guide, we’ll explore how to design a half drop repeat pattern using the Procreate app for Apple iPad.
How to Make a Half Drop Repeat Pattern in Procreate
read more

In this step-by-step guide, we’ll explore how to design a half drop repeat pattern using the Procreate app for Apple iPad.
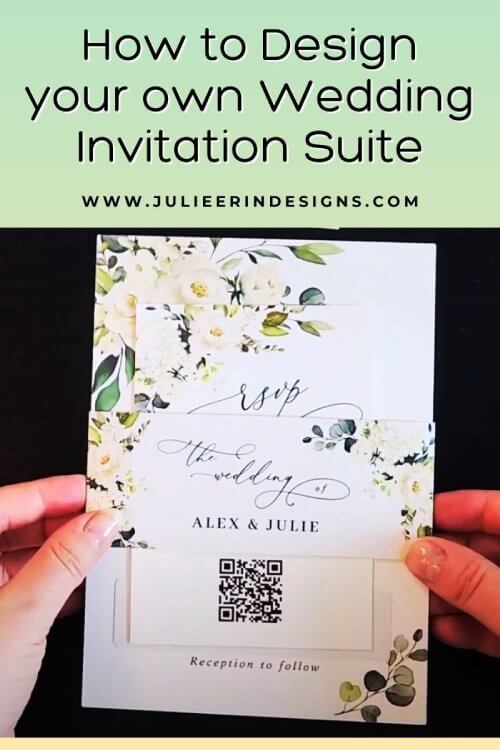
Learn how to design your own wedding invitation suite with Zazzle. Get inspired to create your own stunning invitations with this tutorial.
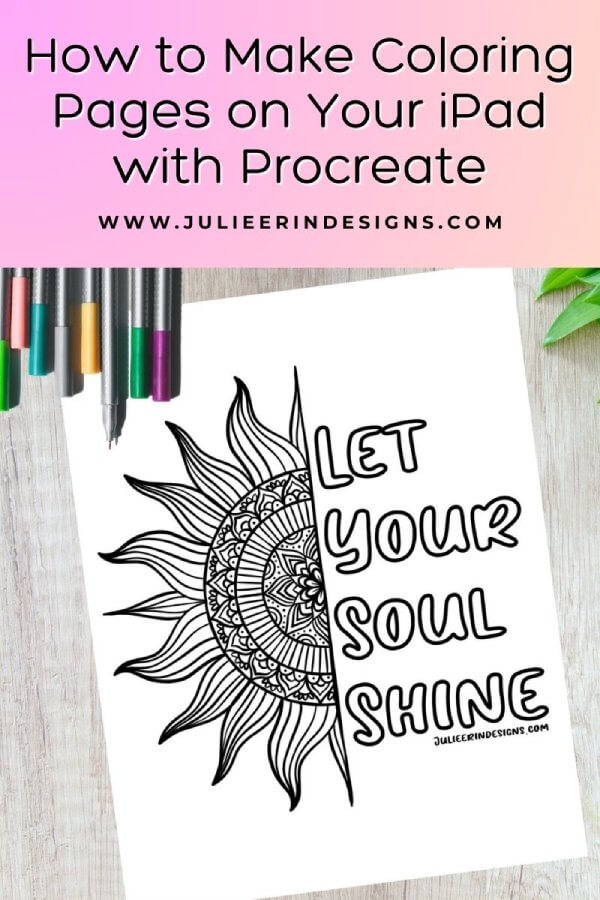
Learn how to create stunning coloring pages on your iPad using Procreate. Download free printable designs and bring your creativity to life!
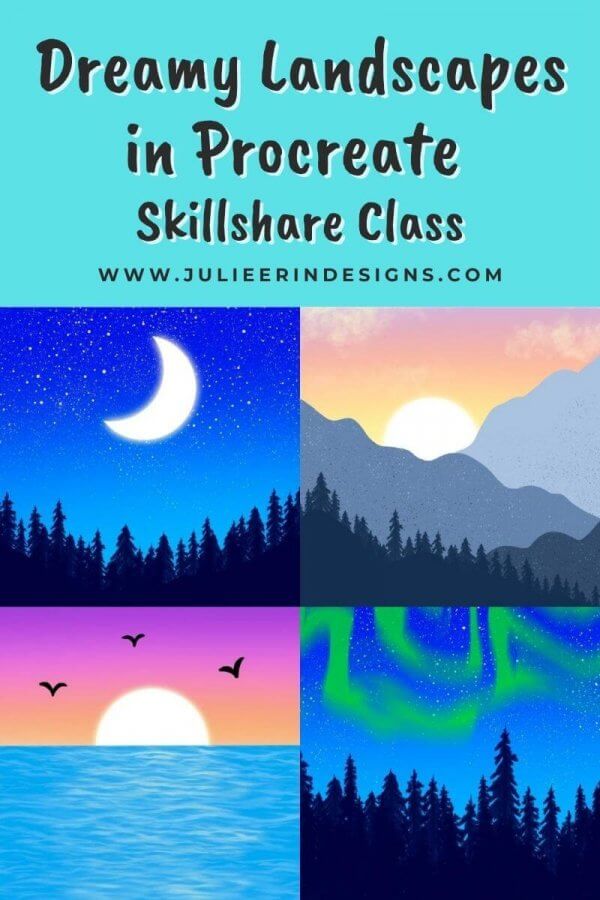
Do you want to create dreamy digital landscapes in Procreate? Then this class is for you! Perfect for both beginners and intermediate users.
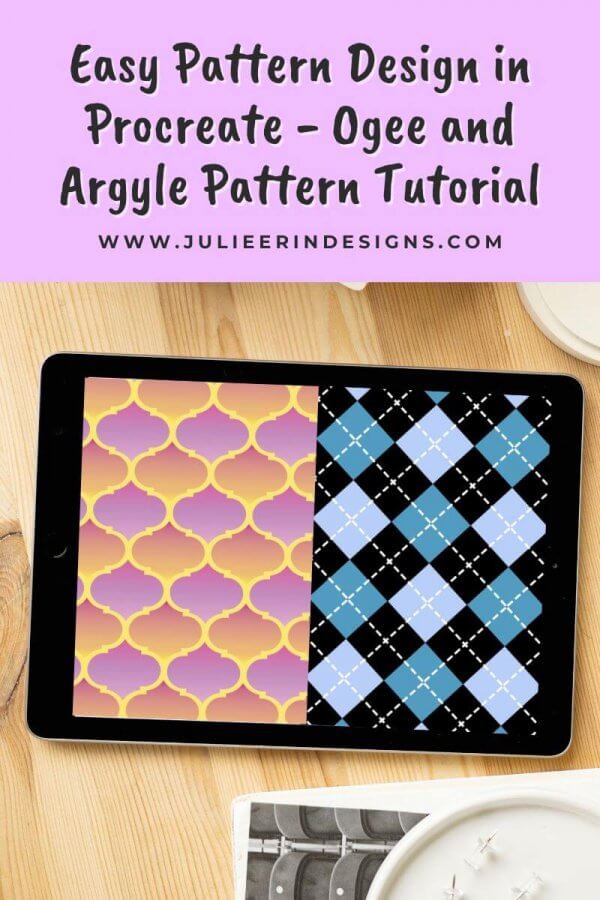
A fun and easy pattern design tutorial in which I teach you how to make an ogee and and argyle pattern with the Procreate app.
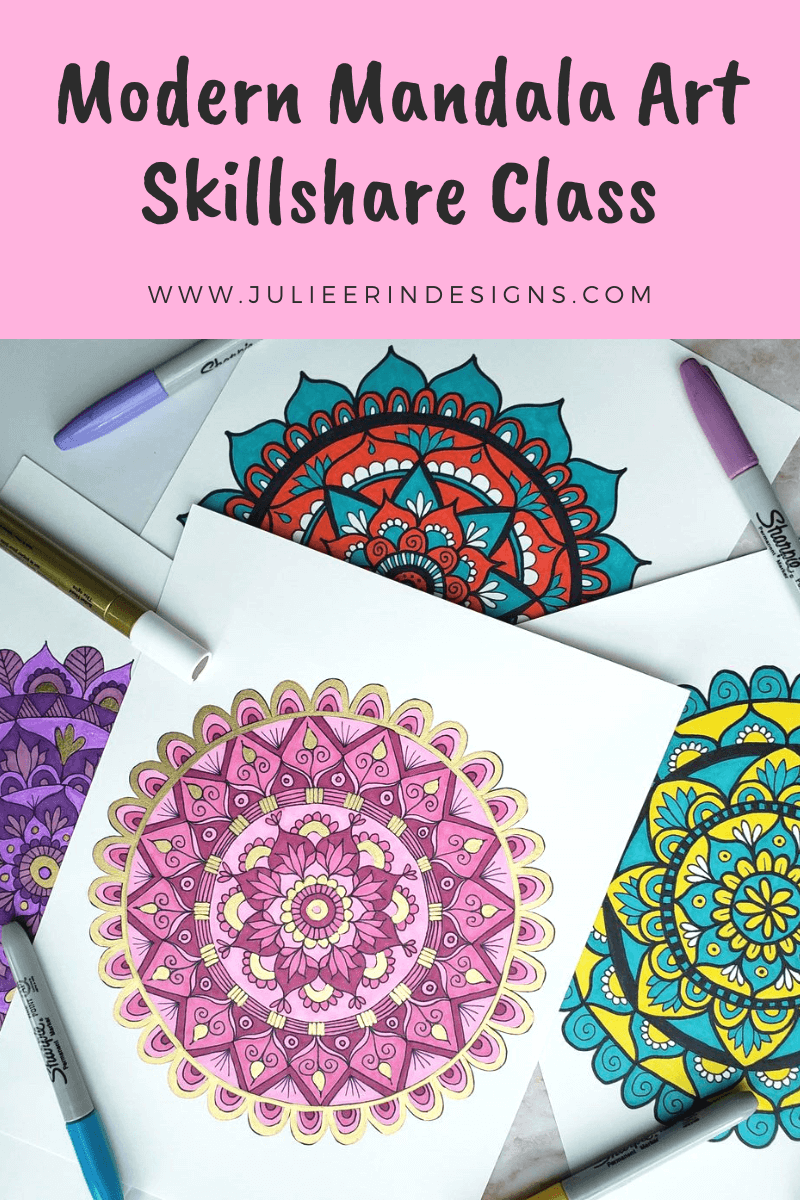
Introducing my mandala drawing class on Skillshare – Modern Mandala Art: Draw and Color 2 Stunning and Unique Mandalas
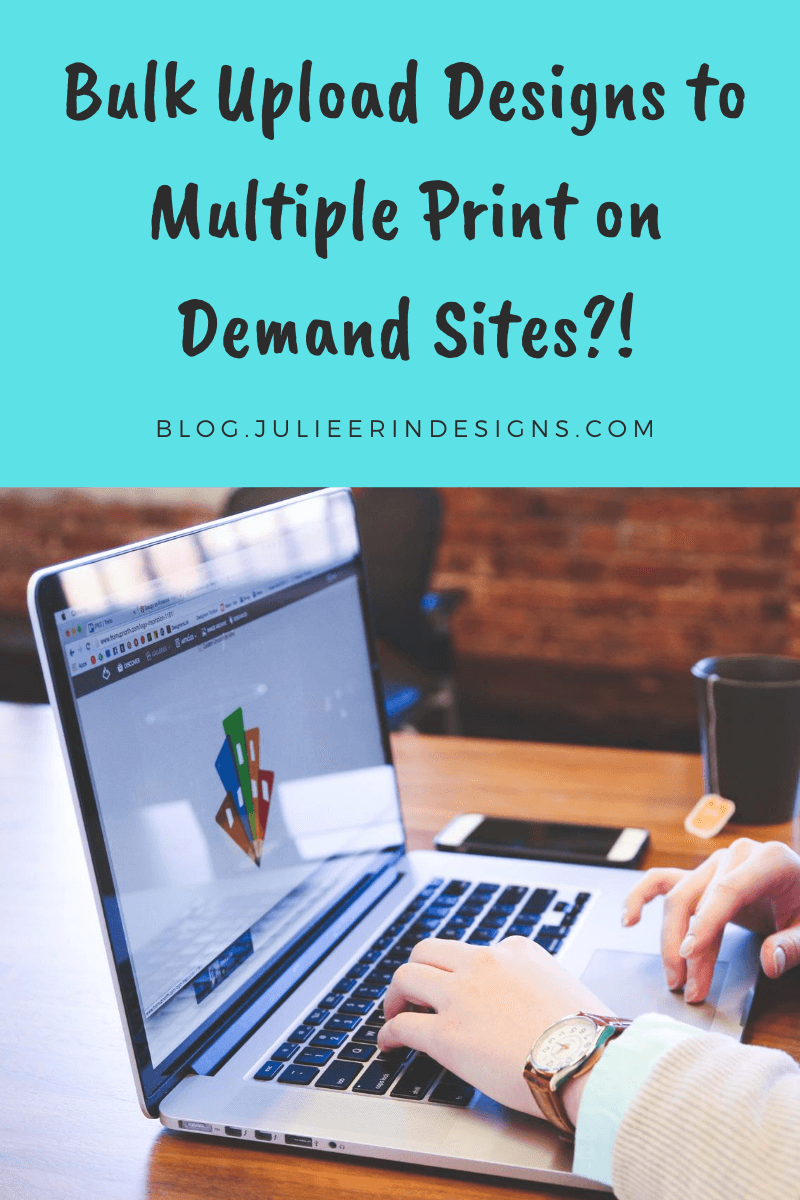
Introducing PodConnect, a software which allows you to bulk upload your designs to multiple print on demand websites at once.
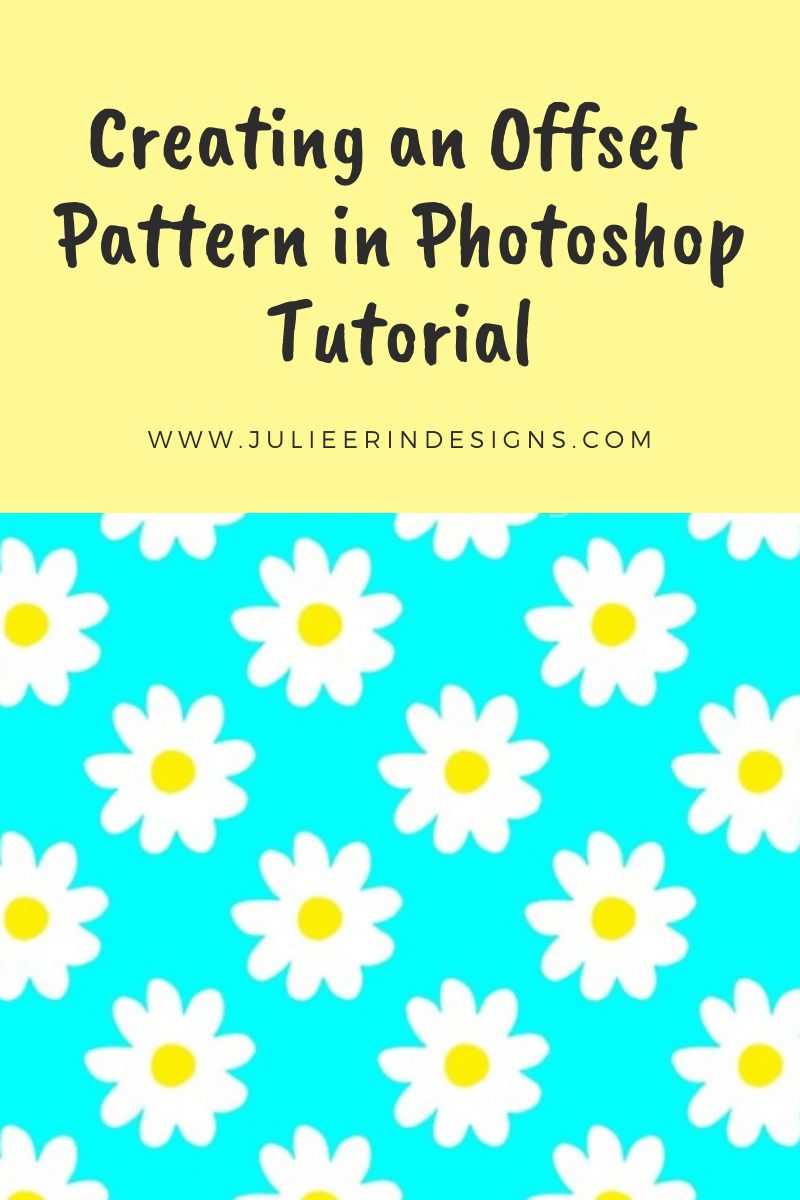
Today I’m sharing with you a short YouTube tutorial video I made on how to create an offset repeating pattern in Photoshop.
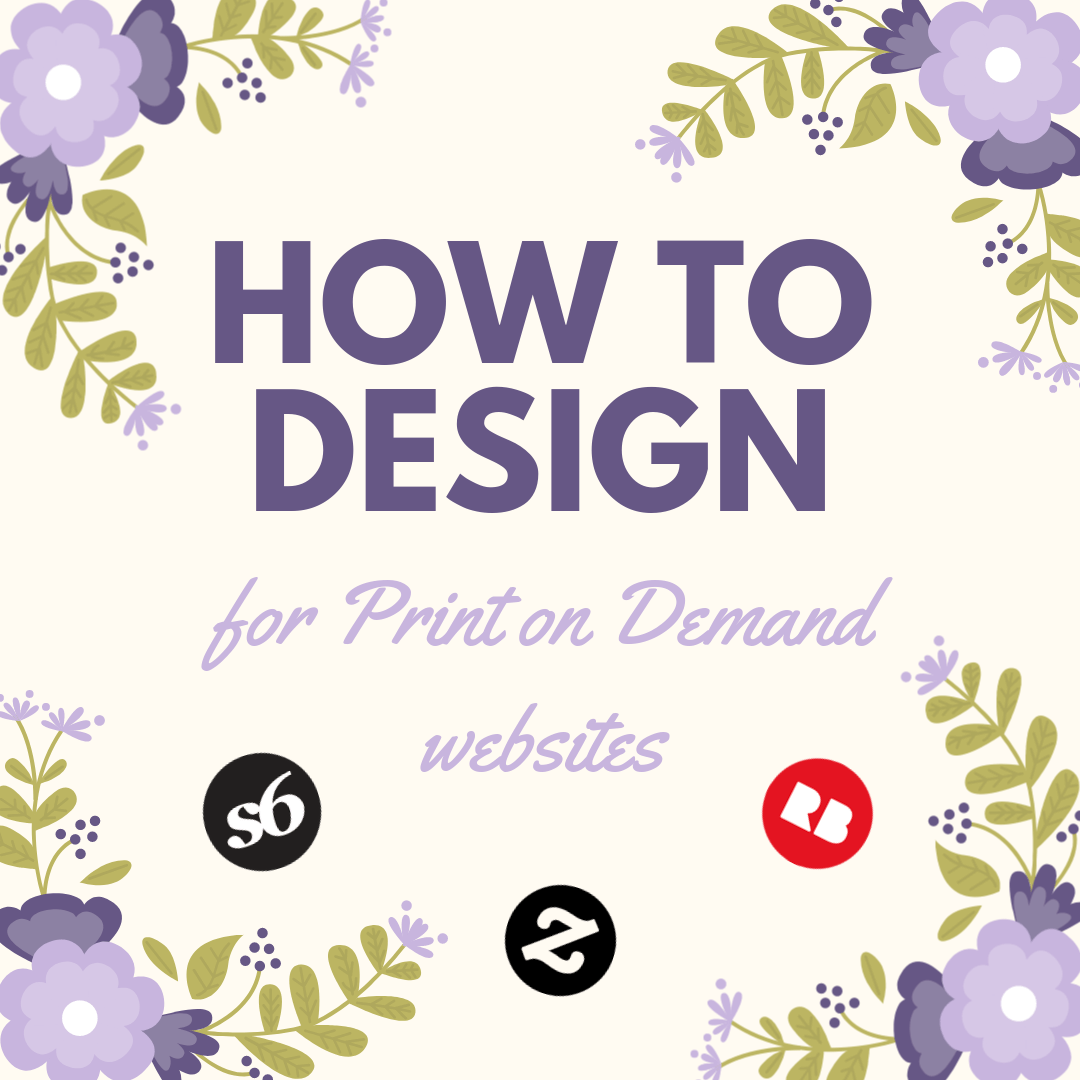
Tips and best practices for how to design for Print on Demand websites such as Society6 Redbubble Zazzle Teepublic and others.

The 5 main steps to sell your art online. This easy guide will help you get started selling your artwork through Print on Demand websites.
I’m an digital artist, surface designer, and online educator from Vancouver, Canada.
I’ve sold thousands of physical and digital products worldwide through print on demand companies.
Through my online classes and blog, I teach other artists how to sell their own art online and turn their passions into a business they love.