15 tips on how to increase your art sales on Print on Demand websites like Society6, Redbubble, Zazzle, Teepublic and more.

15 Tips to Increase Your Sales on Print on Demand Websites
read more

15 tips on how to increase your art sales on Print on Demand websites like Society6, Redbubble, Zazzle, Teepublic and more.
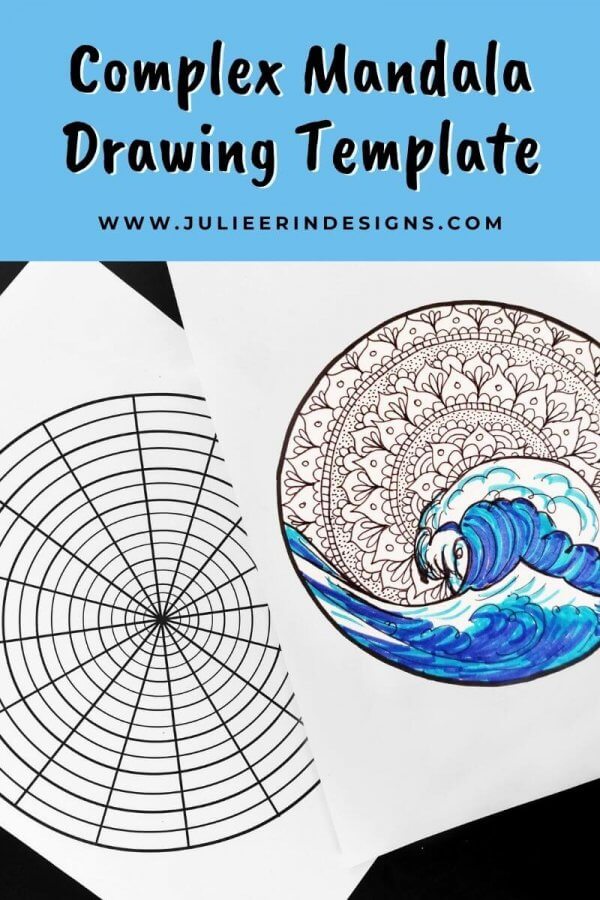
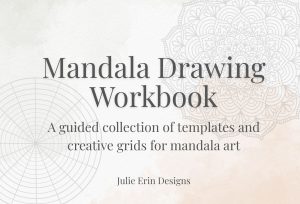
A free complex mandala drawing template created to help you create detailed mandala drawings in your sketchbook or digitally!
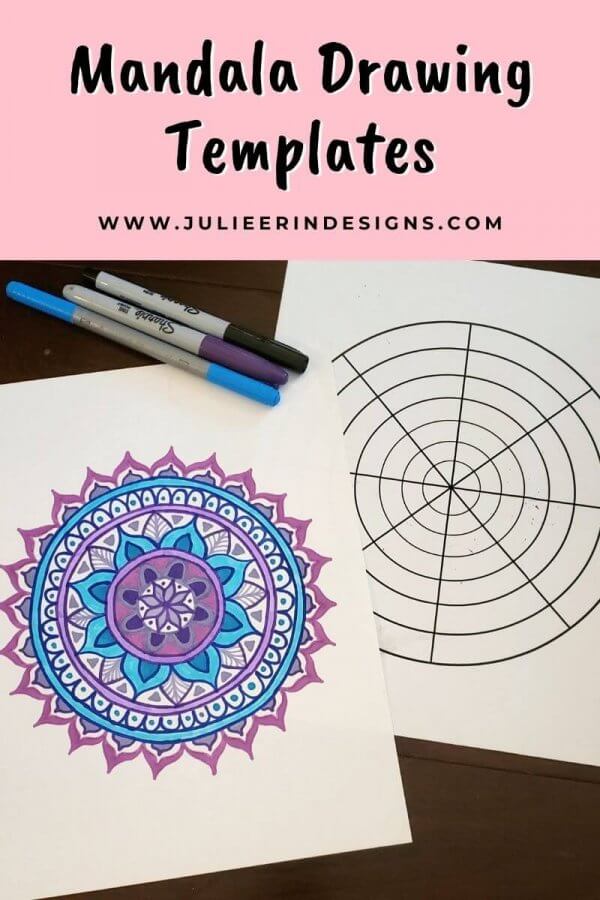
Download free mandala drawing templates with printable worksheets featuring tracing lines to draw beautiful mandalas easily and quickly.
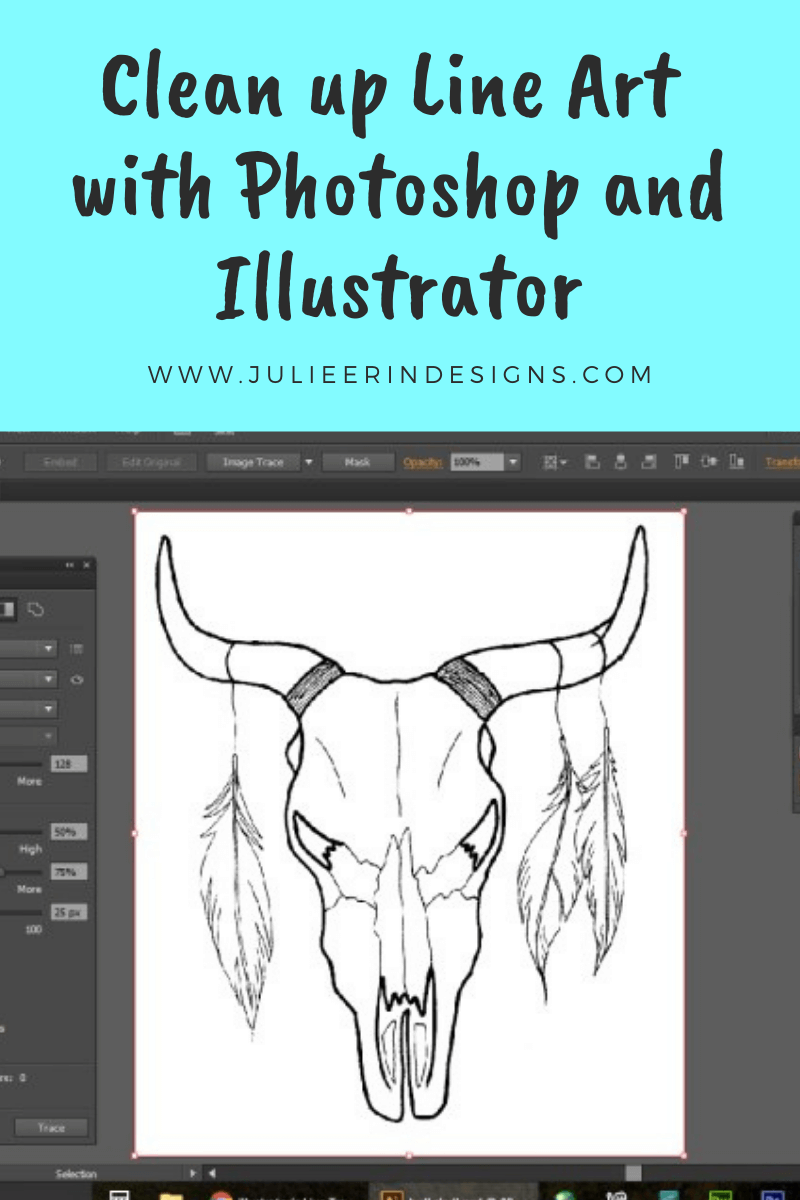
A tutorial on how to clean up black and white line art drawings using Photoshop and the Image Trace function in Illustrator.
I’m an digital artist, surface designer, and online educator from Vancouver, Canada.
I’ve sold thousands of physical and digital products worldwide through print on demand companies.
Through my online classes and blog, I teach other artists how to sell their own art online and turn their passions into a business they love.