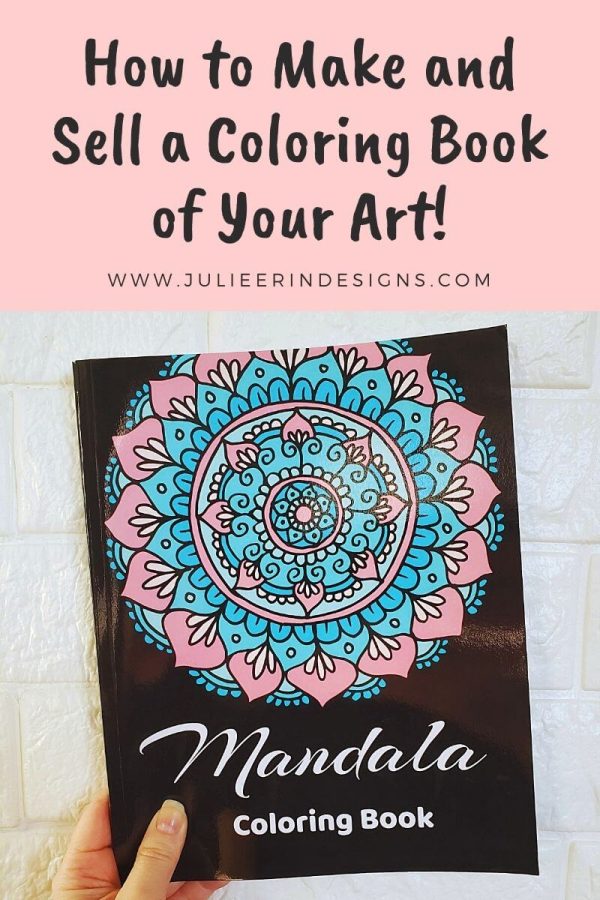
Have you ever dreamed of creating your own coloring book? It is both fun and satisfying to make and sell a coloring book of your own art!
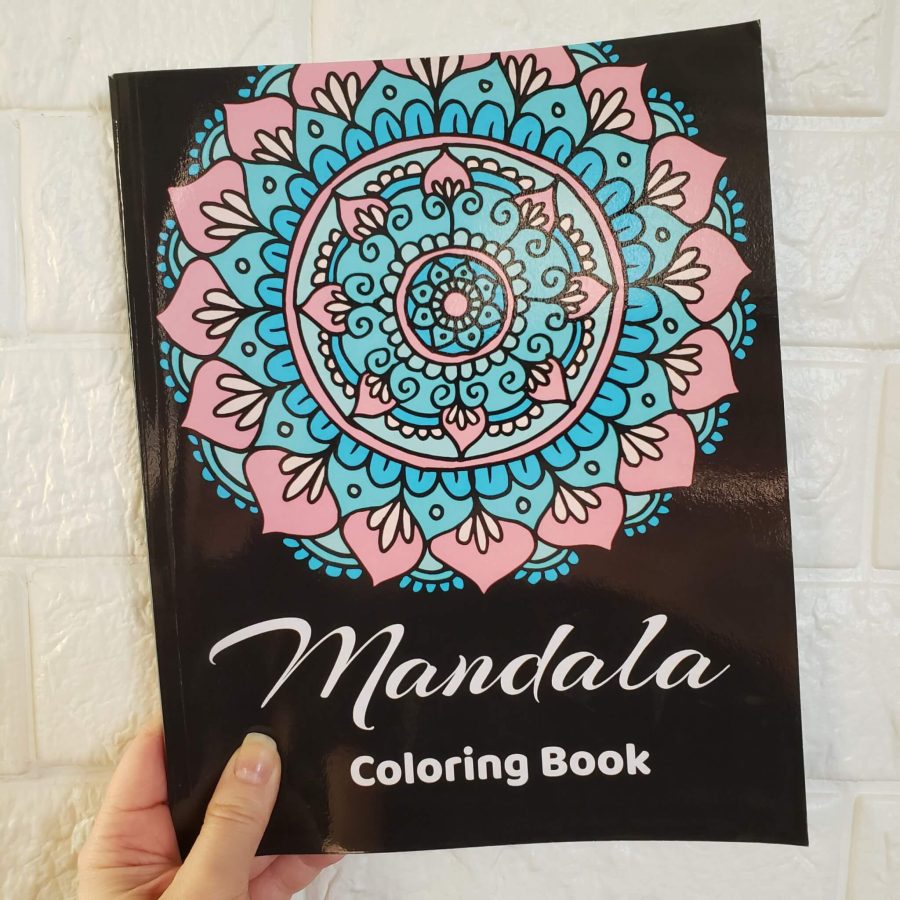
Last year I self published my own coloring book through Amazon KDP. The book features my own hand drawn mandala art and I absolutely love it!
Today I’m going to explain to you the steps I took to make this book so you too can make a coloring book from your own art!
How to Make and Sell a Coloring Book of Your Own Art
It is actually free (or pretty close it) to create a coloring book from your art using this method!
In order to follow this tutorial, you will need:
- An Amazon account (it does not have to be Prime).
- An account on Amazon KDP (which you can set up with the same login information as your Amazon account).
- Access to image editing software and a scanner to digitize your art.
- Software like Powerpoint or Google Sheets to build your coloring book interior.
You could also probably use Canva or another software to design the interior if you prefer, but I’m just showing you how I did it. There are many ways to produce the same result, so don’t feel like you can’t do this if you don’t have the exact software.
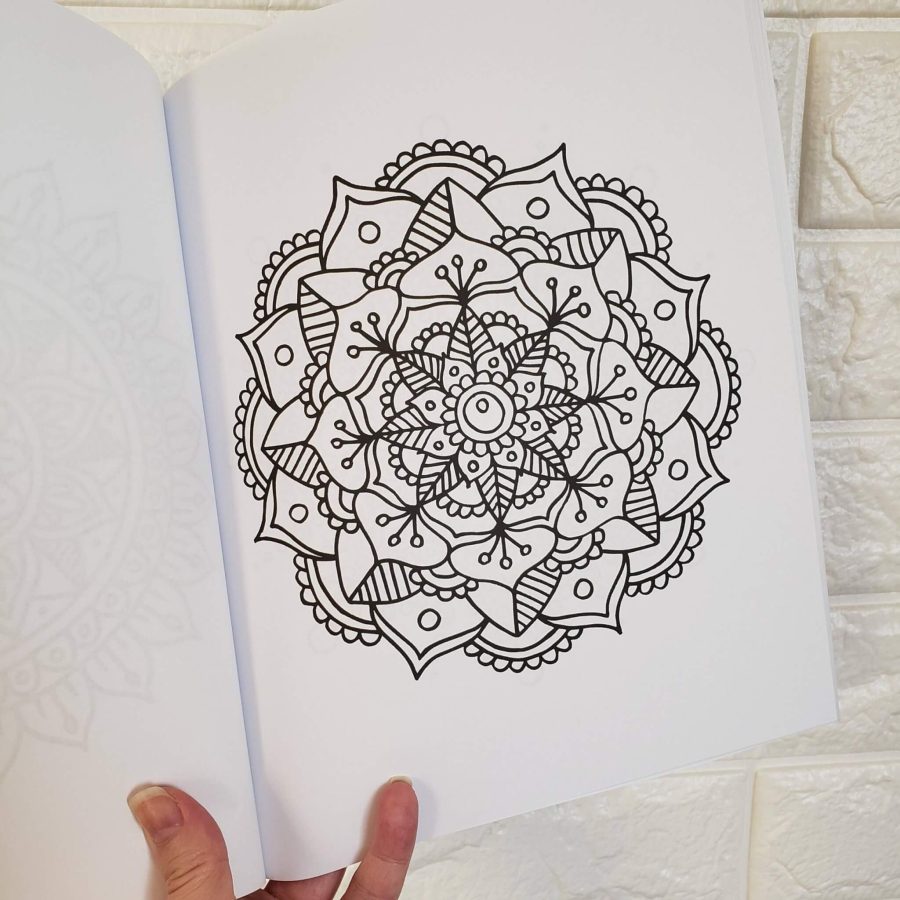
Creating the Artwork for the Coloring Book
First, you’ll need to have some artwork that you want to use for this project. I suggest having at least 30 artworks for a coloring book. Of course, you can have more than that if you want!
Here are some things to keep in mind when creating the artwork for your coloring book.
- Black and white line-art is best. The amount of detail can range from very simple (aimed toward kids) to extremely complex (for adult coloring enthusiasts).
- Try to keep the difficulty consistent between drawings. Alternatively, you could start the book with more simple drawings that progressively get more complex.
- Keep in mind that you will need to digitize your art for the coloring book. If you can create your images digitally from the start, that’s great! If not, you can hand draw your artwork in black pen (Sharpies are good).
- I suggest scanning your drawings and then cleaning them up on the computer using a design program like Photoshop and/or Illustrator. I have a tutorial on how to do this here: How to Clean up Line art in Photoshop and Illustrator.
- Save each of your drawings as separate image files, either .jpg or .png is fine.
- Make sure the image size is large enough to fit on an 8.5″ x 11″ page. You can size down but I don’t recommend sizing up otherwise it can look blurry or pixelated.
If you have and Apple iPad, I have a tutorial on how to make coloring pages using the Procreate app.
Designing the Coloring Book Interior
I created my coloring book in Powerpoint but you could use Google Sheets or another software as long as it can produce the same result.
Create a new document and adjust the slide size to match the size of the book you want to make (ex. 8.5″ x 11″). Here is more information on KDP book sizes.
Note the size will be slightly different if you want to have bleed (the image goes all the way to the edges of the page). You can read more about bleed at the link above. For my book I didn’t use bleed, because it doesn’t fill the whole page.
Once your document is set up, duplicate a few blank slides and start designing your book!
- To add a professional touch, include some title pages at the beginning your book. Things like a copyright page, introductory pages on how to use the book, etc.
- You could also include an author bio with your headshot, or include links to your website and social media handles. It’s your book so you can make it exactly how you want!
- Once you’ve gotten those first few pages laid out you can start inserting the image files of your artwork, one per page. Add a blank slide in between each artwork page.
- You want to have a blank page on the back because the coloring materials may bleed through the page.
- Try to visualize how the book is going to look when it’s physically printed out. Sometimes it can help to actually print it, or use some sheets of paper to mock up a booklet.
- Once you have every single page of your book added to the file, including blanks, save it as a PDF.
- Take note of the total number of pages in your book because you will need that information for the next step which is creating your book cover.
Designing the Coloring Book Cover
Now for the fun part, designing a beautiful and eye catching cover for your book!
- First you’ll need to download the cover template. This is where you’ll select your book’s dimensions and total number of pages and it will give you the correct file size to use for the cover. Link to the KDP cover template generator.
- You can just use the dimensions, or you can download a template to make your cover in Photoshop or another image editing program. If you don’t have something like that you can also use Book Bolt, which you can read more about here.
- You can put text on the binding, or not. This is completely up to you.
- It does need to have a title on the front, not just an image or left blank.
- The back of the book will automatically have a ISBN barcode added to the bottom left.
- You can also include some author information on the back, like your name and website URL.
- Make your cover look nice and appealing, with clear and easily readable text.
- It’ll be printed in full color even if your interior is black and white, so you can make it stand out with color!
When you’re finished designing your cover, save it as a pdf. So now you should have 2 PDF’s, one for your book interior and one for your cover.
Now we can move on to the upload process.
Uploading the Coloring book to Amazon KDP
Now you’re ready to upload your book to Amazon KDP! When logged in, click on Create > Paperback.
(You can add a hard cover version later but it requires a different cover size).
Go through all 3 of the upload pages carefully and fill out as much as you can. Take your time here. Below are some tips and things to keep in mind while you go through this process:
- Title needs to exactly match what is on the cover of your book
- The subtitle can be more descriptive.
- Author: This can be your name, your brand name, or a pseudonym.
- Add keywords that describe your book in the description and keywords section. Think about what people might search for to find your book (theme, etc.).
- The previewer will let you know if something is wrong with your file so take note of this. It also takes several minutes to load. But don’t skip this step, it’s always important to proof your file before you hit publish.
- Try not to get discouraged if you don’t get everything just right the first time. This is not a super easy thing to do. Mistakes are all part of the learning process.
- For pricing, this is totally up to you. But a lot of people sell their books for under $10 so keep that in mind.
Publishing and Printing Your Coloring Book
The final step to make and sell a coloring book of your art is to hit publish!
…..and then wait for it to be approved. This can take a few days or more. So sit back and give yourself a pat on the back for completing this project. It’s no small feat!
It’s possible that your book won’t be approved the first time through, and that’s okay. Someone will let you know exactly what is wrong via email, and then you can simply revise your file and publish again. This is all part of the process.
After your book is published you will have the option to order Author Copies, which are usually around $2 -3. This varies depending on the size of your book. You could consider buying some to sell at an art fair or give away as gifts.
I also kept one of mine for myself, both for fun and promotional purposes!
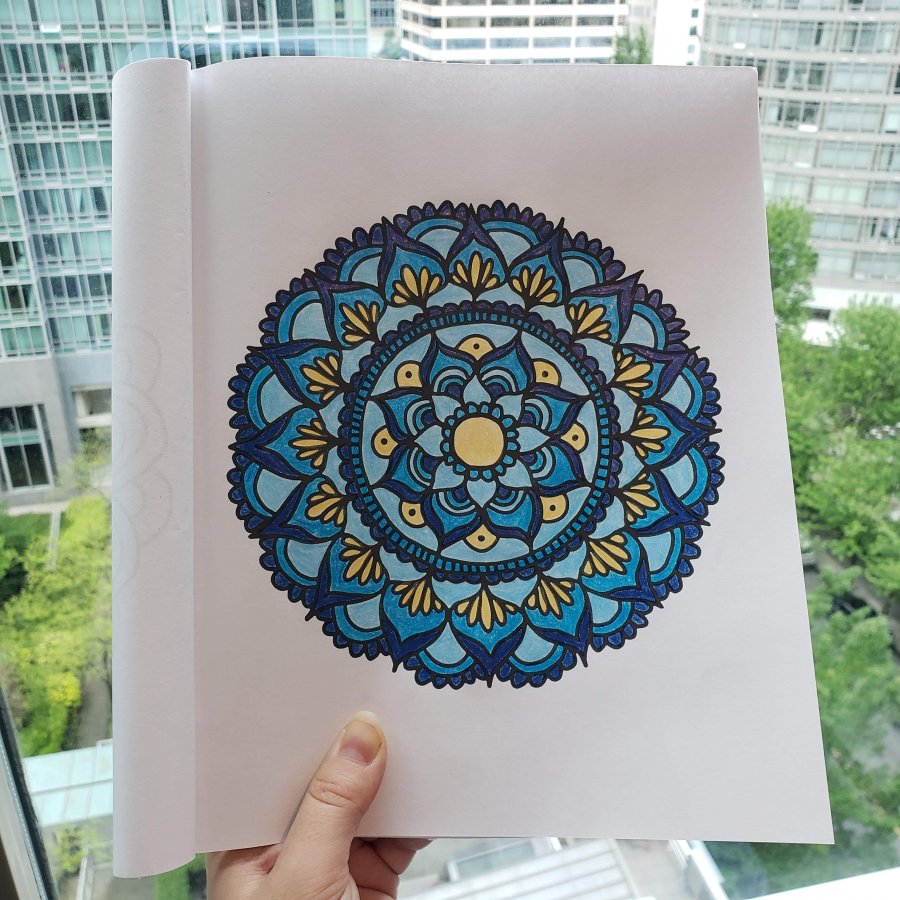
I hope you’ve discovered how fun it can be to make and sell a coloring book of your own art!
If you follow this tutorial and wind up publishing your own coloring book, I’d love to see it! Feel free to leave a link below so I can check it out.
If you are looking for a full step by step video guide, you may like this Skillshare class: How to Self-Publish a Coloring Book.
I hope you have a great rest of your day!
Cheers,



This is an excellent tutorial. Thanks for thoroughly reviewing the process. Best wishes.
Thank you so much for saying that!
Thank you for this great tutorial!
You are very welcome!