Learn how to design your own wedding invitation suite with Zazzle. Get inspired to create your own stunning invitations with this tutorial.
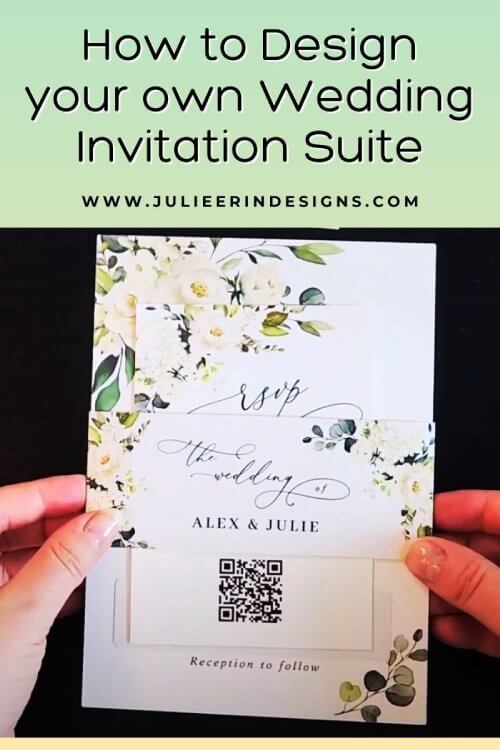
How to Design Your Own Wedding Invitation Suite
read more

Learn how to design your own wedding invitation suite with Zazzle. Get inspired to create your own stunning invitations with this tutorial.
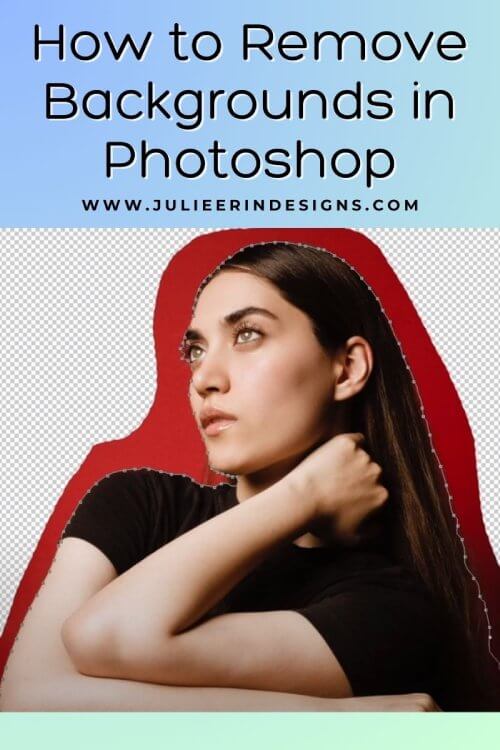
Learn how to remove backgrounds in Photoshop with this quick tutorial. Create professional and transparent images with ease.

Learn how to write an art business plan with this guide! From market research tips to financial planning tools, this post has you covered.
In this post I’m sharing a new feature available on Zazzle which is the ability to add your own custom cover photo to your listings.
I’ve personally researched and compiled this list of over 100 ways for artists to make money. There’s something for everyone!
Selling your art online through Print on Demand website series. An in depth comparison of Zazzle vs Redbubble for selling art online.

Brighten up your virtual Holiday parties with these free festive Zoom or Teams meeting backgrounds, sure to spread some Christmas cheer.
By now you’ve probably heard of TikTok. It’s an app where you can make short videos along with music, filters and other effects to share with your followers and others using hashtags, similar to Instagram. I’ve been experimenting with growing a following on there so I wanted to share some tips for how artists can use TikTok to expand their audience.

Introducing PodConnect, a software which allows you to bulk upload your designs to multiple print on demand websites at once.
Looking for where to sell your art online in 2024? In this article I share the best websites to sell art online from my own experience.
I’m an digital artist, surface designer, and online educator from Vancouver, Canada.
I’ve sold thousands of physical and digital products worldwide through print on demand companies.
Through my online classes and blog, I teach other artists how to sell their own art online and turn their passions into a business they love.