In this post I’m sharing a new feature on the print on demand website Zazzle, which is the ability to add your own custom cover photos to your listings! This is a really great way to make your listings stand out on the Zazzle marketplace.
* Please note, some links in this post are affiliate links. If you make a purchase using the links I may earn a commission at no additional cost to you. I appreciate your support and it helps me create more content for you to enjoy!
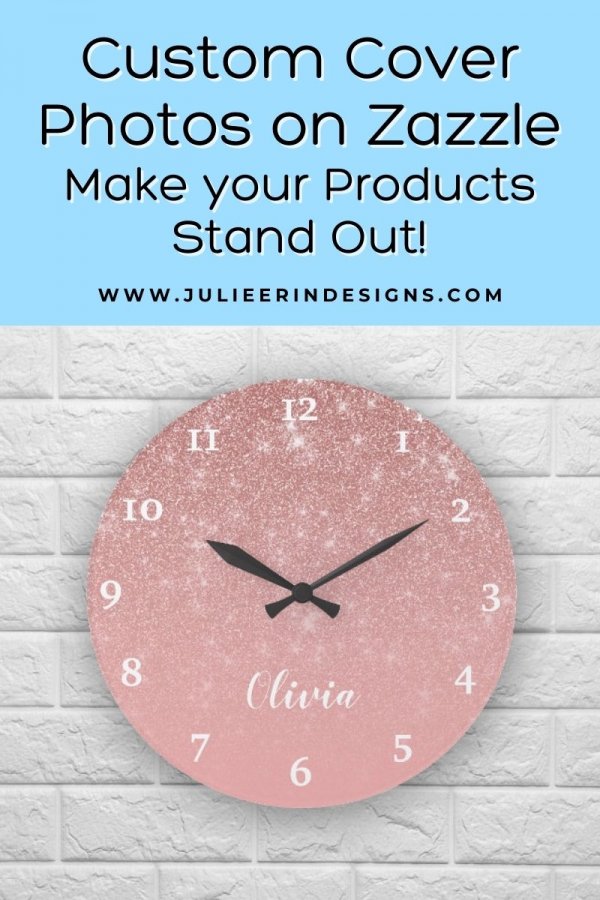
In a world filled with nearly identical products, it’s important to find ways to make your products stand out. Zazzle custom cover photos are one way to do this. With a little creativity, you can use cover photos to give your products a unique look and make them more reflective of your own brand.
Zazzle custom cover photos are easy to create and can be applied to any product via the individual product page. Cover photos can be changed at any time, so you can experiment with different looks to find the one that best represents your brand.
To learn more about the custom cover photos directly from Zazzle, read their cover photo landing page.
In the video below I demonstrate how to add custom cover photos to your listings, and how I’ve been designing them on my iPad.
Aside from creating your own cover photos in Procreate or another app like Photoshop, you can also purchase or find free mockups for your listings on Placeit, Creative Market, Google and other websites.
A great way to make your products stand out from the competition.
When potential customers are browsing through all the different products on Zazzle’s marketplace, it’s the cover photo that will initially catch their eye. Therefore, it is important to have an eye-catching and visually appealing cover photo.
People are more likely to purchase a product if they are able to see what it looks like in a realistic setting. If you have a great product but are using unappealing or generic stock photos, then you are not doing your product justice. Take advantage of Zazzle’s custom cover photo feature to make your products stand out and attract more customers!
👉 Check out my Skillshare class on how to Create AI Powered Mockups for Your Zazzle Store with Canva
You can purchase a sample of your product and take your own photos of it, use a mock-up you’ve purchased, or create your cover photo in a graphic design software. Either way, adding a custom cover photo to your product will make it more eye-catching and likely to sell.
Use a variety of backgrounds and graphics to create a unique look for your product.
If you want your products to really stand out on Zazzle, you need to put some thought into your cover photos. Luckily, there’s a lot of flexibility when it comes to design. You can use a variety of backgrounds and graphics to create a unique look for your product.
The first thing you need to do is decide what kind of mood you want to create. Do you want something fun and whimsical? Or are you going for a more sleek and modern look? Once you’ve decided on the overall tone, you can start finding or creating some backgrounds and graphics. If you’re not sure where to start, take a look at what other people have done. See what kind of designs are popular and see if you can find any inspiration there. I’ve personally been using my own photographs, and actually going out and finding textures and photographing them specifically for cover photos.
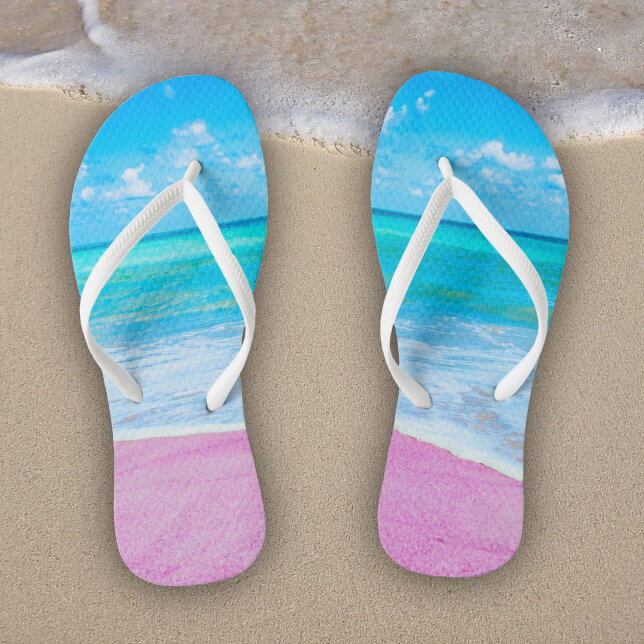
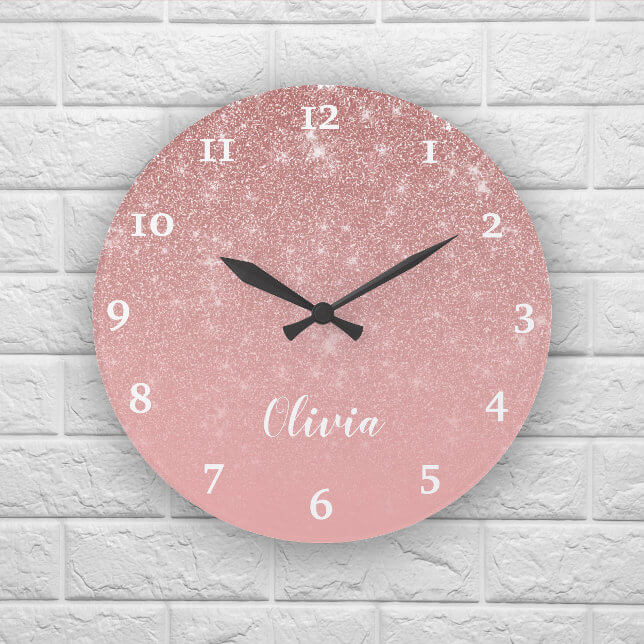
Also think about the real-life setting you might find the product being used in. For example, I used a sandy beach background for flip flops vs. a wall texture background for a clock.
Once you have a general idea of what you want your cover photos to look like, it’s time to start putting it all together. Remember, your cover photo is the first thing people will see when they come across your product. So make sure it’s something that will grab their attention and make them want to learn more. With a little effort, you can create a design that’s truly unique and will help your product stand out from the rest.
Keep your cover photos high quality and eye catching
There are a few things to keep in mind when creating custom cover photos for your products.
- Make sure the photo is high-quality and resolution. Zazzle recommends using a PNG or JPG file that is at least 300 DPI. This will ensure that your photo looks sharp and clear.
- Next, consider the size of the photo. You want to make sure that the photo is large enough, but not so big that it looks blurry or distorted. A good rule of thumb is to use a photo that is at least 1000 pixels wide.
- Finally, think about the background of the photo. You want to make sure that the background is simple and uncluttered so that your product is the main focus. A simple background, blurred photo or a contrasting solid color is usually best.
With these tips in mind, you can upload your own photos to create unique and eye-catching cover photos for your Zazzle products.
Conclusion
There are a few things to keep in mind if you want to use custom cover photos to make your products stand out. First, you want to make sure the cover photo is high-quality and fits well with the product. Second, you want the cover photo to be unique and not like anything else that’s out there. And finally, you want to make sure the cover photo accurately represents the product. If you keep these things in mind, then you’re well on your way to using custom cover photos to make your products stand out on Zazzle.
I hope this post has inspired you to add custom cover photos to your Zazzle listings. Go ahead and give it a try – you may be surprised at the results!
Cheers,




0 Comments