In this post I’m sharing some tips on how to make money as an artist on Skillshare, based on my own experience as a Skillshare teacher.

How to Make Money as an Artist on Skillshare
read more

In this post I’m sharing some tips on how to make money as an artist on Skillshare, based on my own experience as a Skillshare teacher.
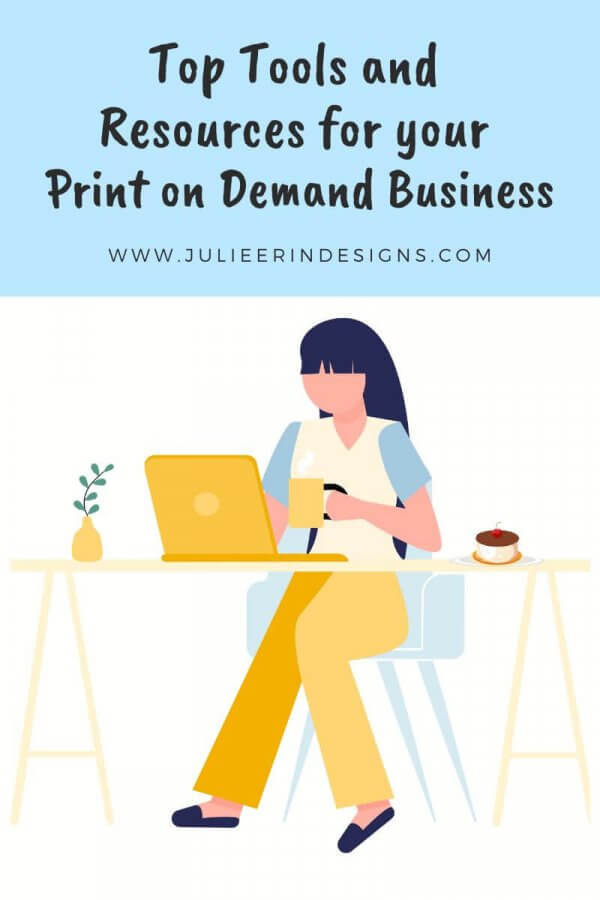
These are the top tools and resources for your print on demand business so that you can sell your art in record time.
I’m an digital artist, surface designer, and online educator from Vancouver, Canada.
I’ve sold thousands of physical and digital products worldwide through print on demand companies.
Through my online classes and blog, I teach other artists how to sell their own art online and turn their passions into a business they love.