Learn how to remove backgrounds in Photoshop with this quick tutorial. Create professional and transparent images with ease.
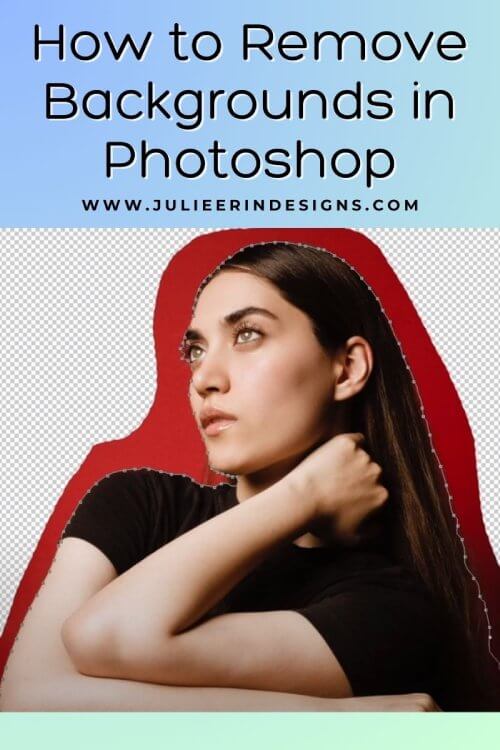
How to Remove Backgrounds in Photoshop
read more

Learn how to remove backgrounds in Photoshop with this quick tutorial. Create professional and transparent images with ease.
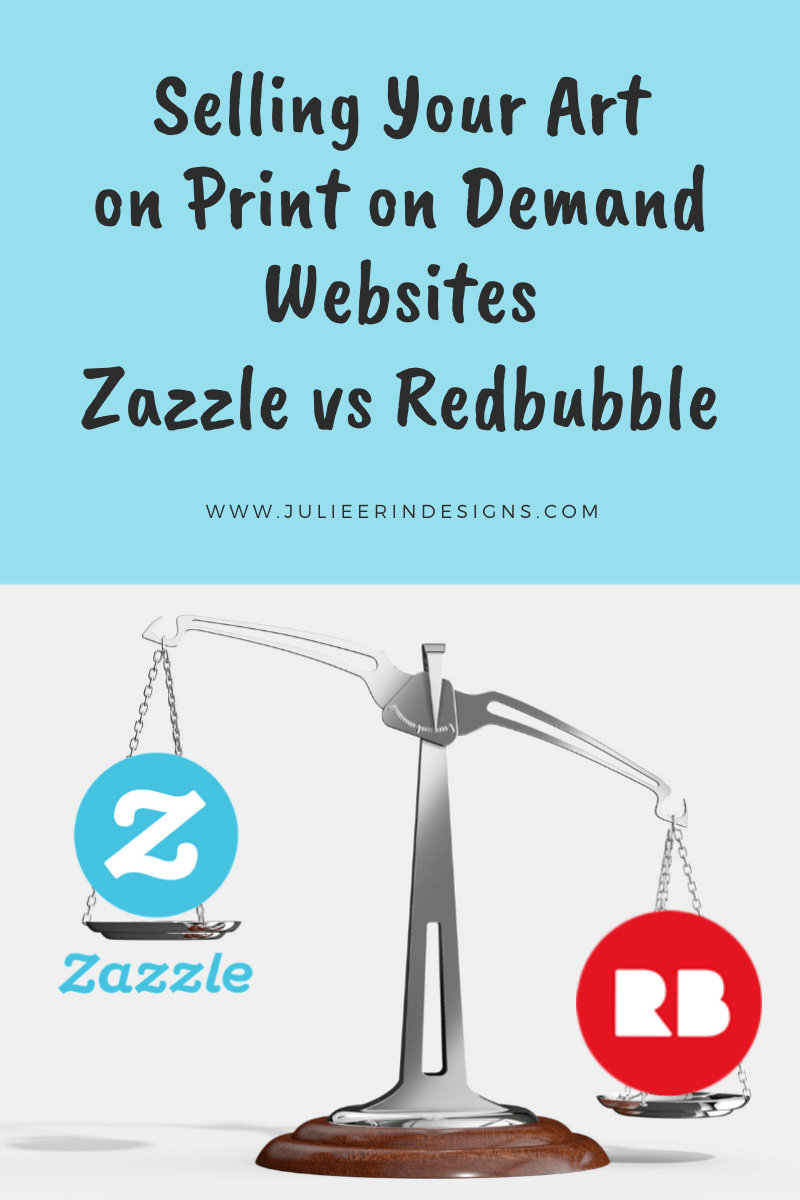
Selling your art online through Print on Demand website series. An in depth comparison of Zazzle vs Redbubble for selling art online.
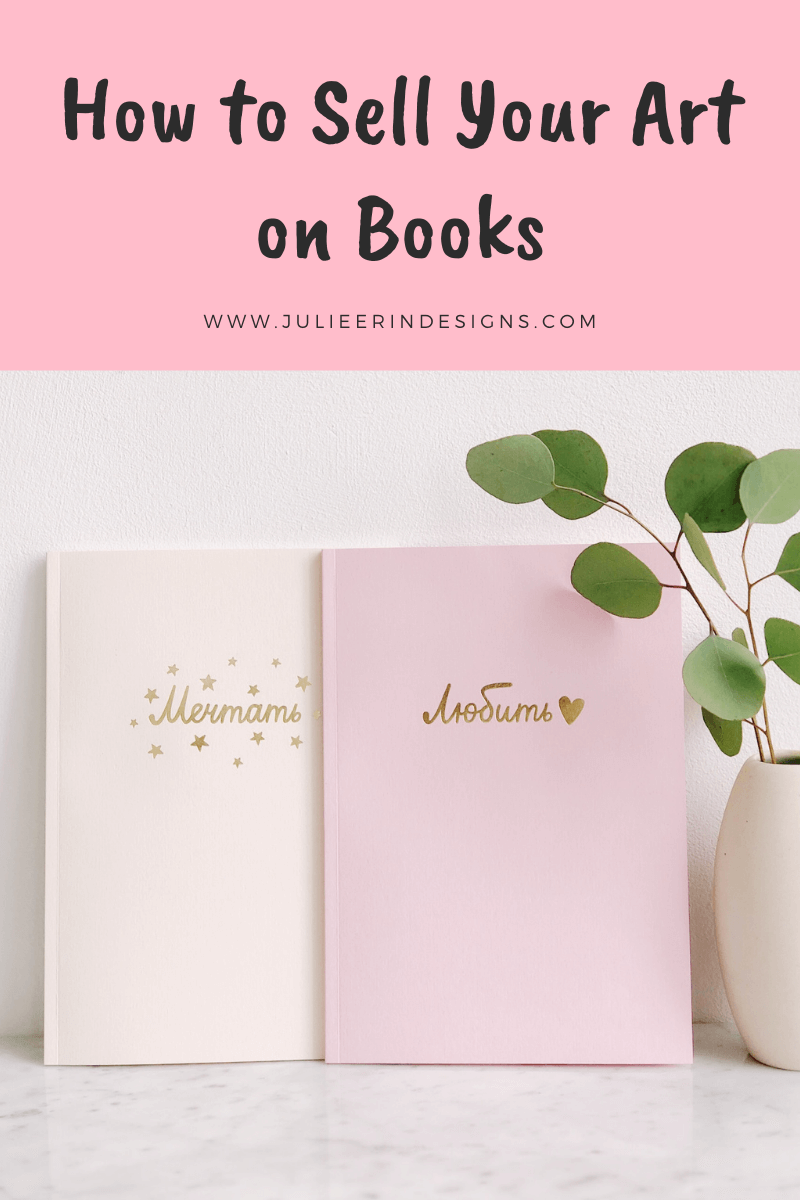
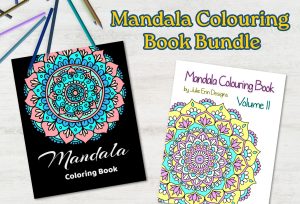
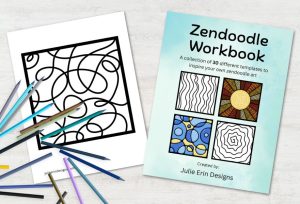
Today I’m sharing how you can sell your art on “low content” books through Amazon KDP using the Book Bolt app.
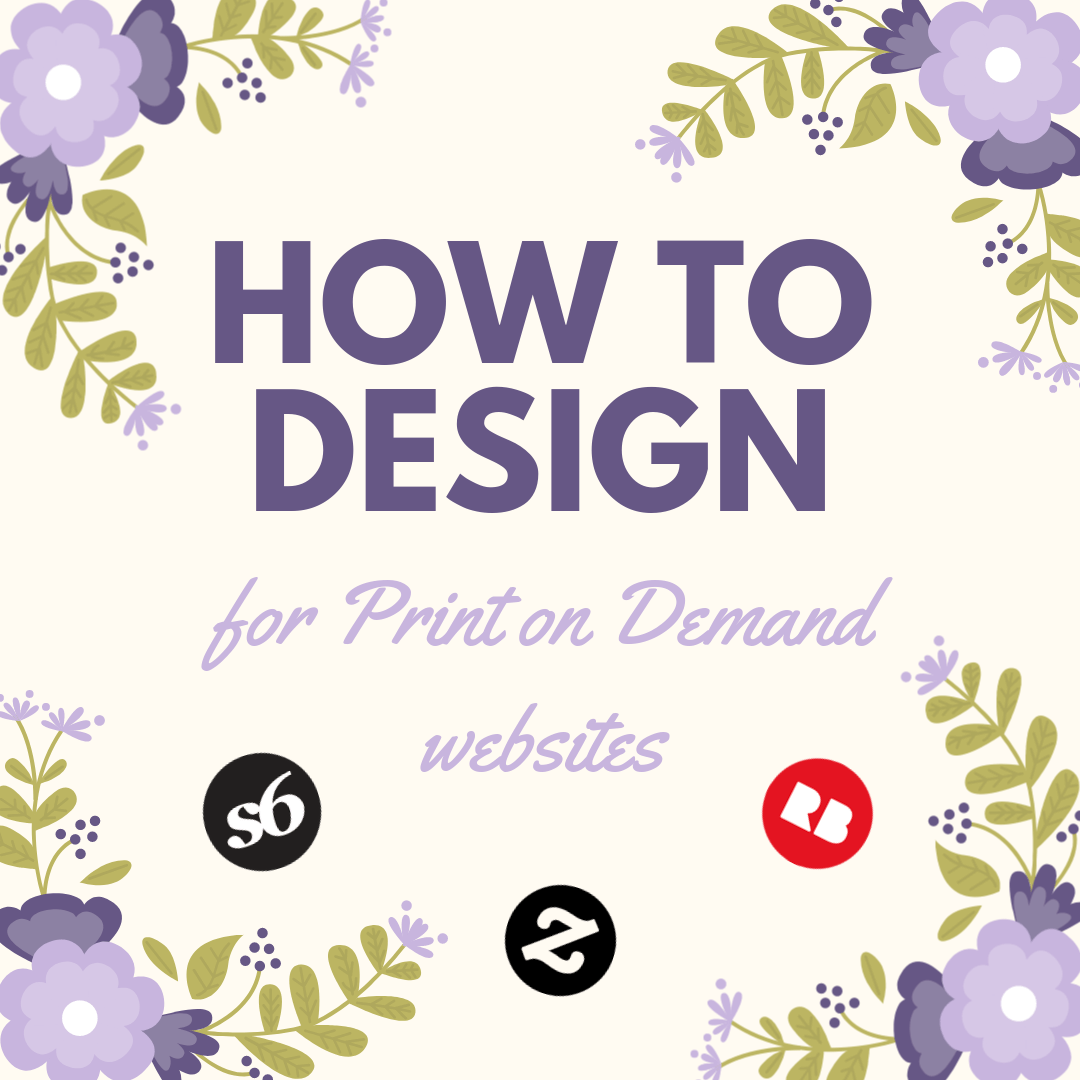
Tips and best practices for how to design for Print on Demand websites such as Society6 Redbubble Zazzle Teepublic and others.

15 tips on how to increase your art sales on Print on Demand websites like Society6, Redbubble, Zazzle, Teepublic and more.
I’m an digital artist, surface designer, and online educator from Vancouver, Canada.
I’ve sold thousands of physical and digital products worldwide through print on demand companies.
Through my online classes and blog, I teach other artists how to sell their own art online and turn their passions into a business they love.