Looking for the best digital tools for artists? Discover the essential apps and platforms I use daily to run my art business.
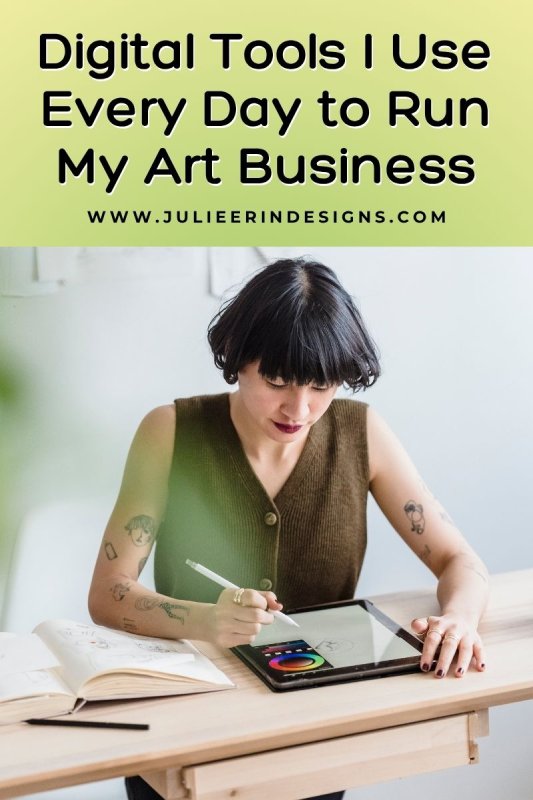
Digital Tools I Use Every Day to Run My Art Business
read more

Looking for the best digital tools for artists? Discover the essential apps and platforms I use daily to run my art business.

In this post we explore how artists can sell their art online using integrated print on demand services, Printful and Printify.
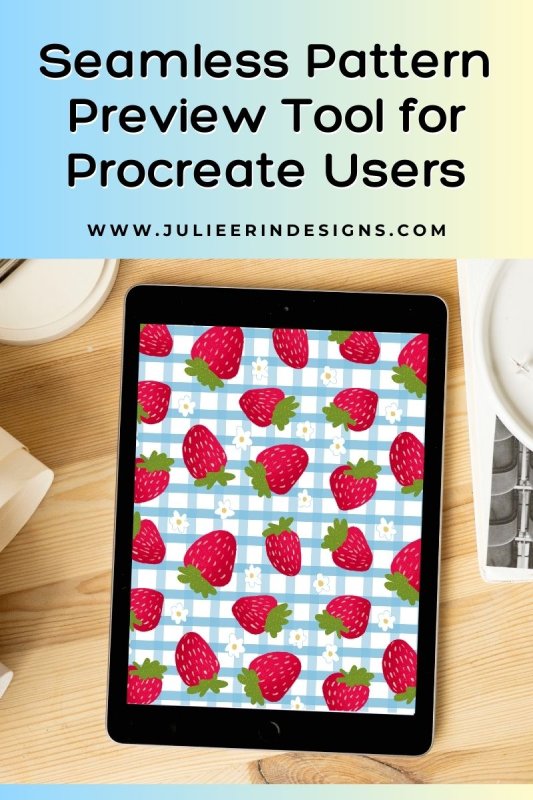
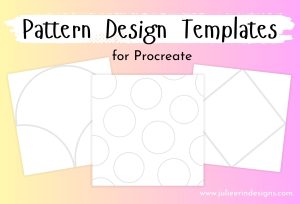
Easily preview your pattern designs with this simple drag and drop seamless pattern preview tool for Procreate users!
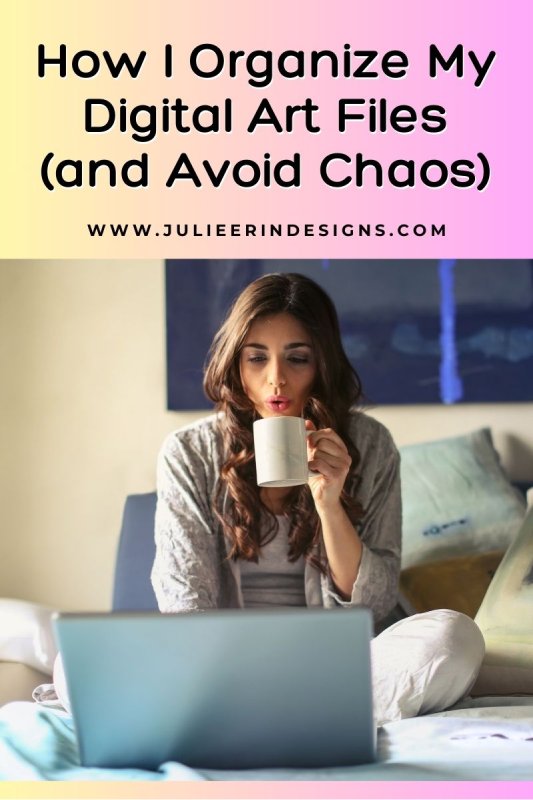
Learn how to organize your digital art files with these tips! Improve your workflow, stay organized, and keep your creative process smooth.
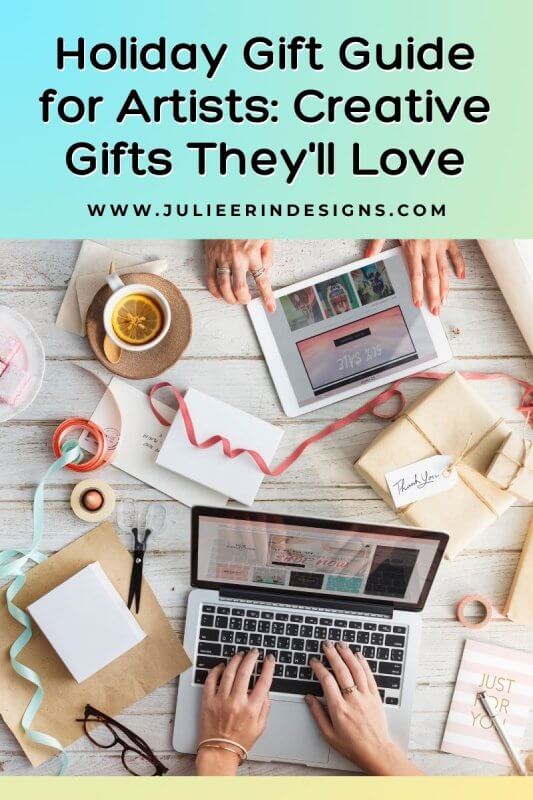
Whether you’re shopping for a professional artist, an aspiring creator, or a hobbyist, this holiday gift guide for artists has you covered.
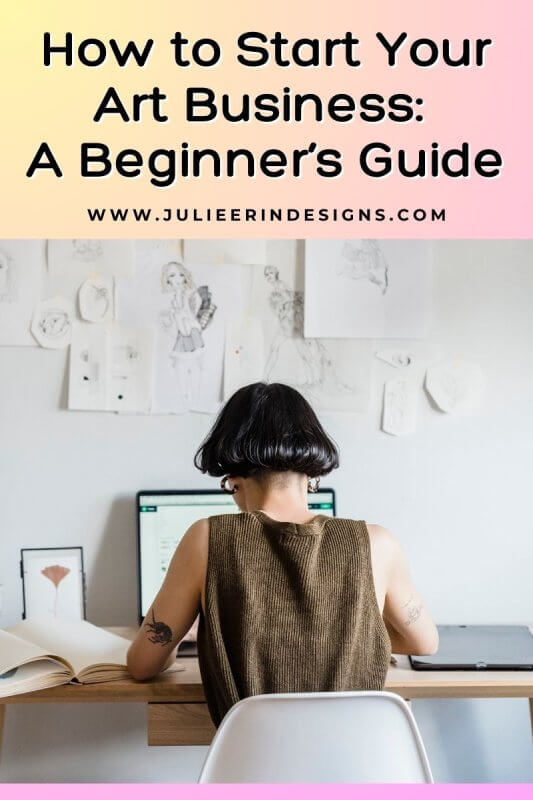
Are you a budding artist ready to turn your passion into a business? Here’s a step-by-step guide to help you get started with your art business.
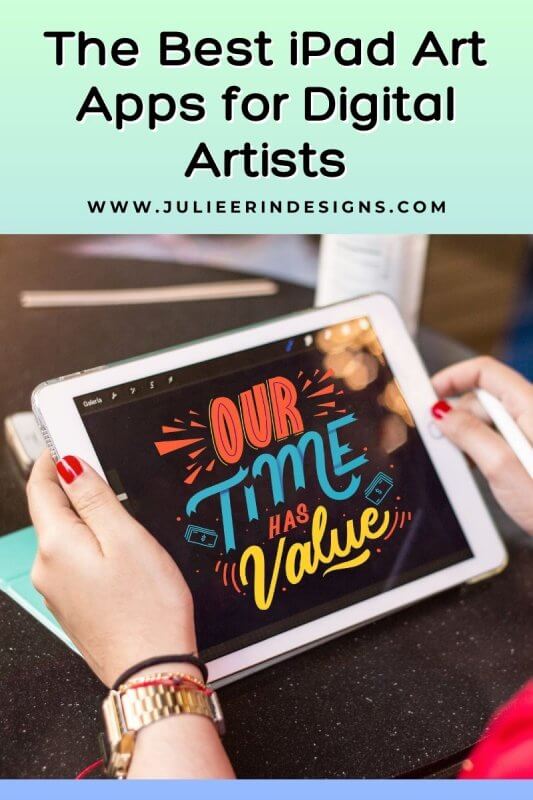
In this post, we’ll explore the best iPad art apps for digital artists, covering their features, costs, and providing links to download them.
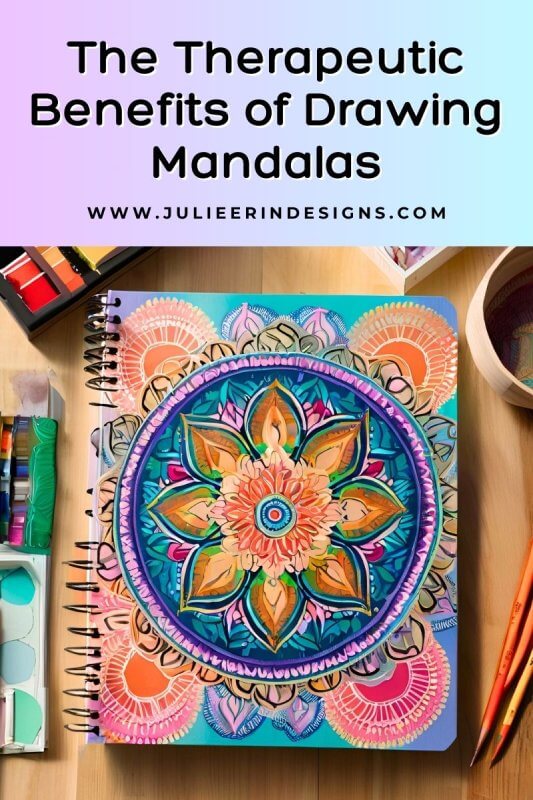
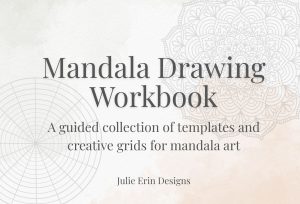
In this blog post, we’ll explore the therapeutic benefits of drawing mandalas and how this practice can enhance your well-being.

In this post you’ll learn the basics of how to start an art blog along with tips, strategies, and content ideas for long term success.

In this post we’ll explore the benefits of using a black paper sketchbook, discuss different art techniques, mediums and example artwork.
I’m an digital artist, surface designer, and online educator from Vancouver, Canada.
I’ve sold thousands of physical and digital products worldwide through print on demand companies.
Through my online classes and blog, I teach other artists how to sell their own art online and turn their passions into a business they love.