AI is everywhere! Discover how to use AI tools in your art business to enhance your artwork, gain market insights, and boost productivity.
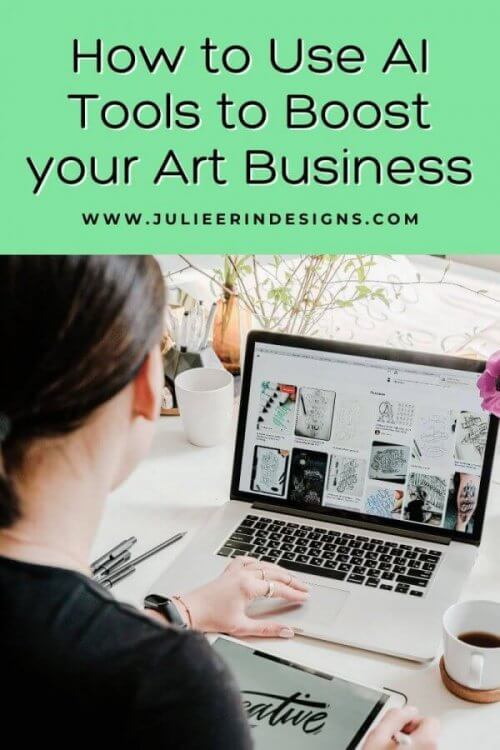
How to Use AI Tools to Boost Your Art Business
read more

AI is everywhere! Discover how to use AI tools in your art business to enhance your artwork, gain market insights, and boost productivity.
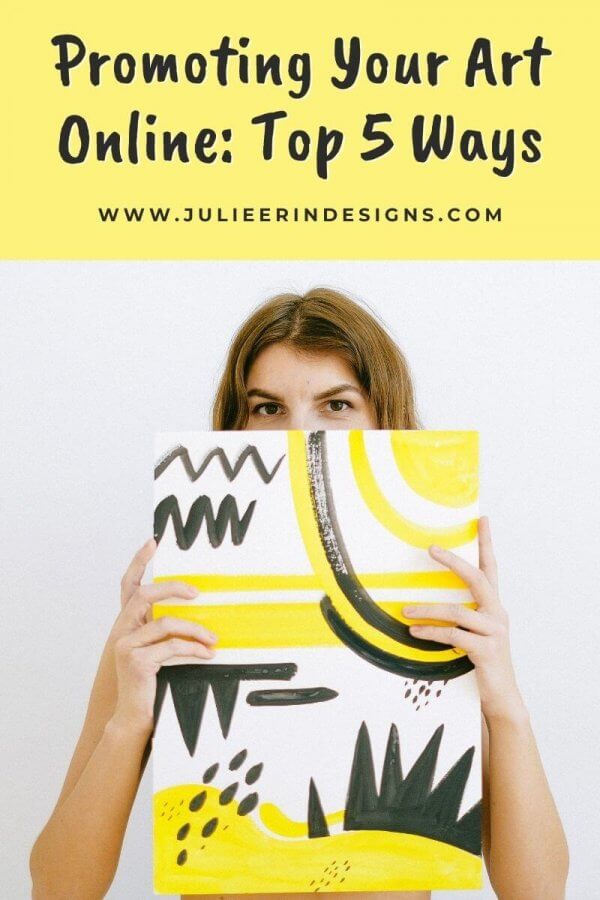
In this post I discuss the most effective methods for promoting your art online to help you find your audience, and for them to find you!
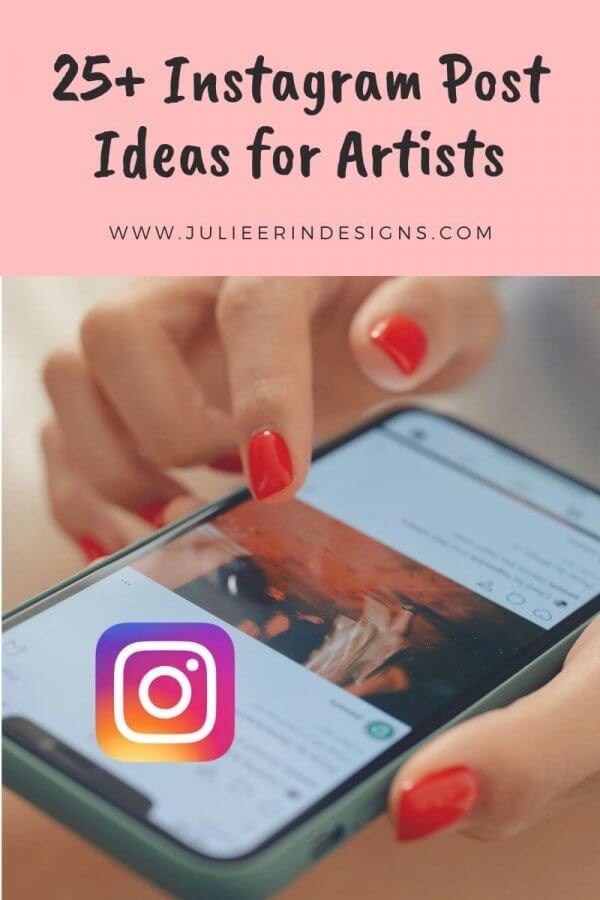
A list of over 25 Instagram post ideas and inspiration for artists including feed posts, reels and even stories!
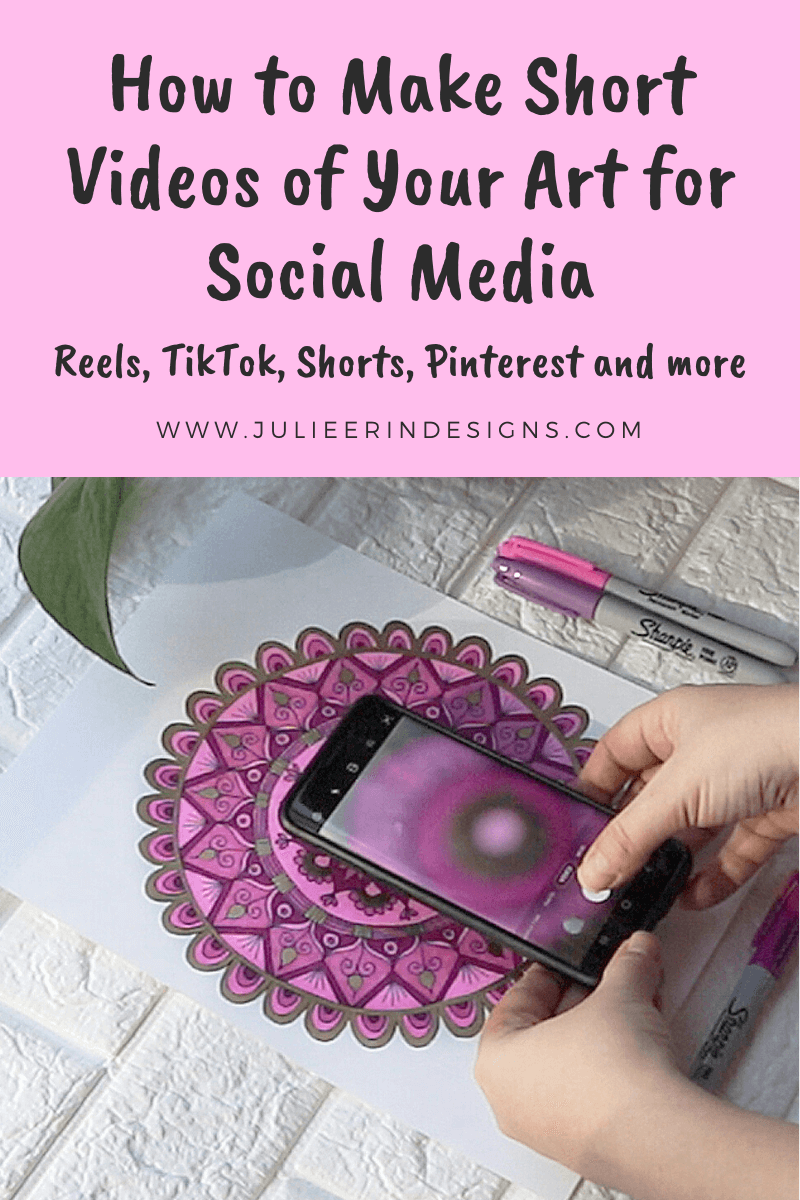
Do you want to learn how to make short videos of your art for social media like Instagram Reels and TikTok? Then this class is for you!
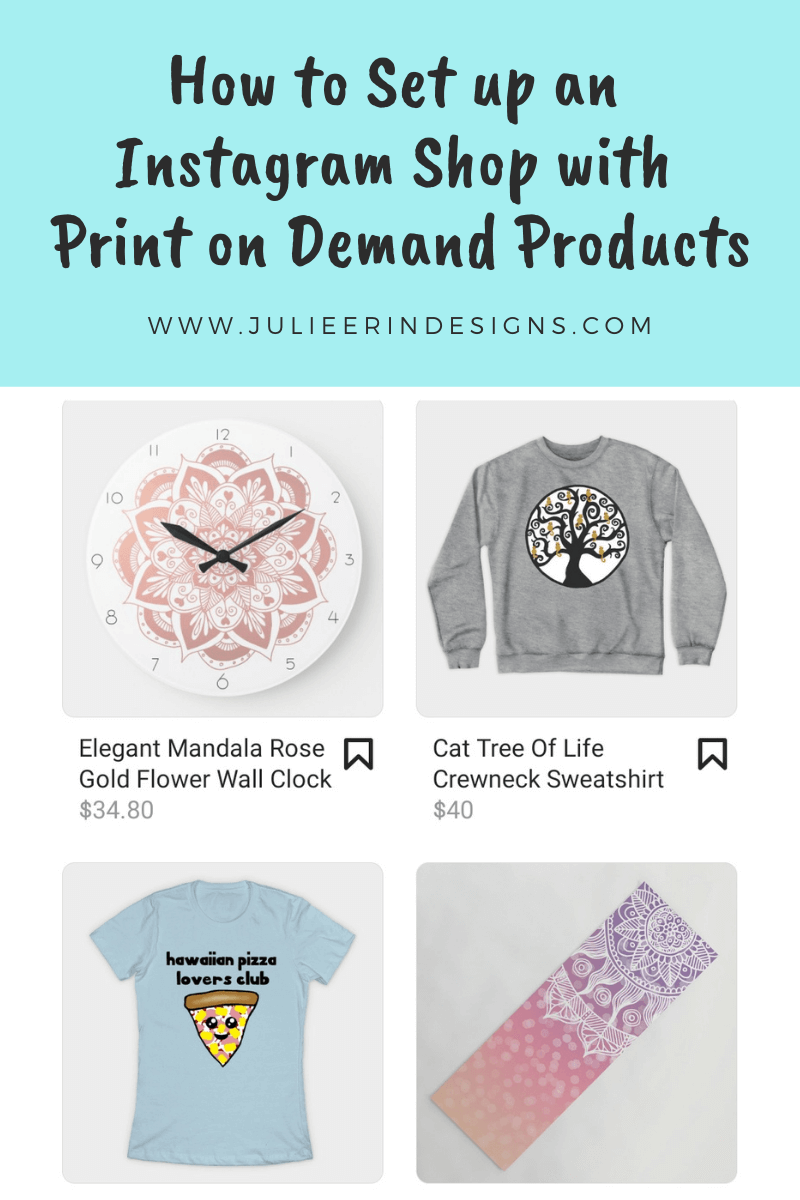
This post explains how to set up an Instagram shop with Print on Demand products from third party websites like Redbubble and Society6.
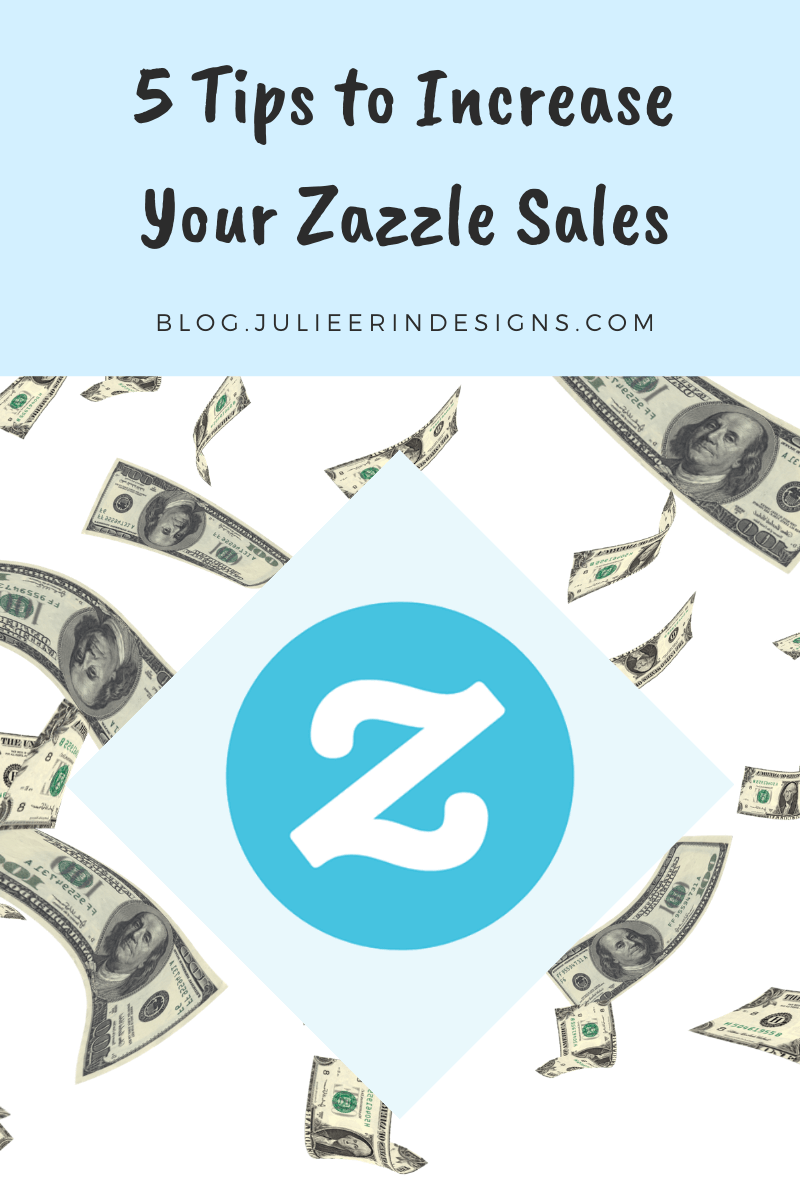
Are you looking to increase your Zazzle sales? Then you’re in the right place because today I’m sharing 5 tips to improve your store.
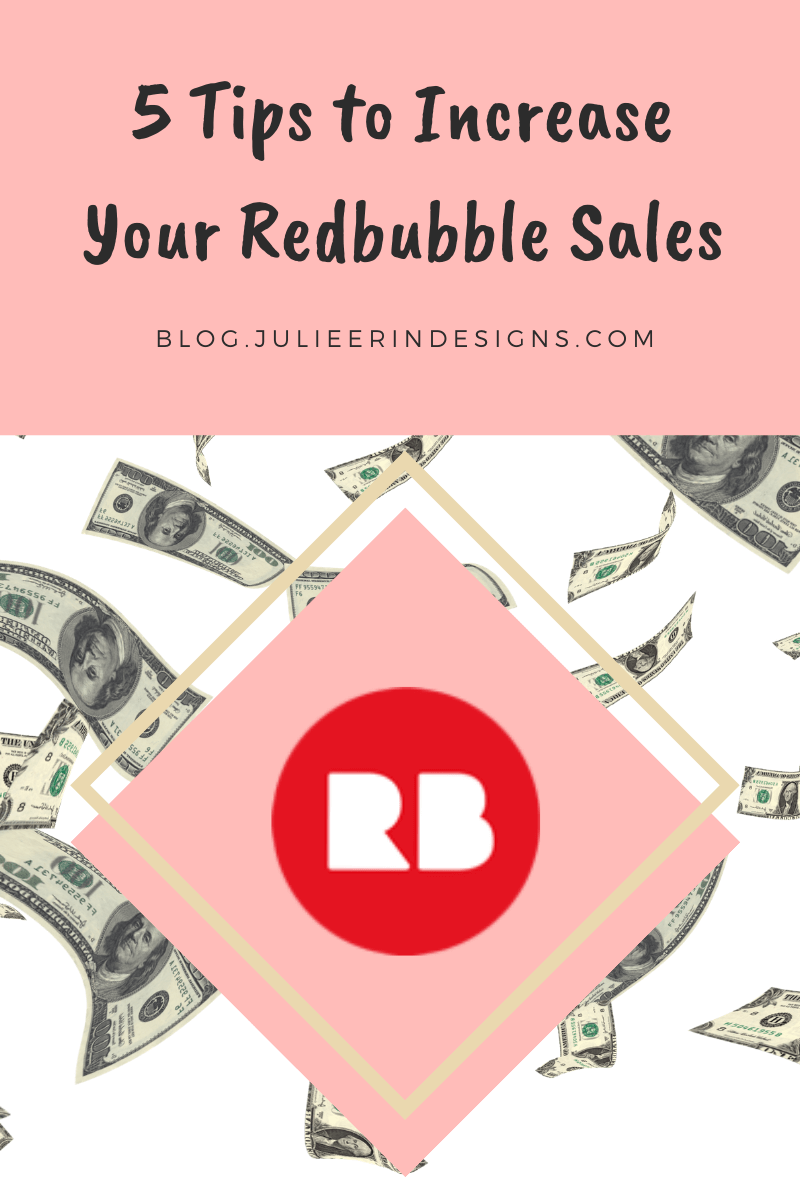
Today I’m sharing 5 tips to help increase your sales on Redbubble, a print on demand website where artists can sell their art online.
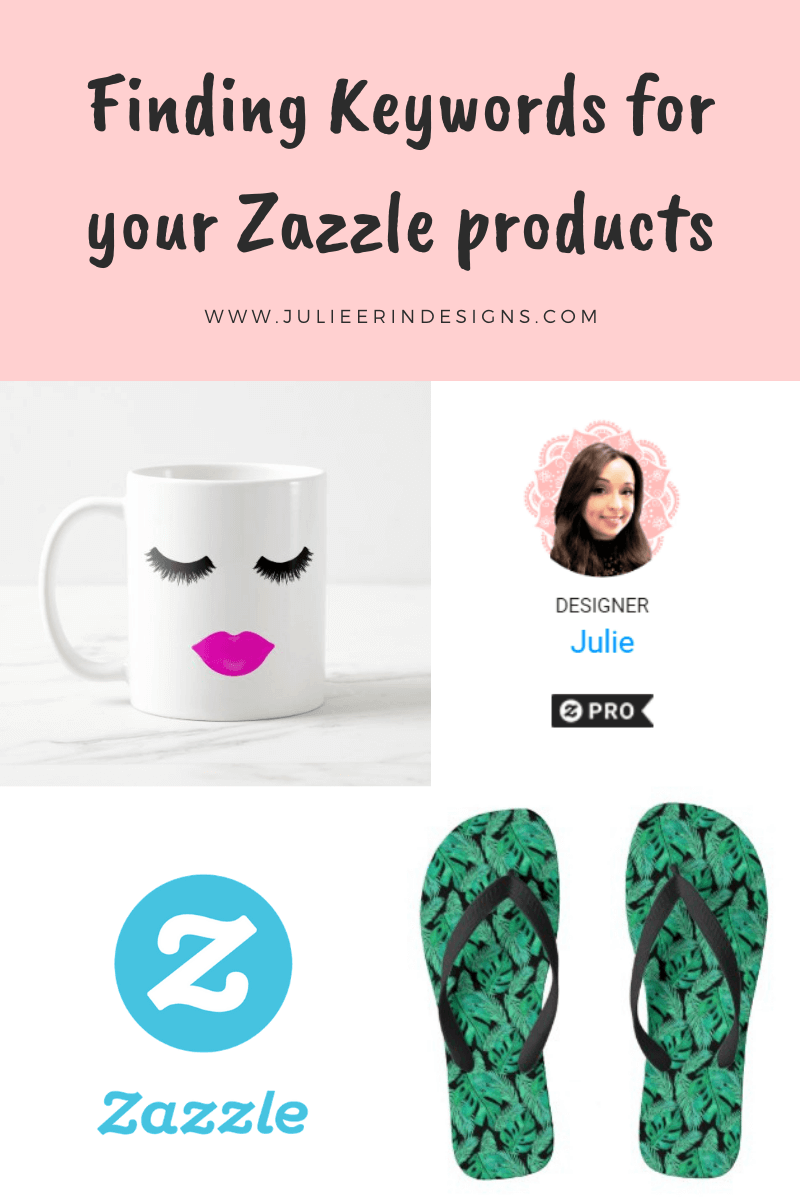
Today I’m sharing a quick tutorial on how to find keywords for your Zazzle products and improve SEO within the Zazzle website.
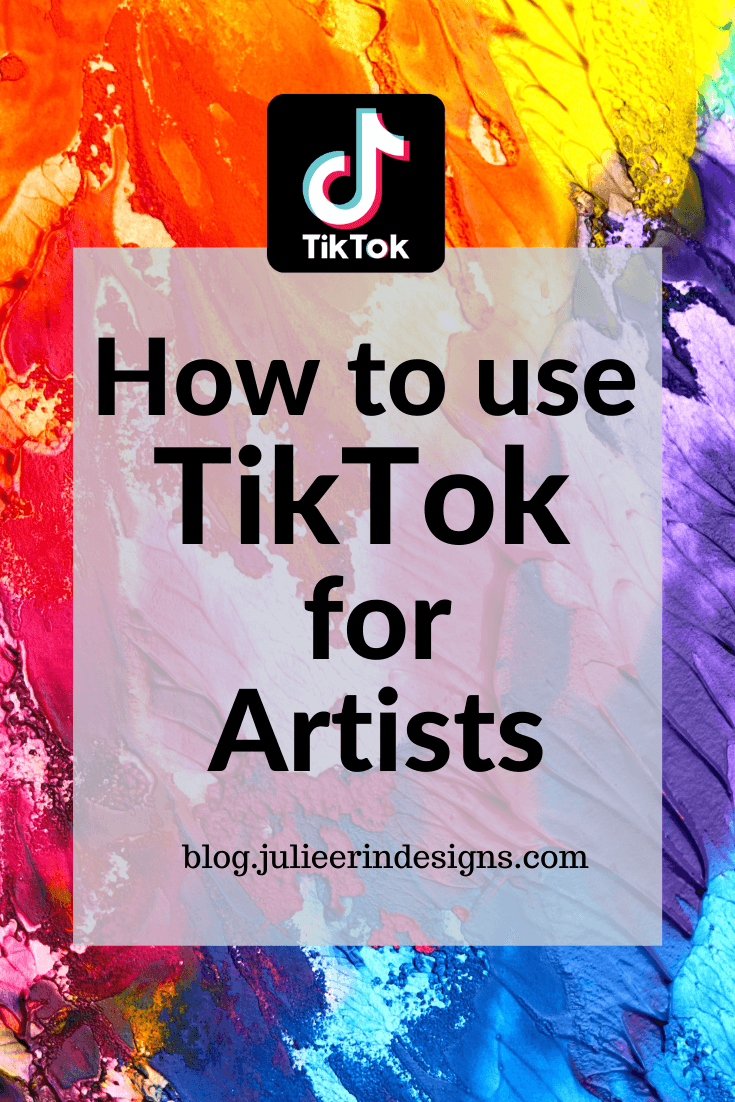
By now you’ve probably heard of TikTok. It’s an app where you can make short videos along with music, filters and other effects to share with your followers and others using hashtags, similar to Instagram. I’ve been experimenting with growing a following on there so I wanted to share some tips for how artists can use TikTok to expand their audience.
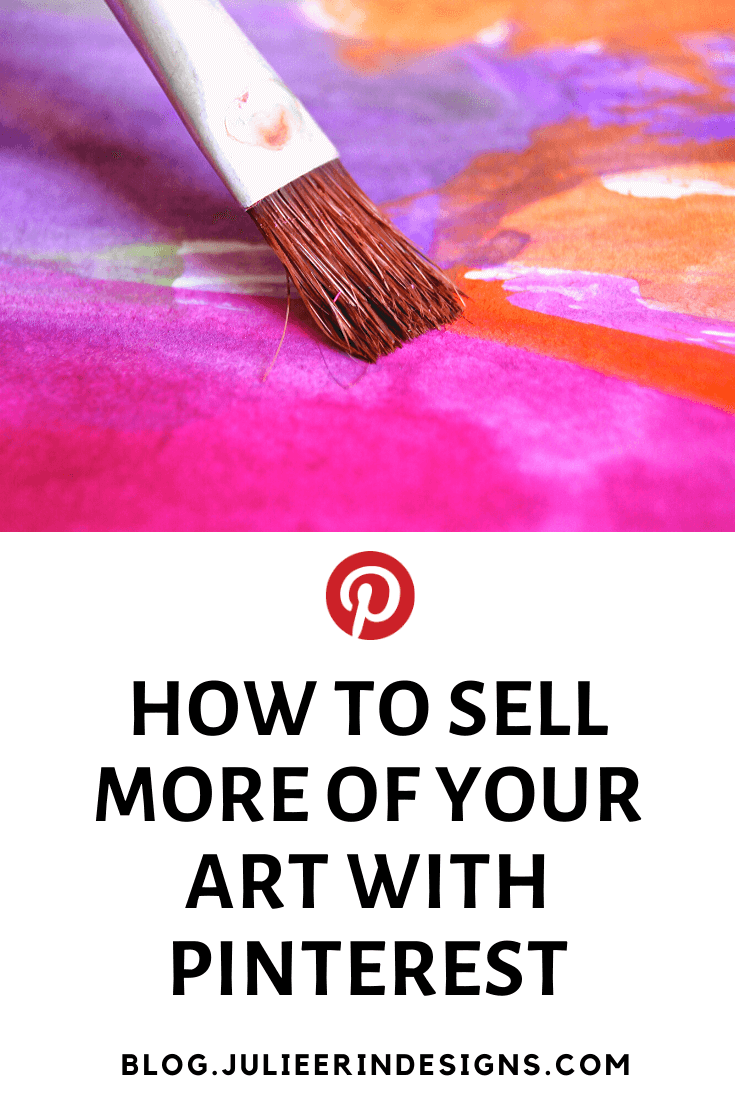
Pinterest is an excellent marketing tool for Artists. You can use this visual search engine to your advantage as an artist to sell more of your artwork!
I’m an digital artist, surface designer, and online educator from Vancouver, Canada.
I’ve sold thousands of physical and digital products worldwide through print on demand companies.
Through my online classes and blog, I teach other artists how to sell their own art online and turn their passions into a business they love.