10 Ways to Get Your Print on Demand Shop Ready for the Holidays

print on demand holidays
print on demand shop holiday tips

The holiday season is nearly upon us, and for those of us who sell through Print on Demand it’s the most profitable time of the year.!

Today I’m sharing 10 tips to get your shops ready for the busiest shopping season, so you can sit back with a glass of eggnog and watch the sales roll in.

10 Ways to Get Your Print on Demand Shops Ready for the Holidays

1. Go though your older designs and update them with new and improved keywords and descriptions. Especially your holiday themed designs.

2. Add as many high quality designs to your stores as you possibly can, including different versions of your best selling designs.


3. Enable new product types that you might have missed from earlier in the year.

4. Create Hoilday specific designs.

Do some research to find out what’s trending for the current Holiday season and create some new artwork based on that. (Ex. Trending themes, colors or patterns). I like to use Pinterest for this.

5. Create templates and promotional material for big sales coming up, especially Black Friday and Cyber Monday.

society6 sale promo template example

6. Set up a promotional calendar to remind you of when major sales are occurring in your different stores so that you can promote them.

You could also add reminders on your phone to pop up on certain days to remind you to post something on that day.

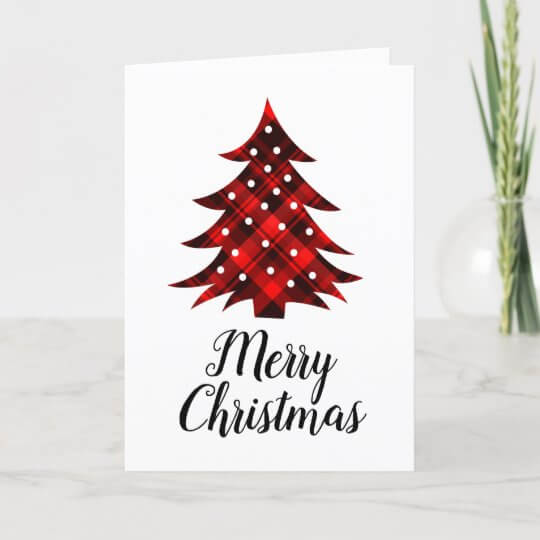
7. Design some greeting cards and/or wrapping paper for holiday gift giving.


8. Refresh your shop banners and profile picture if they are looking a little out dated or no longer reflect your brand.

9. Create holiday themed collections in your shops. Society6, Redbubble and Zazzle all have this option.

holiday print on demand collection on Zazzle

10. Update your store profile description, collection descriptions, and just generally make sure everything written has been updated.

BONUS TIPS:

  • Take some holiday themed photos of your products to post on social media using your own household decorations!
  • Create custom holiday themed banners and profile pictures for the holidays. I like to add a Santa hat to my profile pic for some easy and cute holiday flair.
avatar with santa hat

That should keep you busy for a while, and then you can just sit back, relax and enjoy the Holidays.

Cheers,

julie signing off

You may also enjoy these posts:

Ojo De Dios (aka God’s Eye) DIY Yarn Mandala Craft

ojo de dios gods eye diy yarn mandalas

I got a little bit crafty this weekend and made these super fun and pretty Ojos De Dio (aka God’s Eye) ornaments, which are basically 3D yarn mandala weavings!

They are really easy, making them a great DIY project which can even involve your kids! Making them can be a nice relaxing activity to do while watching TV, sitting on your patio, enjoying a hot cup of tea, etc.  You get the picture.

Supplies needed:

  • 2 – 4 Sticks of any length (I used kabob skewers from the dollar store, and cut off the pointy ends)
  • Ruler
  • Pen
  • Glue Gun
  • Various colours of yarn (scraps can be used)
  • Scissors

Simply measure your sticks with a ruler and mark them in the centre, then use your glue gun to glue the 2 sticks together in a cross shape.  Let the glue dry completely before starting your weaving.

pink god's eye mandala diamond square shape

Step-by-step tutorial for the diamond style God’s Eye.

The easiest style of God’s Eye is a 4 sided, diamond shape design using only the 2 sticks, like the one above.

Step by step tutorial for an 8 sided God’s Eye yarn mandala.

For a more complicated design, use 2 sets of sticks, creating an octagonal shape. Don’t glue the 2 sets together, as you will attach them together using yarn.


These 8 sided yarn mandalas are still pretty easy to make, and once you get the hang of them you can easily create your own patterns! I love how mine turned out.

yarn mandala diy craft project kids

close up ojo de dios diy yarn mandala craft

These ornaments are really versatile.  You can make them from something as small as toothpicks, or even sticks you find outside and you can make them as big or as small as you want!

You can use them to decorate your walls, give as gifts, use as Christmas tree ornaments and more! Feel free to post other ways you use these in the comments section below!

Make sure you follow my blog for more creative inspiration, and to see more of my art and design projects in the future.

I hope you have a great week.

Cheers,

julie signing off