Learn how to make a seamless pattern on your iPad with the Procreate app! Watch my video tutorial along with step by step instructions.
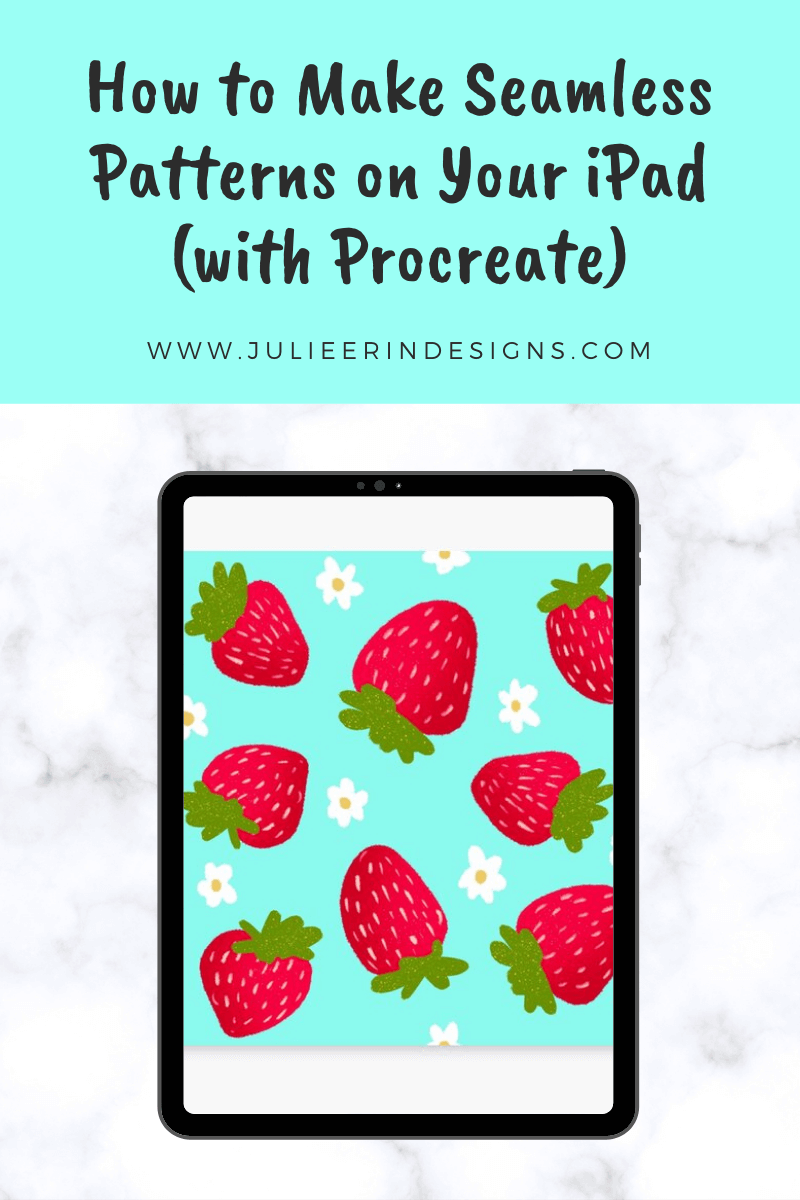
How to Make a Seamless Pattern in Procreate
read more

Learn how to make a seamless pattern on your iPad with the Procreate app! Watch my video tutorial along with step by step instructions.

An easy DIY Deer Halloween costume idea. Tutorial and all materials required for this simple and cute costume for Halloween.
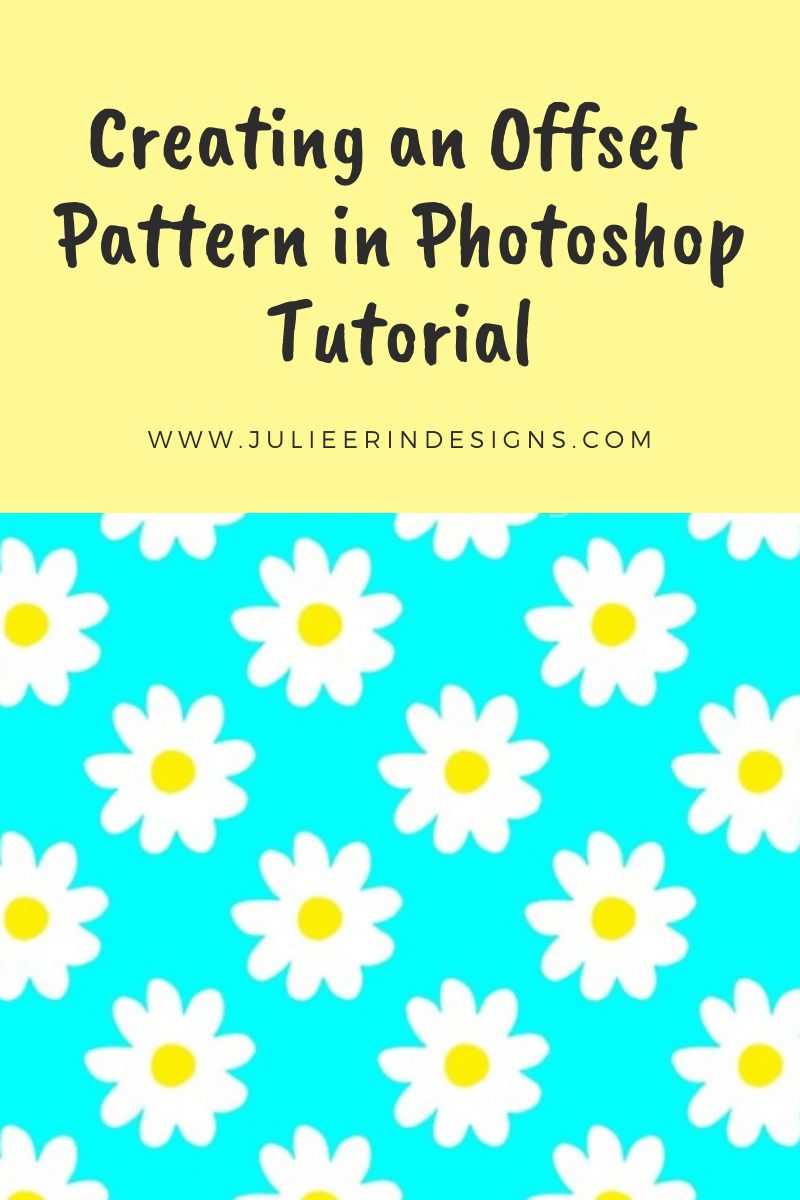
Today I’m sharing with you a short YouTube tutorial video I made on how to create an offset repeating pattern in Photoshop.
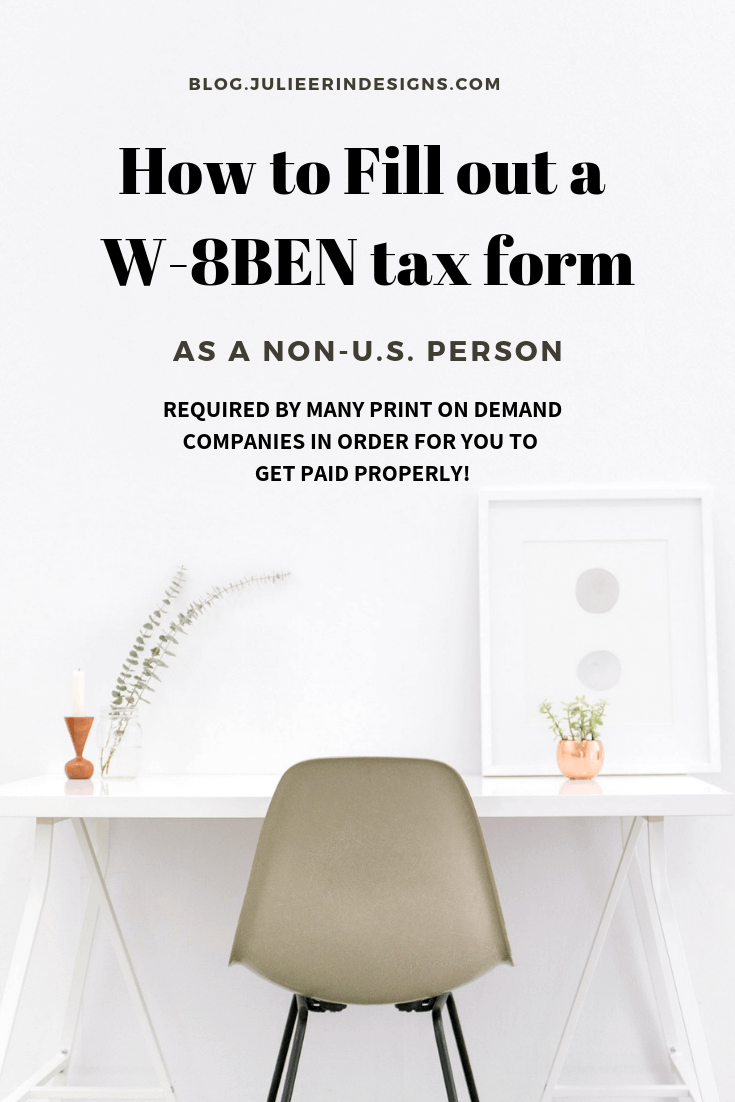
Instructions on how to fill out the w-8BEN tax form as a non U.S. person, specifically for Print on Demand websites like Society6, Zazzle etc.
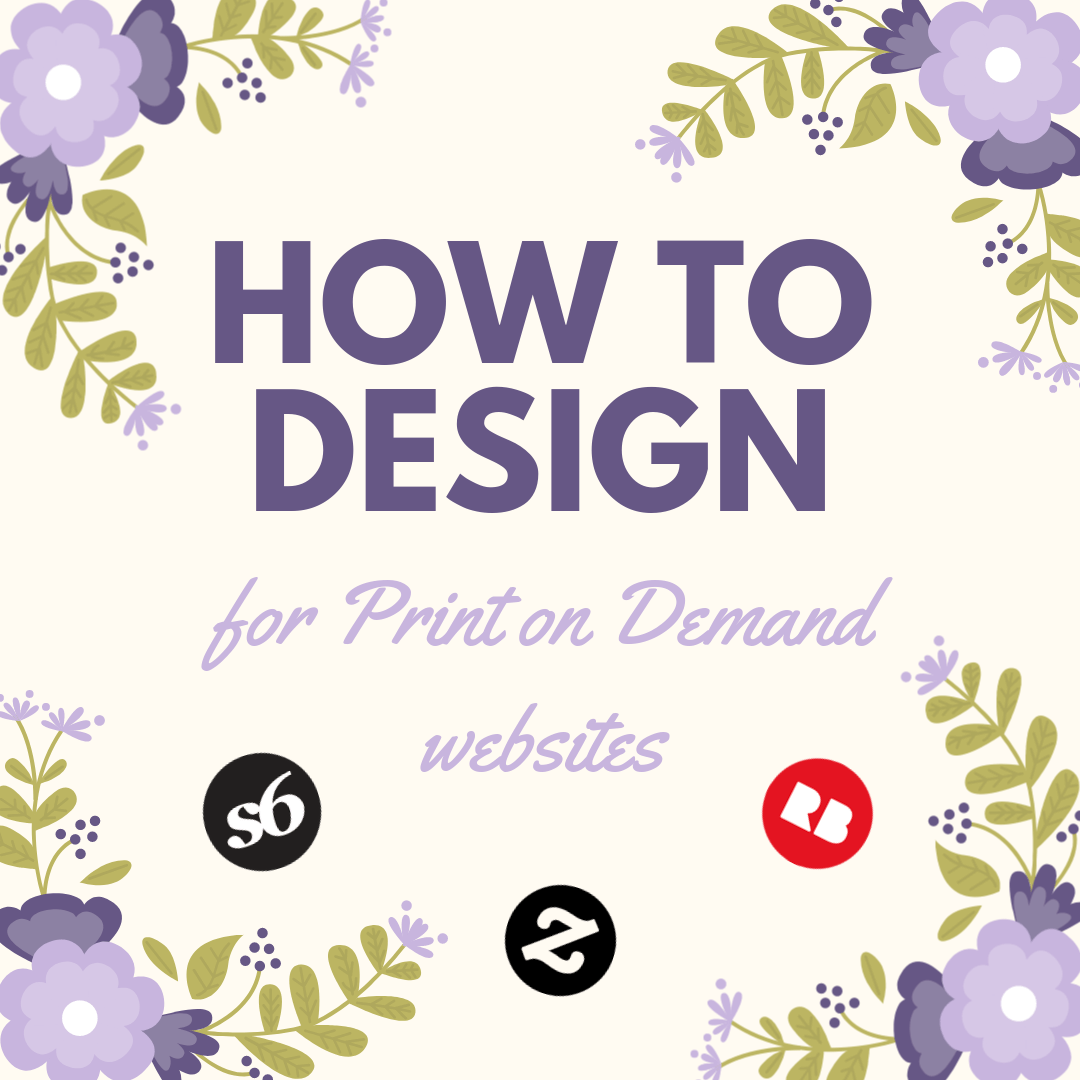
Tips and best practices for how to design for Print on Demand websites such as Society6 Redbubble Zazzle Teepublic and others.
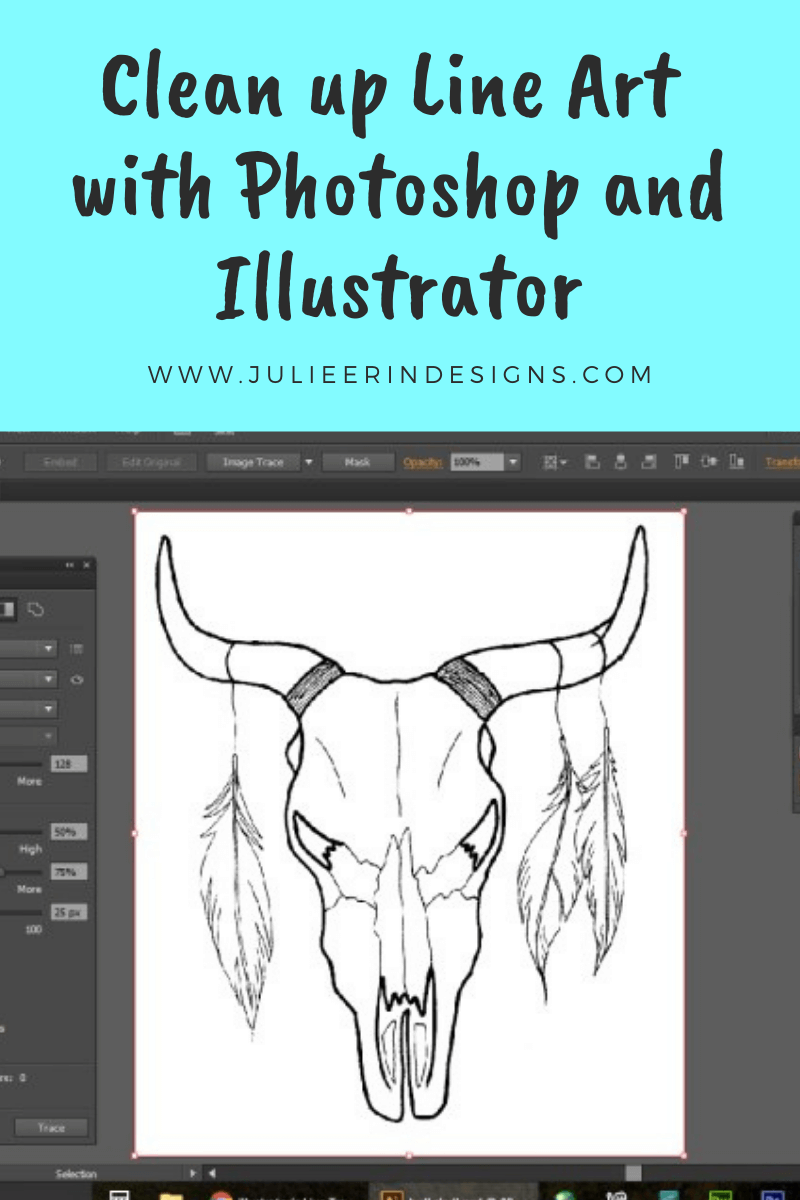
A tutorial on how to clean up black and white line art drawings using Photoshop and the Image Trace function in Illustrator.
I’m an digital artist, surface designer, and online educator from Vancouver, Canada.
I’ve sold thousands of physical and digital products worldwide through print on demand companies.
Through my online classes and blog, I teach other artists how to sell their own art online and turn their passions into a business they love.