Are you a budding artist ready to turn your passion into a business? Here’s a step-by-step guide to help you get started with your art business.
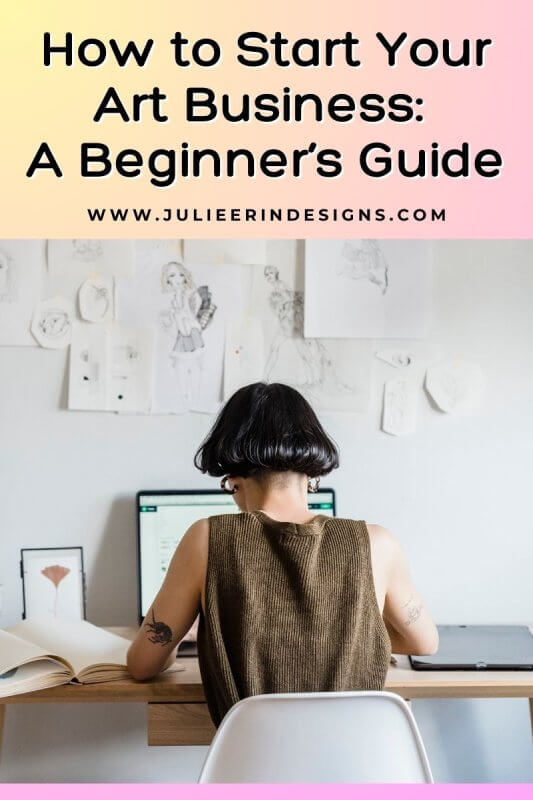
How to Start Your Art Business: A Beginner’s Guide with Actionable Steps
read more

Are you a budding artist ready to turn your passion into a business? Here’s a step-by-step guide to help you get started with your art business.
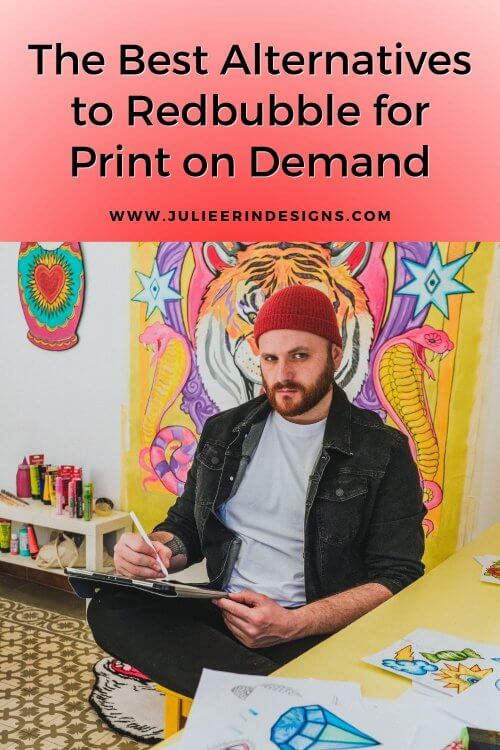
This blog post aims to share some lesser-known alternatives to Redbubble, to provide artists with new avenues to showcase their work.
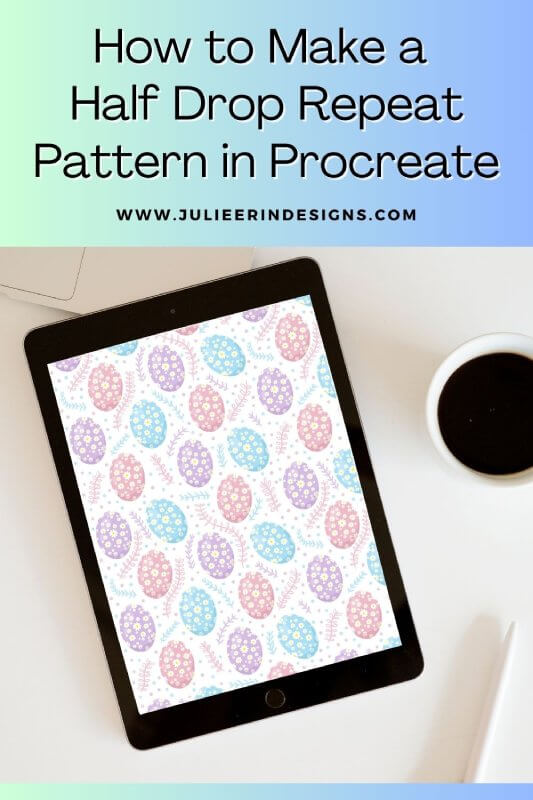
In this step-by-step guide, we’ll explore how to design a half drop repeat pattern using the Procreate app for Apple iPad.
As an artist, there are many different ways to monetize your art. In this post I share 10 different ways for artists to make passive income.

Learn how to sell your art online with Zazzle! Check out my complete guide to setting up your Zazzle print on demand store.
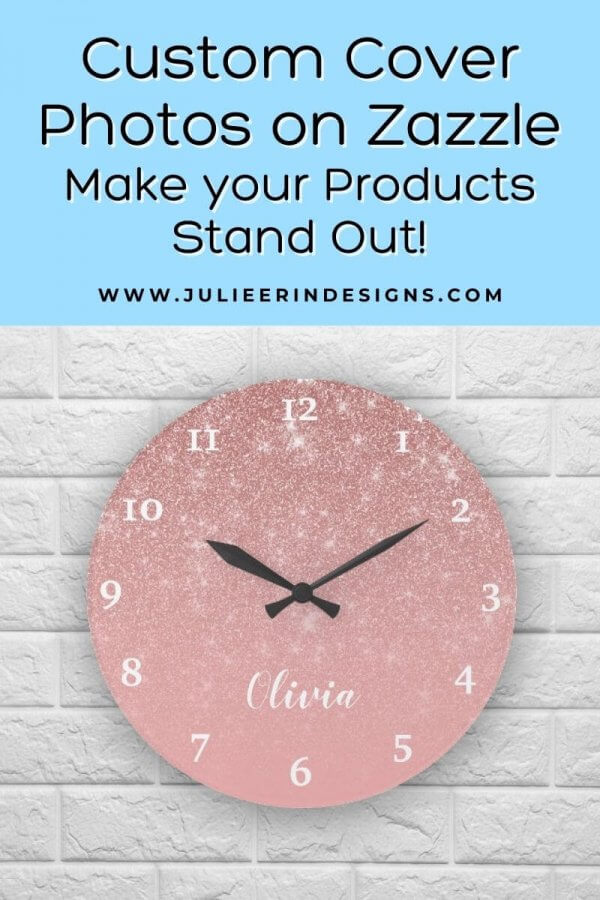
In this post I’m sharing a new feature available on Zazzle which is the ability to add your own custom cover photo to your listings.
In this post I discuss the most effective methods for promoting your art online to help you find your audience, and for them to find you!
In this post I discuss the top 5 ways for artists to make money online in 2023, based on my own earnings and experience.
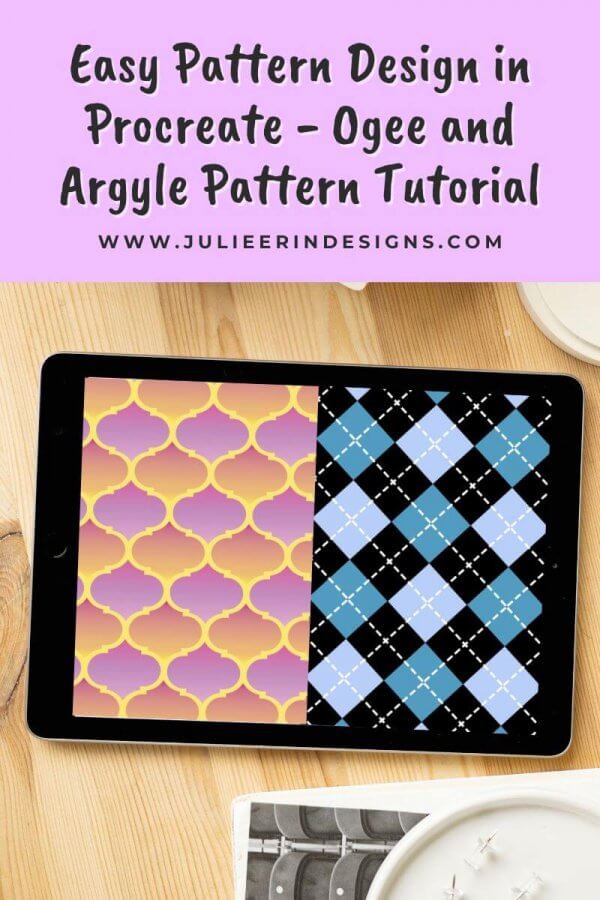
A fun and easy pattern design tutorial in which I teach you how to make an ogee and and argyle pattern with the Procreate app.
These are the top tools and resources for your print on demand business so that you can sell your art in record time.
I’m an digital artist, surface designer, and online educator from Vancouver, Canada.
I’ve sold thousands of physical and digital products worldwide through print on demand companies.
Through my online classes and blog, I teach other artists how to sell their own art online and turn their passions into a business they love.