The Quick Start Guide to Creating and Selling Your Artwork

quick start guide to selling your artwork


Creating and selling your own artwork has never been easier. There are multiple selling platforms, a range of products to choose from and more accessible mediums than ever before. So, whether you’re a traditional artist or a digital whizz, we’re going to explore a few ways you can get in on the trend.

From Art Fairs to NFTs, read on to find out how to get involved and be inspired to create and sell your artwork…

Selling your artwork: Traditional art 

Back in the day, artists often had to create their own paint, stretch their canvases, and have models standing by for days. Thankfully, those things are in the past, and a variety of traditional mediums are widely available at good art supply stores.

We all have our favourites – some prefer sculpting, others love gentle watercolours, but there are markets and audiences for all. If you’re unsure which medium would be best for sellable art, look at the places you could sell it and work out what sells best. Check places like:

  • Etsy
  • Local craft fairs
  • Local galleries
  • Any local pop-up shops
  • Any shops that sell on consignment
  • Your local government website for street-selling rules
quick guide to selling your art - sculpture

Traditional artwork is often regarded as top-tier with the time, effort and quality often considered in the price, so it’s less likely to be found online outside of sites like Etsy and your website if you have one. 

The marketing and selling process is simple as there are limited places to sell actual physical artwork, and most people like to see pieces upfront before confirming a sale. It’s just a case of displaying your art and enticing a buyer with a one-of-a-kind piece via word of mouth, social posts, and blogs on your website if you have one. It is a more challenging market but does carry a premium price.

Sculpture and moulded artworks like acrylic placemats, decorative cups, figurines, and decorative trays are still technically traditional art, but they are significantly easier to mass-produce and keep consistent. Card-making is similar to these, especially if you use stamps or Cricut machines alongside the huge range of card-making materials available in the market. The material accessibility and easy processing make these an ideal option for someone looking to be creative and more time or cost efficient overall. Unfortunately, this also means the market is a bit saturated with similar products, so make sure you find your niche and stand out from the crowd.

Selling your artwork: Digital Art 

With the recent advances in technology, it’s no surprise that art has turned more and more digital in recent years. It offers significant efficiencies such as less clear-up, more mobility, and you can replicate a variety of techniques on screen. The most recent artwork craze is NFT and AI art. 

quick guide to selling your art - digital art

  • What is NFT art?

NFT art is what’s called a Non-Fungible Token. The idea is that it’s a unique piece of digital art that’s rooted in cryptocurrency – sort of like trading cards, but digital. The difference is that when you buy an NFT, you own the copyright, and there shouldn’t be duplicates anywhere, though there have been high-profile cases of NFT theft.

They can be GIFs or jpegs, even videos, and you can sell them on dedicated NFT marketplaces like Rarible, OpenSea and SuperRare.

  • What is AI art?

AI art is another new market contender. It’s created using purpose-made apps like Dall-E and starryai that are coded to use algorithms to interpret your prompts and create art based on them. These are typically weird and funny pieces of digital art, but their selling ability isn’t very high, though more professional AI-aided and inspired art has made money in the past. 

Other digital art options

The more common kinds of digital art are things like:

  • Logos
  • Print-on-demand ideas like t-shirts, posters and other merchandise that use dropshipping services
  • YouTube covers, thumbnails and icons
  • Fonts
  • Stationary Templates (Invites, letterheads, etc.)
  • Illustrations

These are all pieces of art you can create and sell over and over if you wanted. They’re far more time-efficient as you create them once, then you can sell them repeatedly on different marketplaces like Etsy, Redbubble, MyFonts, social media and more. Because they’re so mass-produced, the price you sell at is lower, though if you’re doing commissions, there are more earning options.

There are multiple opportunities for selling your art, both digital and traditional, it’s just up to you to find the niche and material choice that suits you best. So, do some market research, see where your skills lie and start exploring the money-making world of being a professional artist and entrepreneur. 

Guest Post Author Bio:
Debbie is an experienced writer currently based in the UK working for Affinity Agency. Her main goal is to help others learn and develop through well-researched and informative content.

Interested in publishing content on the Julie Erin Designs blog? Read my blog submission guidelines here.

How to Draw a Mandala in Procreate

how to draw mandalas in procreate
how to draw mandala art in procreate

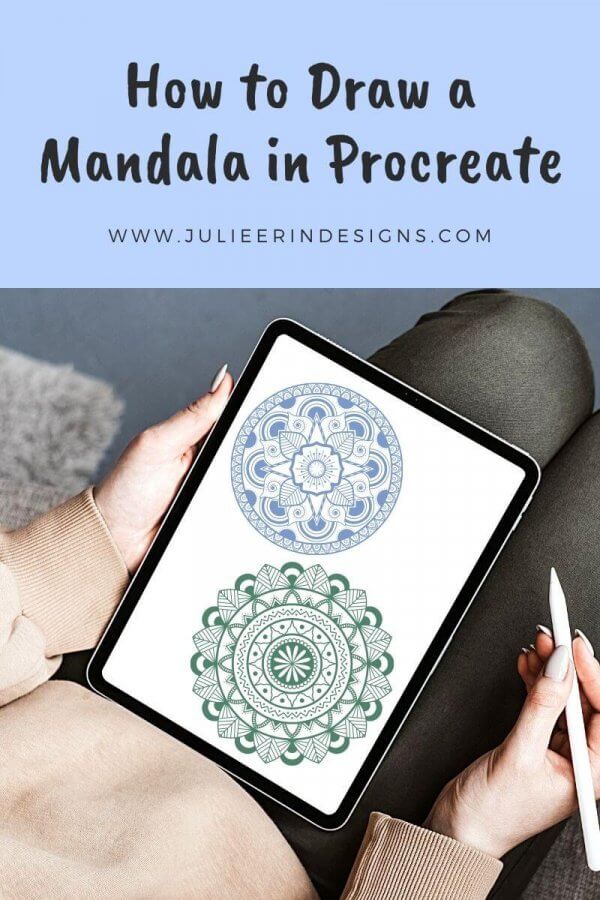
Want to learn how to draw mandala art in the Procreate app for Apple iPad? You’ve come to the right place because I’ve posted a tutorial on my Youtube channel showing you how to do just that!

The symmetry tools in the Procreate app make it super easy and fun to create beautiful mandala designs on your iPad.

I figured the easiest way to explain how to draw mandalas in Procreate is to just demonstrate in this quick video tutorial! However, keep scrolling if you prefer to read the instructions in a list format.

In this video I demonstrate the following:

  • Two types of symmetry tools to draw mandalas in the Procreate app.
  • A few mandala drawing tips and tricks.
  • How to use gradients to get different color variations.
  • How to make your own gradients.
  • Using hue/saturation for even more color variations.

How to Draw Mandalas in Procreate Step by Step

  1. Create a new square canvas. Ex. 3000 x 3000 pixels.
  2. Go to Actions > Canvas > Drawing Guide > Edit Drawing Guide
  3. Click on Symmetry > Options > Radial
  4. Toggle Rotational Symmetry on or off as desired.
  5. You can change the color of the drawing guide with the colored line at the top of the screen.
  6. Click Done.
  7. Start drawing your mandala from the center of the canvas and work your way out.

I hope you will see how quick and satisfying it is to draw mandala art in Procreate!

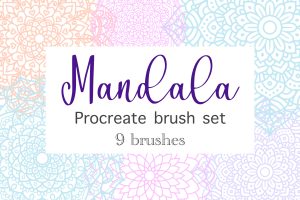
To add further complexity to your mandala art, download my Mandala Drawing Templates for Procreate:

mandala drawing templates procreate brush set

Don’t have Procreate but want to learn how to draw mandalas on paper? I have a Skillshare class for that!

Modern Mandala Art: Draw and Color 2 Stunning and Unique Mandalas with Julie Erin Designs on Skillshare

mandala art Skillshare class

Looking for even more mandala content? I have some other blog posts you might enjoy:

I’ve also got more Procreate tutorials including how to make seamless patterns in the app.

I hope you’ve found this tutorial helpful, and I’ll see you in my next blog post. Don’t forget to subscribe!

Cheers,

julie signing off

How to Sell Your Art on Spoonflower – and Cheapest Way to Get Samples!

how to sell your art on spoonflower

Are you an artist wondering how to sell your art on Spoonflower? You’ve come to the right place.

I’ve spent the last year uploading nearly 300 designs to Spoonflower. I’ve made over $1000 so far, so it’s definitely been worth it for me! And that’s why I wanted to share it with you today.

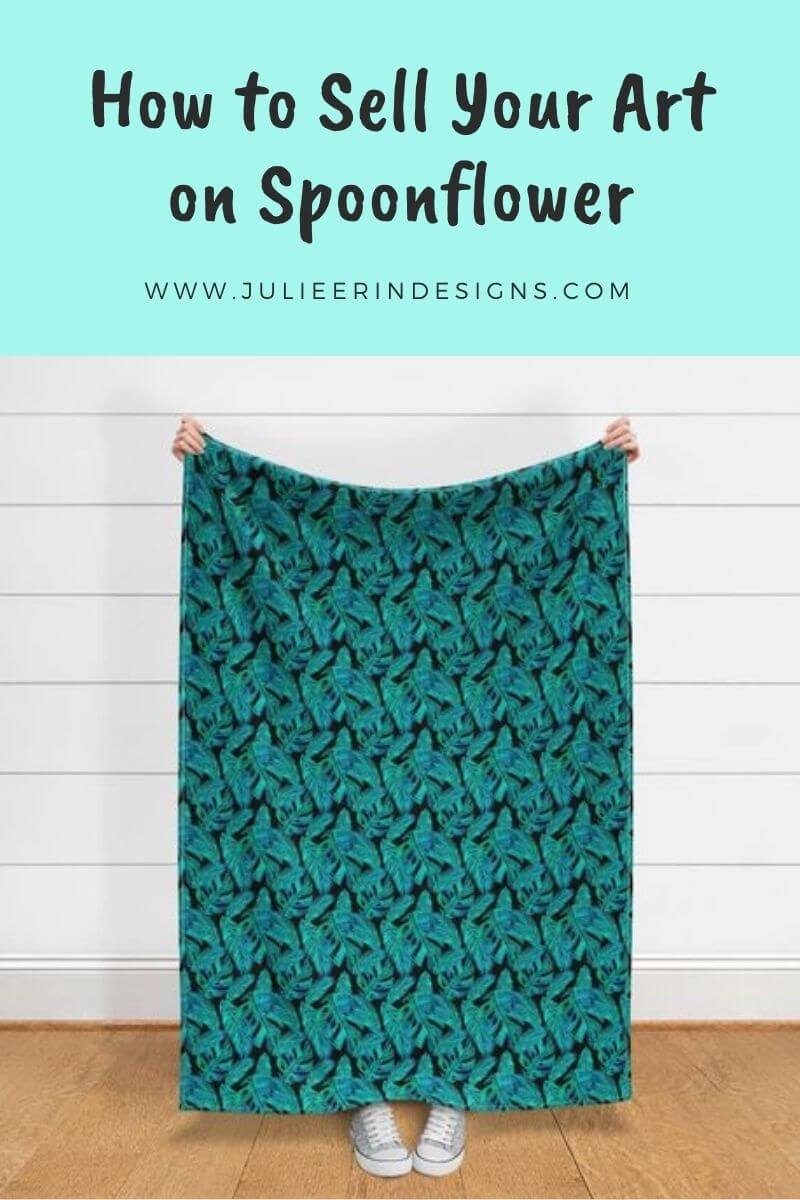
Spoonflower is a print on demand retailer, similar to Redbubble or Society6, who specialize in fabric featuring seamless pattern designs. But they also sell other products like wallpaper and home décor!

So if you’ve already got some seamless pattern designs that you’ve created, or you’re just starting to dabble with pattern design then Spoonflower is definitely worth taking a look at.

Completely new to seamless pattern design? I’ve got a couple of tutorials to help you out:

sell your art on spoonflower cheater quilt

How to Sell your Art on Spoonflower

Open a Spoonflower account and start uploading! It’s a pretty simple process to add your designs but there a few things you should know before getting started.

The main thing is that your designs won’t be enabled for sale in the marketplace until you have purchased samples.

I know, that sounds annoying, but I found a way to get the samples for really cheap so don’t worry about it too much. More on that below.

Store Front

The store front shows the designs of yours that have been enabled for sale. You can customize it with a banner, profile photo, short intro/description and social links.

how to sell your art on spoonflower

If you want to view the designs that you have uploaded but have not enabled for sale yet, you can see them under Designs Not for Sale, or you can see them in your Dashboard.

Products

Spoonflower mainly sells fabric!

They cater to people who are looking for unique fabric to use for their own projects, either for personal use or even to sell in their own Etsy store for example. It’s really very satisfying to see people create things like clothing and accessories using fabric you’ve designed.

I’ve only ordered the cheapest possible fabric swatches and I don’t sew myself, so I can’t tell you much about the quality. However, they seem to have a broad range of fabric types for all sorts of projects. And plenty of return customers.

They also sell wallpaper and other home décor items like tablecloths, bedding and pillows which look really nice in the mockups, as you can see.

wallpaper from spoonflower

Ease of Upload

Uploading to Spoonflower can be a bit tricky. Your design MUST be a SEAMLESS pattern repeat. You can upload a non repeating pattern, but if someone buys it Spoonflower may contact you to fix it. So keep that in mind, I suggest to save yourself the headache and just check your patterns first.

Below is what it looks like after your pattern has uploaded to the site. This is where you can add your title, description, tags, and edit the size and tiling of your print.

sell art on spoonflower upload

Underneath Design Size is where you can adjust the size of your pattern (Click Smaller or Bigger). Hit Save Changes and then you can click on where it says Your Design is available on 20+ Products to see how it looks on the mockups.

Wallpaper is on a separate tab, next to Fabric as you can see on the top. The wallpaper size can be changed separately and is not affected by any changes in the Fabric tab.

Once you’ve uploaded your design and added the title, tags and description, you have the option to make it public. This means people can see it, but they still can’t buy it until you order samples and enable them for sale.

The Cheapest Way to get Samples from Spoonflower

The cheapest way to get samples is by getting the “Cheater Quilt” which includes 42 different pattern swatches. The cost for one of these quilts is $18.50 USD (in April 2022).

I wouldn’t really call it a “quilt” in the way you might think, and it probably won’t be too pretty unless all of your patterns match nicely together. Mine definitely don’t!

What I suggest doing is wait until you have uploaded 42 designs and then order the quilt, then you can go through and enable all of your patterns for sale at once.

Below is a photo of one of my ugly cheater quilts with bonus appearance by Miss Kitty!

spoonflower samples with kitty

The whole buying samples thing sounds annoying but I actually think it’s a good thing. This barrier to entry means you kind of have to be a serious artist to open up a shop.

I find that it keeps out the people who are just trying to make a quick buck with sub par or stolen designs. It also means less competition and higher quality designs overall.

In this video I demonstrate step by step how to set up and purchase the cheater quilt from Spoonflower.

Earnings and Payment

Spoonflower pays twice per month if you reach the $10 threshold by the payout date.

The payment dates are around mid month and again near end of the month. This is actually much faster than other Print on Demand sites that can make you wait months for your earnings to clear. They pay via Paypal.

I’ve had some orders cancelled after they had already paid me, in which case they just deducted it from my future earnings. So, no big deal.

Marketing

Spoonflower will market their top selling designs, and also new art that is submitted to the Spoonflower Design Challenges and ranks near the top. I highly recommend entering these challenges to help you get more exposure to both the people who work at Spoonflower and potential customers.

There is also a hashtag for challenge entries on Instagram which is a great way to participate in the community: #SpoonflowerDesignChallenge.

It’s easy to pin images to Pinterest from their site, so that helps for marketing. They have several stunning mockups which look great on social media.

However, most people just seem to find my designs through searching on Spoonflower’s marketplace. So having good key words and SEO, accurately describing your design helps a lot.

Shipping

Spoonflower is located in the U.S. and I have found they offer reasonable shipping costs to Canada, and even more reasonable within the U.S.  The shipping is generally pretty quick, and you can choose a faster shipping method if desired. Sometimes they even have free shipping promotions which work for Canada, however, I’m not sure about overseas.

Conclusion

While I was skeptical about Spoonflower at first due to the barrier to entry with the purchase of samples, it’s actually a great platform for artists to sell their art online and join a community of other creative people.

However, it is more for someone who designs seamless patterns, and serious artists who have a little bit of money to invest in their art business.

I hope this article has helped you learn how to sell your art on Spoonflower, and decide if it’s right for you!


Cheers,

julie signing off

How to Make a Seamless Pattern in Procreate

how to make patterns in procreate
how to make a seamless pattern in procreate for ipad

Did you recently get an iPad with the Procreate app? If so, congratulations! If you’re a surface designer like me, you’re probably wondering how you can make seamless pattern designs in the Procreate app!

I’m here to show you my method of creating seamless offset patterns in Procreate. Keep in mind there are multiple ways to achieve the same result!

Check out my video below for step by step instructions to make seamless patterns on your iPad with Procreate.

How to make a Seamless Pattern in Procreate

  1. Begin with a square canvas (ex. 4000 x 4000 pixels).
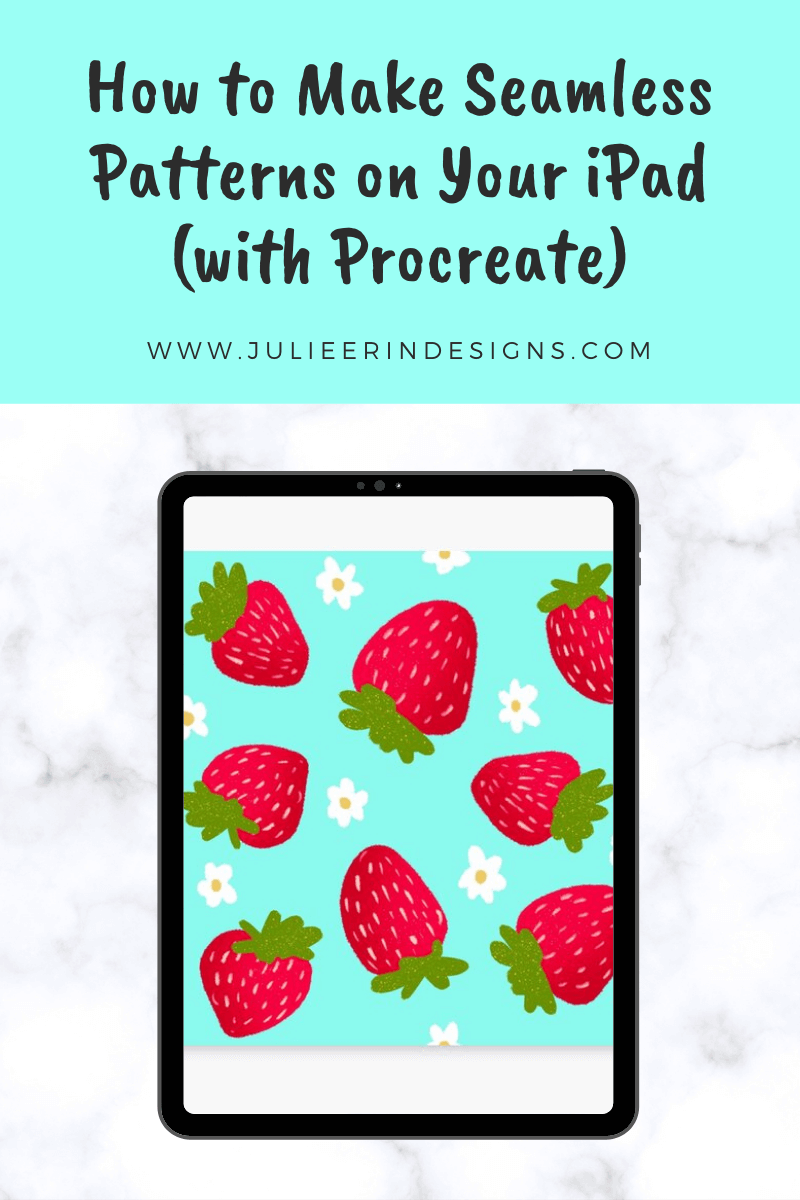
  2. Draw your motifs (I drew some simple strawberries).
  3. Arrange your motifs so they are somewhat close to the center of your square canvas.
  4. Create a group from your motifs and duplicate it.
  5. Hide your original group.
  6. Pinch the new group together into 1 layer.
  7. Create a new layer and fill it with a solid color background (can be any color, it doesn’t matter).
  8. Group the layer with your motifs with the solid background layer.
  9. Duplicate this group 4 times.
  10. With snapping and magnetics ON, move each of those layers into the 4 corners of the document.
  11. Now you can delete those solid background layers.
  12. Turn back on your original group of motifs and arrange them so they fit nicely between the others.
  13. Now you have your seamless pattern tile!

If you want to test your pattern swatch to make sure it all lines up correctly, I’ve shown you how to do that too in the video above.

Once you have your final seamless pattern you can export it and use it for many projects or upload your patterns to print on demand stores so they can be printed on products!

Here’s an example of what I created with my strawberry pattern. I added some more florals to it.

(You can shop this design in my Redbubble store by the way!)


I hope you’ve found this post helpful and you learned how to make a seamless pattern in the Procreate app!


You may also be interested in these posts:

Cheers,

julie signing off

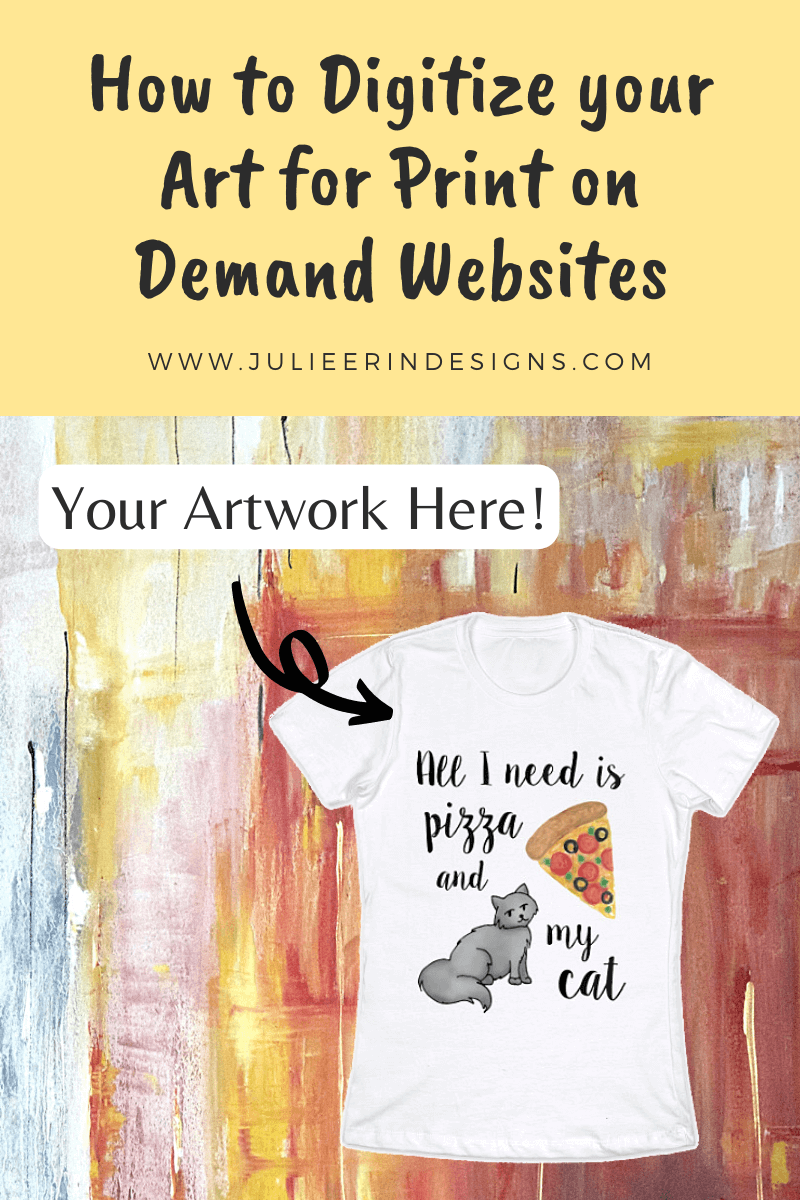
How to Digitize your Art for Print on Demand

how to digitize your art for print on demand
how to digitize art for print on demand

Do you want to learn how to digitize your art for Print on Demand websites?

You’ve come to the right place, because I’ve been selling my art online for over 7 years. During that time I figured out how to produce the highest quality work for my stores. I have sold thousands of products featuring my artwork through my Print on demand stores, from hand drawn line art to watercolor paintings.

For example: I created a t-shirt from my drawing of a ladybug from the Mandalatober challenge (an art challenge I participated in on Instagram.)

This technique will work on your hand drawn line art, doodles and illustrations, or even paintings, as long as they are small enough to fit in your scanner bed.

watercolor gnomes

In this tutorial I will take you through the following steps:

  • Scanning your art into Photoshop.
  • Doing some preliminary clean up of the artwork in Photoshop.
  • Cleaning up the artwork and smoothing out lines in Illustrator, using the Image Trace tool.
  • More Photoshop tricks for prepping the artwork to upload to the Print on Demand sites.
  • Required file types you need for the Print on Demand sites.
  • Several tips and tricks along the way.

I created this video to take you through the process of digitizing my own hand drawn artwork, using a combination of Photoshop and Illustrator. I figured this would be the easiest way to demonstrate this process, rather than trying to describe it to you.

This tutorial is only a small part of my comprehensive class on how to sell your art online – From Design to Product: Sell Your Art Online with Print on Demand websites.

You can watch the whole class for free when you sign up for a 1 month trial of Skillshare membership!

I hope you’ve found this tutorial useful, and learned how to digitize your art for Print on demand websites properly! If you want to learn more about how to sell your art through Print on Demand websites, check out these posts:

If you’re looking for ways to create purely digital art for use on Print on Demand websites, you may enjoy this class on how to Create Your Own Sublimation Designs.


Cheers,

julie signing off

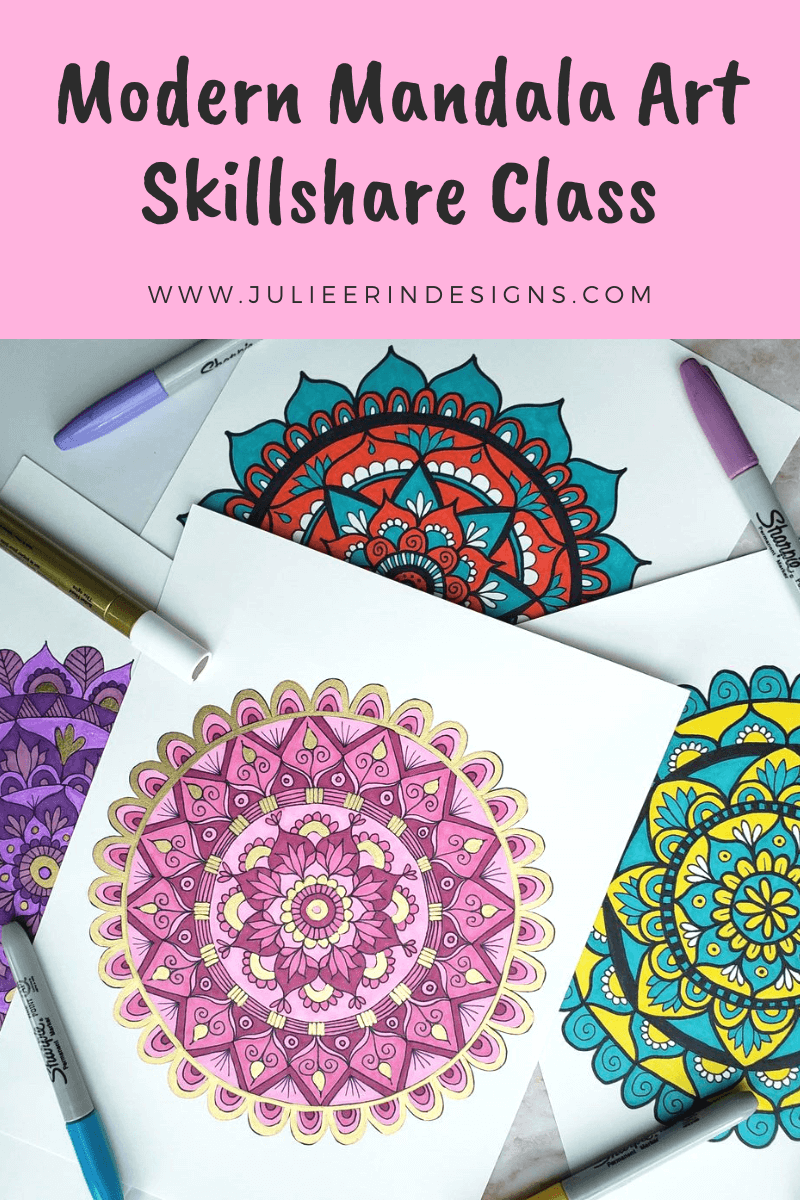
New Skillshare Class: Modern Mandala Art

modern mandala art class
mandala drawing class

Hey guys, I just waned to let you know I’ve published a mandala drawing class on Skillshare! In this class we draw and colour 2 stunning and unique mandalas.

Click here to watch my mandala drawing class – Modern Mandala Art: Draw and Color 2 Stunning and Unique Mandalas

orange and blue mandala drawing

You can watch the intro video below:


Do you want to create some stunning mandala art today? Then join me as I take you step by step through drawing and coloring 2 beautiful and unique mandalas that you can hang on your wall, gift to friends and family or share with your followers online!

This is a traditional art class using paper and pens, but you can also follow along digitally if you prefer. 

blue and yellow mandala

In this class, I will guide you through the following steps:

  • Practicing some basic mandala patterns.
  • Drawing a simple mandala design.
  • Drawing a more complex and detailed mandala design.
  • Coloring in the simple mandala in a complimentary color scheme.
  • Coloring in the complex mandala with a monochromatic color scheme with metallic accents.

This class is perfect for beginner artists, or anyone who loves mandala art and easy therapeutic drawing exercises which produce beautiful results.

I hope to see you there!

Cheers,

julie signing off

You might also like these posts:

Redbubble Haul and Review of Products featuring my Designs!

redbubble product haul and review
redbubble haul product review scarf tops dress face mask

Hey guys, today I’m sharing my Redbubble haul and product review in video format!

Have you ever wondered what Redbubble products look like in real life? I do, so over the years I have bought several products from my own Redbubble store. I have so many now that I decided to make a video to share some of them with you!

This video is for people who are either looking to buy products from Redbubble or sell their artwork on there and want to know what the products look like in real life.

The products shown in the video below include stickers, both regular and transparent, the a-line dress, face mask, sleeveless top, chiffon top, coasters, a t-shirt, socks, and scarf.

The products in this Redbubble haul and product review video all feature my own designs which can be purchased from my Redbubble store.


I have also written some more in depth reviews of some of these products as well if you prefer to read or want to see some more photos of them:

Make sure to subscribe to my blog or Youtube channel if you want to see more Redbubble and other Print on Demand products and videos like this!

I also have things I’ve bought from Society6, Zazzle, and Teepublic, and actually even more stuff from Redbubble that I forgot about, which I can show in another video. So stay tuned for that!

Let me know in the comments below, which one was your favourite?


Cheers,

julie signing off

Redbubble Scarf Review

redbubble scarf review scarves

I purchased a scarf from Redbubble a few years ago and realized I should review it! I really love the scarf and wear it often in the fall and winter to add a pop of colour to my outfit. Read on for my full review of Redbubble scarves.

Redbubble Scarf Review

  • The material is silky and soft to the touch.
  • The print is beautiful and slightly brighter than the mockup image on Redbubble’s website (see below).
  • It can be worn so many different ways due to it’s large size (55 x 55 inches).
  • The perfect accessory for fall or spring. It can also be worn in winter if you live in a milder climate like I do.
redbubble scarf

Redbubble Scarf Features

From Redbubble’s website they mention:

  • Full print is visible on the front and reverse
  • Microfiber polyester with a slightly transparent effect
  • Hand wash only. Do not dry clean or tumble dry.

I’ve never had to wash the scarf, so don’t let the hand wash only scare you away. Unless you dropped it in the mud it most likely won’t need to be washed very often.

scarf design redbubble

As you can see the scarf is really long! It could be worn as a sarong skirt over a bathing suit if you wanted, and also looks cute as a shoulder wrap. It would be great for traveling to places where you might have to cover your shoulders or head in certain areas. Also packs down really small which is perfect for travel.

scarf design redbubble

When folded over a few times the colour becomes darker. And there’s no white space or areas that the print doesn’t cover, which is just perfect.

Conclusion

Redbubble scarves are good quality and a great addition to your wardrobe. After a few years I have seen no evidence of wear and tear.

And they make excellent gifts since there are so many unique and beautiful designs to choose from, you can find something for anyone!

Let me know what you thought of this post, and if you think of any other products you’d like me to review, simply leave a comment below!

Other Redbubble Product Reviews

Cheers,

julie signing off

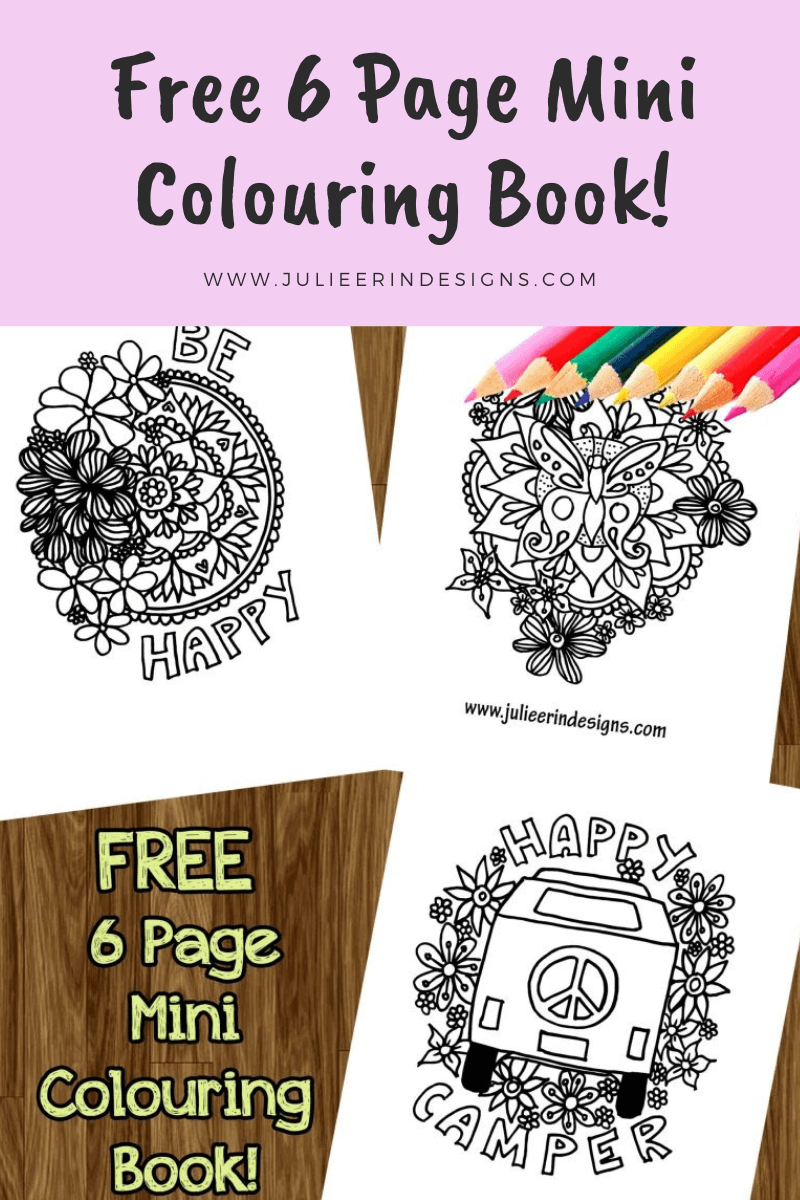
Free Mini Colouring Book!

free mini colouring book

Hey guys, I created a free mini colouring book for you featuring my own hand drawn mandala art, doodles and uplifting phrases!

Download the PDF by joining my mailing list below.

Benefits of joining my monthly newsletter:

  • Freebies, like this colouring book!
  • Exclusive discount codes for my store and new product updates.
  • Tips on selling art online and other blog updates.

You can print these out and colour them as many times as you want! Then share them with me on Instagram by tagging @julieerindesigns or using #julieerindesigns.

Make sure to print them out single sided since I did not add blank pages for the back sides.

This colouring book can be a nice relaxing activity on a Sunday afternoon, or an evening after work while watching TV, or even a fun activity with kids. You can even frame the finished work or put it on the fridge to add a pop of colour and cheer.

Love colouring? Explore my other free colouring pages here!

You may also like my hand drawn Mandala Coloring Book, now available on Amazon!


I hope you enjoy this free mini colouring book I’ve created for you.

Feel free to share your thoughts in the comments below.

Cheers!

julie signing off

Disclaimer:

You may NOT claim these images as your own, try to sell them or remove my website link before sharing.

You MAY link to them from your own blog or website, share them on social media, print them and mail them to your friends/family etc.

Where to Sell Your Art Online in 2024

where to sell your art online 2024

This post was updated in 2024 to reflect the most current information. Some affiliate links are included.

If you’re looking for where to sell your art online in 2024, it can be overwhelming! Things have changed a lot in the last few years in the online art space. With the explosion of AI art on the scene, to major Print on Demand companies introducing paid tiers and plan structures, finding the right platform to showcase and sell your art requires careful consideration.

But it’s not all bad news… there are still plenty of places out there for you to sell your art online and even make a living from it. So, what are they? Read on to find out.

Pro Tip: Do your research before giving away any personal information or uploading your original artwork to any website or company.

Also read: Common Scams for Artists to Watch out for.

Where to Sell your Art Online in 2024

1. Zazzle 

Zazzle is where I first started my journey of selling my art online. It’s a “print on demand” (POD) platform, meaning they create the product after someone buys it. They take care of the manufacturing, shipping, and customer service for you. You earn a share of the sale (royalties), and your customer receives a unique product featuring your art.

Most of the websites in this list function similarly unless otherwise noted.

Zazzle is a great option for artists looking to sell their art online for several reasons.

  • It’s free to open multiple stores under the same account and upload unlimited designs to their marketplace.
  • There’s a helpful forum with supportive members which is a great place to share and get tips and feedback.
  • They have everything. Like literally everything you can imagine to put your art on. Even brownies! I recommend sticking to a few product types to start.
  • A huge part of Zazzle are their customize-able products. Things like invitations and business cards.

Learn how to set up your own Zazzle store step by step in my Skillshare class: Sell Your Art Online with Zazzle: A Complete Guide to Setting up Your Zazzle Store

2. Redbubble

Redbubble is still one of my most successful online art shops. They have recently introduced Artist Tiers and take a nominal fee from your earnings for hosting your shop. However, once you get past the first tier, they no longer charge you any fees.

Here are some of the benefits of Redbubble:

  • Great for beginners due to ease of use.
  • You can upload unlimited designs to sell on their marketplace.
  • Beyond art prints, Redbubble offers some unique products including scarves, dresses and mini skirts.
  • They are artist focused, and do a lot of free advertising for you.
  • Their uploading tool is easy to use and you can “copy” settings from your other designs to speed up the process.
galaxy betta fish sticker from Redbubble
Betta fish sticker from Redbubble

3. TeePublic

TeePublic focuses on t-shirts, as the name suggests, but they do carry other products including home décor and tech accessories. 

Benefits of TeePublic include:

  • The uploading process is quick and easy, making it a great choice for beginners.
  • It’s free to create a store and add unlimited designs to their marketplace.
  • Transparent .png images work best so graphic and vector styles do well here.
  • Owned by Redbubble (as of 2019).
  • They have a fan art program you can design for (also on Redbubble).
tie dye hummingbird t-shirt
Tie dye Hummingbird T-shirt on Teepublic

4. Spoonflower

If you specialize in seamless pattern design then Spoonflower is a great place to sell your art online!

  • Mainly sells fabrics and caters to the DIY community, but they also have a variety of home décor products like wallpaper and bedding.
  • Their design challenges are great for both exposure and inspiration!
  • Unlimited uploads to their marketplace.
where to sell your art online spoonflower

5. Threadless

Threadless is a great platform for more seasoned artists, as it does take a bit more time to upload your designs (if you want them enabled on all the products they offer). However, they have a unique range of products including shoes and skateboards!

Other benefits of selling your designs on Threadless include:

  • Fun design challenges.
  • Emails about promotions and marketing assets.
  • You can sell in both their marketplace and on your own customizable storefront.
  • The ability to select a cause to donate your royalties to for specific designs.
butterfly pattern shoes from Threadless
Butterfly pattern shoes on Threadless

6. CafePress

CafePress is another print on demand marketplace that has existed for quite some time (since 1999!). They have a decent range of products to customize, and other benefits include:

  • You can list unlimited designs for free in their marketplace.
  • You can create a custom store front
  • They have a fan art program so you can create design inspired by your favourite shows, celebrities and more.

7. Fine Art America

As the name suggests, this platform is focused on fine art, so canvas prints of paintings and photography do well here. 

  • You can sell both print on demand and original artworks through their platform.
  • It’s free to open a store and upload 25 designs to sell on their marketplace.
  • They have an active community with contests and other ways to participate.

8. Merch by Amazon

You can sell your designs on T-shirts and a handful of other products on Amazon! They have their own print on demand service which is linked to the Amazon marketplace.

Some things to know about selling through Merch by Amazon include:

  • You have to apply, but the earnings potential is huge.
  • Products only ship to the U.S., U.K., Spain, Italy, Germany and Japan (as of January 2024), but anyone can sell.
  • Curated product range. Various tops, phone cases, pillows, tote bags, and Popsockets at the time of this writing.

Read more about my first year experience selling on Merch by Amazon.

purple daisy pattern popsocket magsafe
Magsafe Popsocket on Merch by Amazon

9. Etsy

Etsy is a well known marketplace for hand-made goods like original art, jewelry and pottery, but also digital products and more. It’s not a print on demand store, like many of the others listed here, but a platform to sell your existing products through.

  • The right place for you if you make hand-made clothing, accessories, jewelry, candles, or want to sell original artworks or even digital products.
  • There is a small fee to upload, 20 cents per listing, but you can get 40 free Etsy listings using this link.
  • You can integrate Etsy with a print on demand service like Printful (more on this below) to sell these types of products on their marketplace.

10. Society6

Society6 is another well known print on demand website with a heavy artist focus and community.

They have recently introduced fees like shipping fees and paid Artist Plans (if you want to upload more than 10 designs to your shop). We will see what the future holds for Society6, but I’m keeping on the list for now because it has been good to me in the past, and may still be.

Benefits include:

  • A similar range of products as Redbubble with a few extras like yoga mats and furniture.
  • A helpful blog with tips for artists and sales templates e-mailed ahead of time.
yoga mat on society6 where to sell you art online
Yoga mats on Society6

11. On your own website

If you already have a pretty solid fan base then selling art through your own website could be the way to go.

You can use a print on demand service like Printful to sell print on demand products through your own shop on your website. You can also create listings for original paintings, digital downloads or other goods using a shop builder like Woocommerce or Shopify.

Benefits include:

  • Full control over your brand, the look and feel of your store and check out process.
  • Ability to schedule promotions and create promo codes.
  • Set your own prices and shipping costs.
  • Ability to sell a variety of product types in once place like original artworks, print on demand products and digital products.

Downsides include:

  • Costs some money to set up: Domain name, hosting, possibly a premium theme or platform to use for your shop (Woocommerce is free).
  • More initial work to set up your shop and a steep learning curve if you don’t have any website building experience.
  • You will have to market the store yourself which is why I recommend it for those who have a strong brand and fan base already established.

Bonus Tip: Use PodConnect to upload to multiple stores at once.

I recently learned about a software called PodConnect which allows you to upload your art to multiple print on demand websites at once! There is a free trial, and if you decide to buy a subscription use my promo code julie20 for 20% off!

podconnect print on demand multi uploader

Well that’s it guys, thank you so much for taking the time to read all this information I’ve compiled for you.  I hope you find the right place to sell your art online and I wish you the best of luck with your business!

If you have any questions or comments feel free to leave them below.

Cheers,

julie signing off