Are you a budding artist ready to turn your passion into a business? Here’s a step-by-step guide to help you get started with your art business.
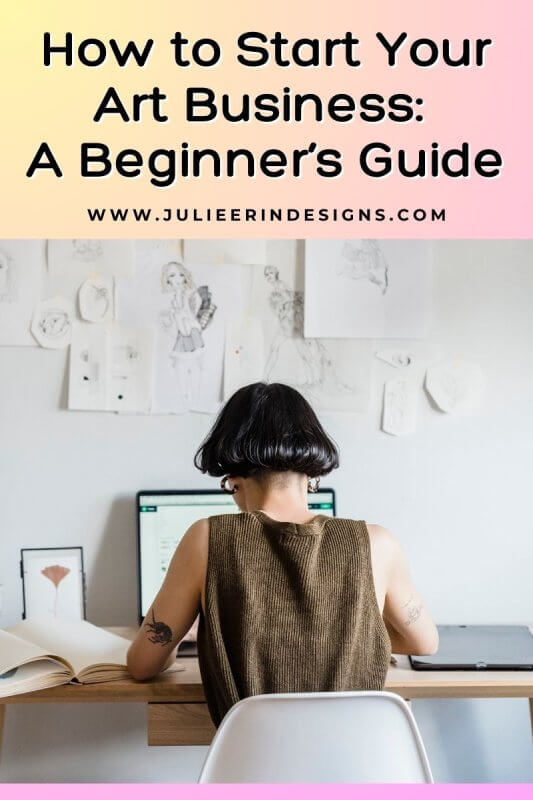
How to Start Your Art Business: A Beginner’s Guide with Actionable Steps
read more

Are you a budding artist ready to turn your passion into a business? Here’s a step-by-step guide to help you get started with your art business.
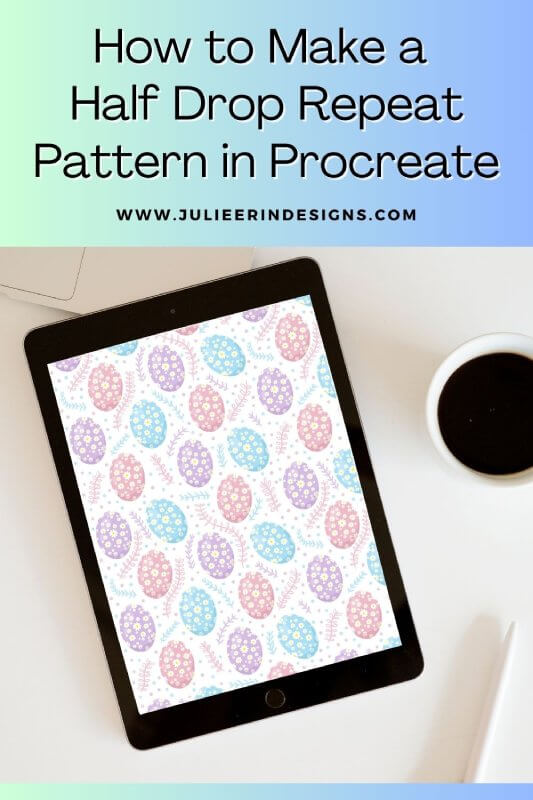
In this step-by-step guide, we’ll explore how to design a half drop repeat pattern using the Procreate app for Apple iPad.
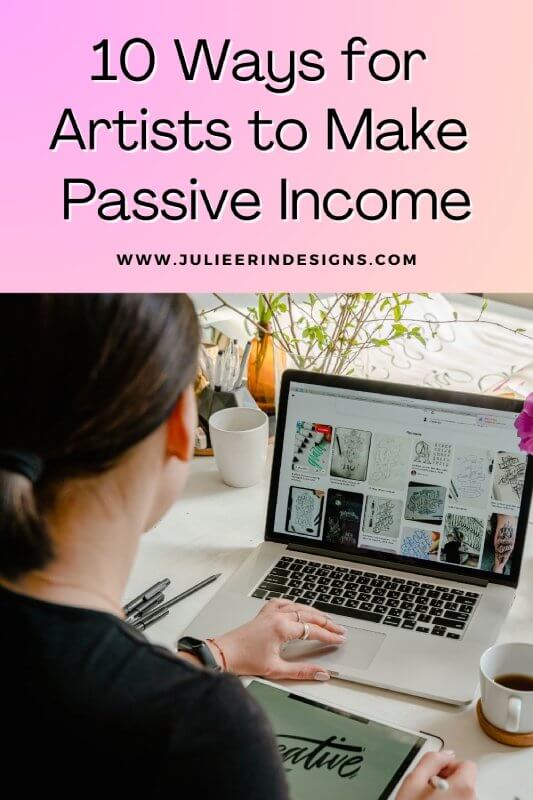
As an artist, there are many different ways to monetize your art. In this post I share 10 different ways for artists to make passive income.
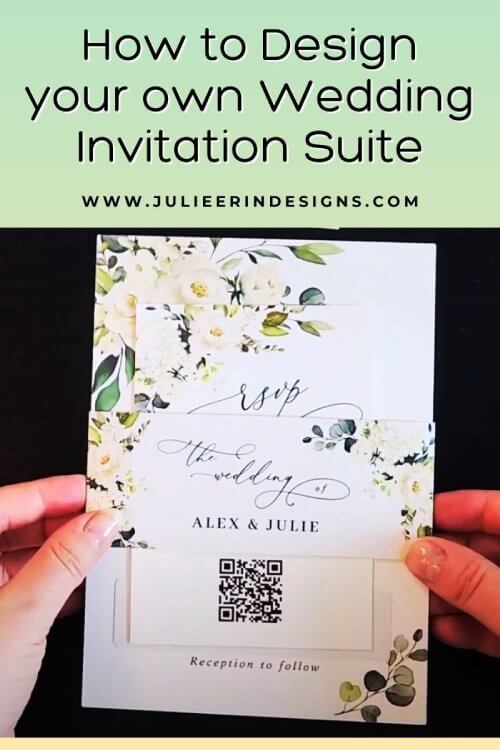
Learn how to design your own wedding invitation suite with Zazzle. Get inspired to create your own stunning invitations with this tutorial.

Learn how to sell your art online with Zazzle! Check out my complete guide to setting up your Zazzle print on demand store.
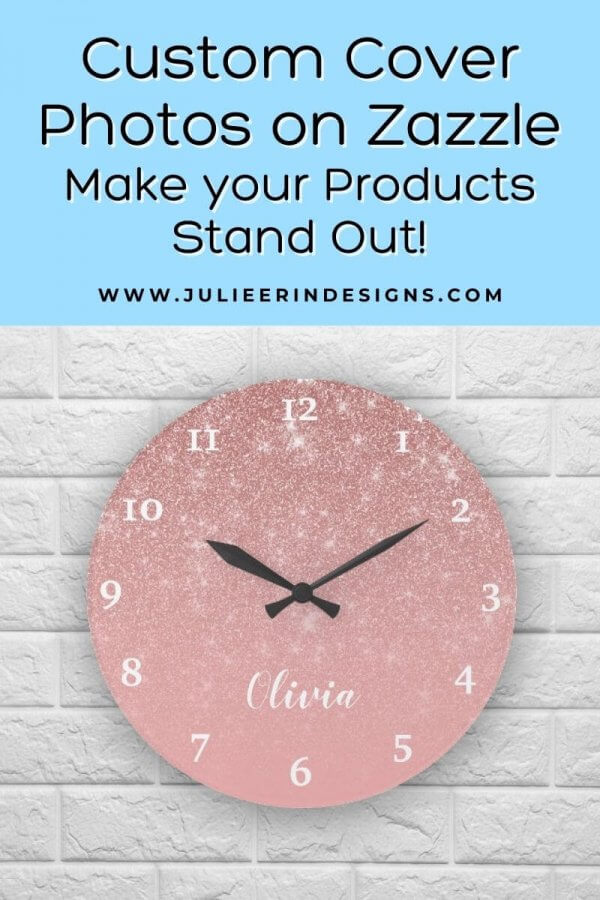
In this post I’m sharing a new feature available on Zazzle which is the ability to add your own custom cover photo to your listings.
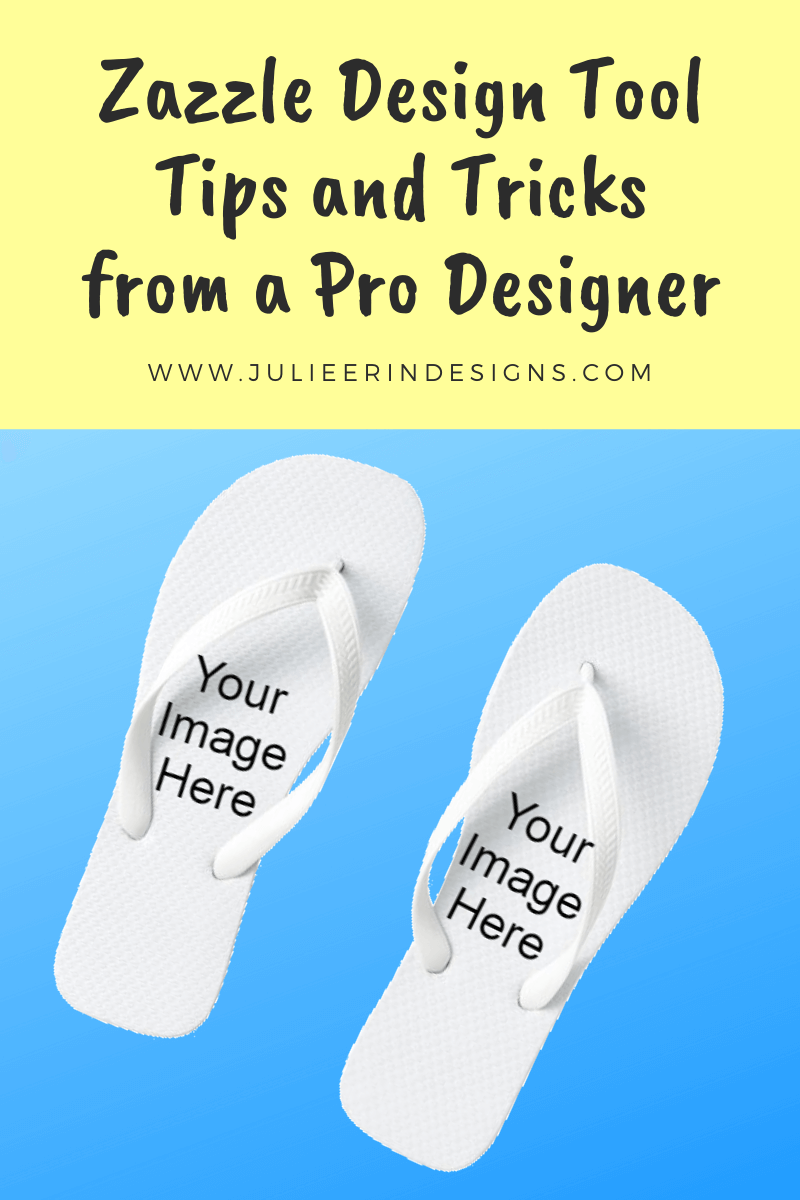
Do you struggle with the Zazzle design tool? See tips and tricks from a Pro designer to help you with creating products for sale.
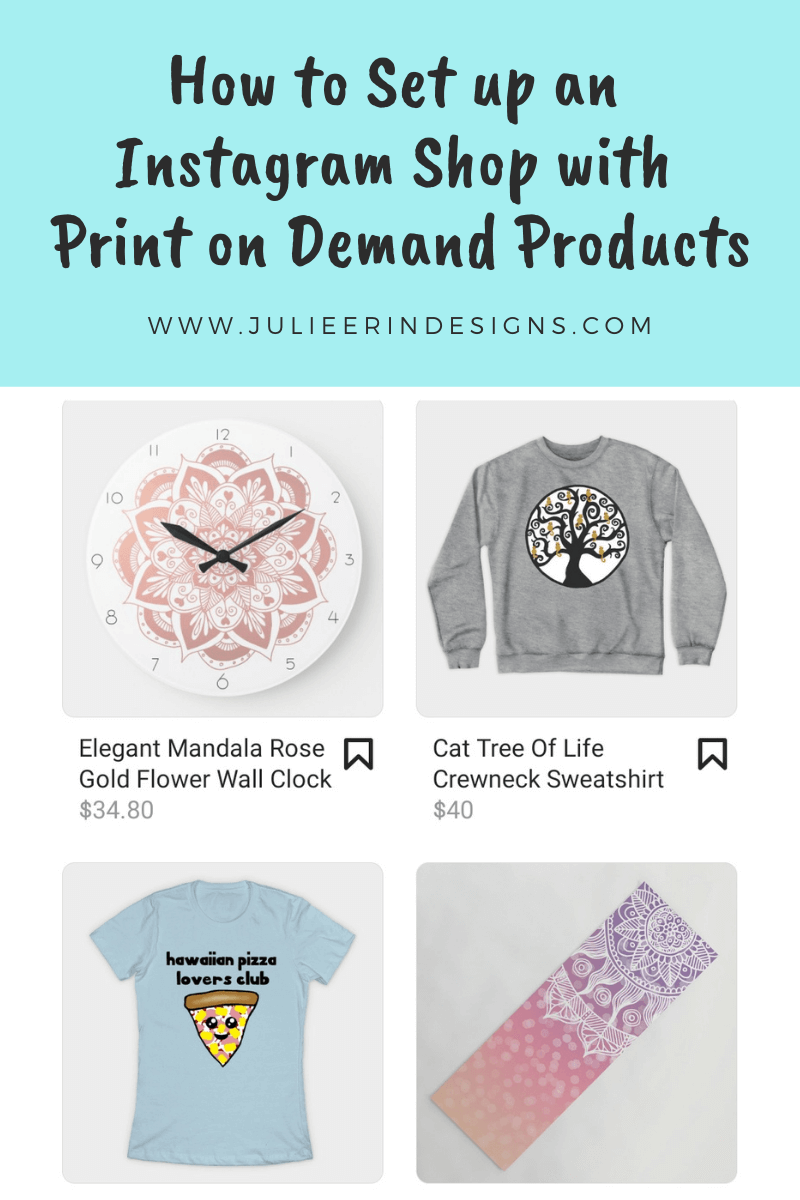
This post explains how to set up an Instagram shop with Print on Demand products from third party websites like Redbubble and Society6.
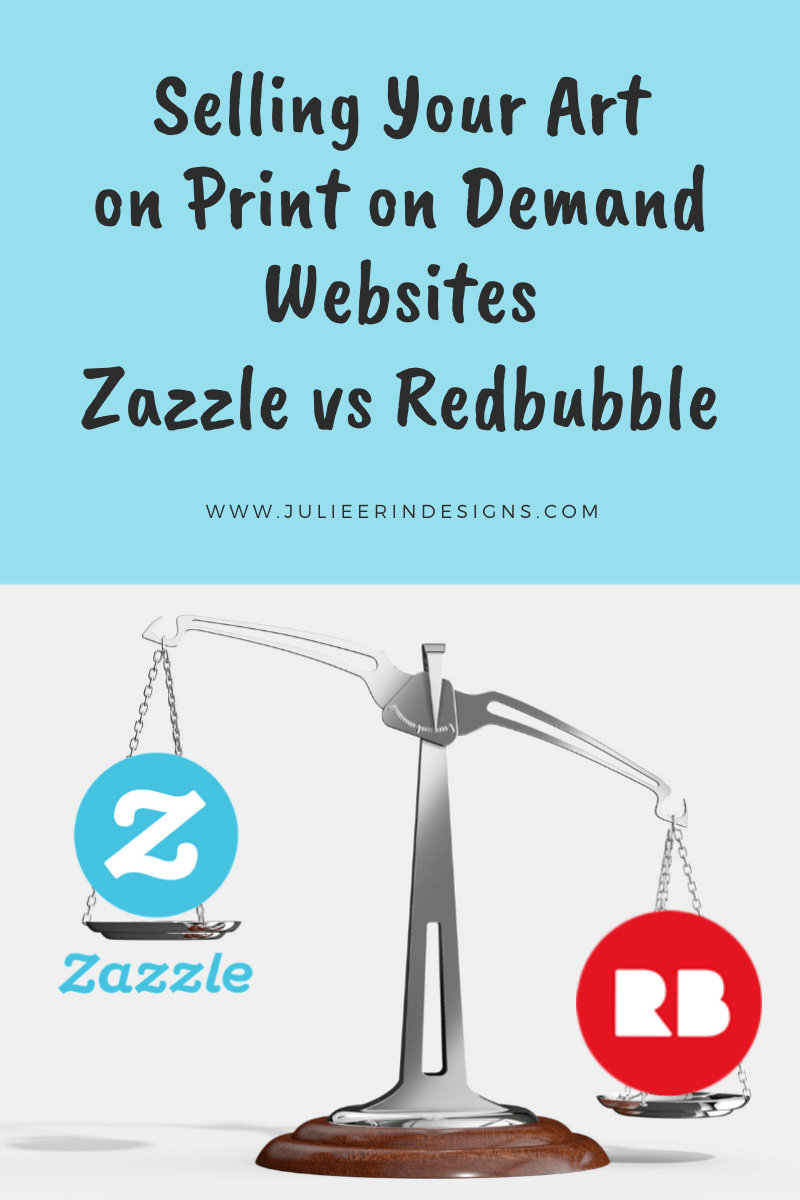
Selling your art online through Print on Demand website series. An in depth comparison of Zazzle vs Redbubble for selling art online.
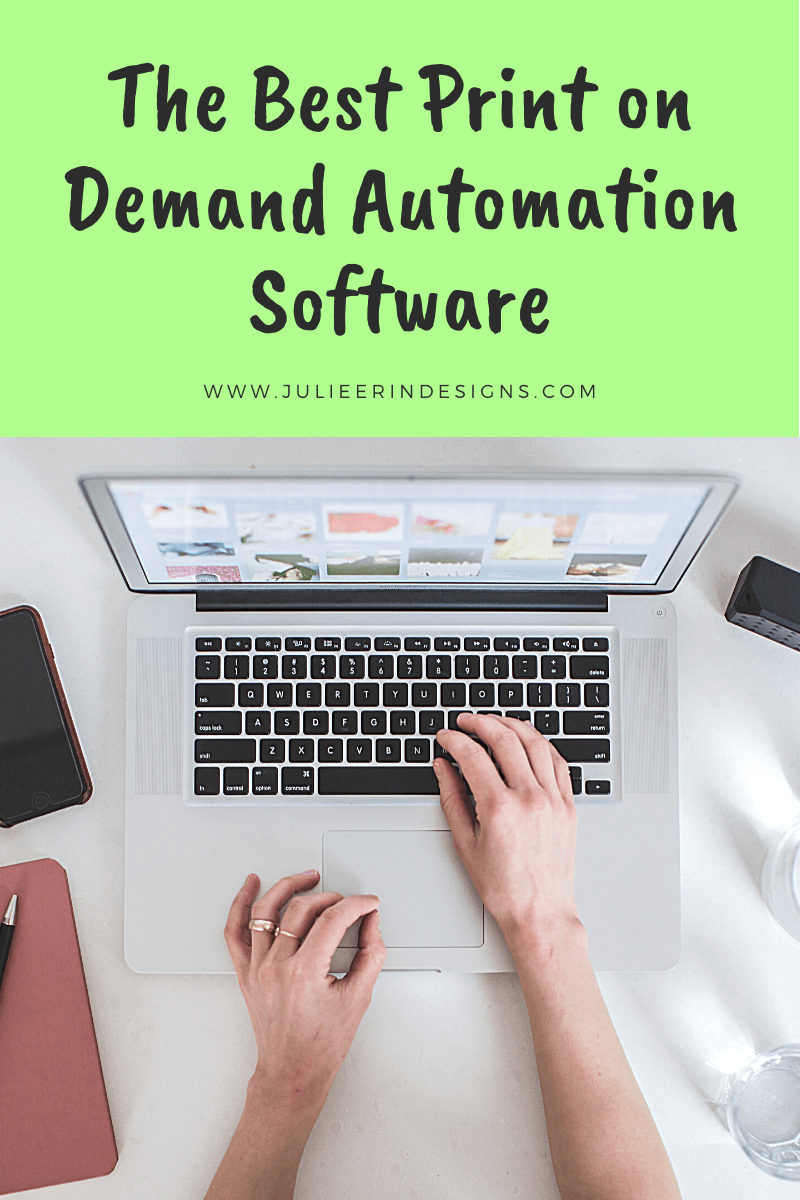
A list of print on demand automation tools and software to help you scale your print on demand business for artists and designers.
I’m an digital artist, surface designer, and online educator from Vancouver, Canada.
I’ve sold thousands of physical and digital products worldwide through print on demand companies.
Through my online classes and blog, I teach other artists how to sell their own art online and turn their passions into a business they love.