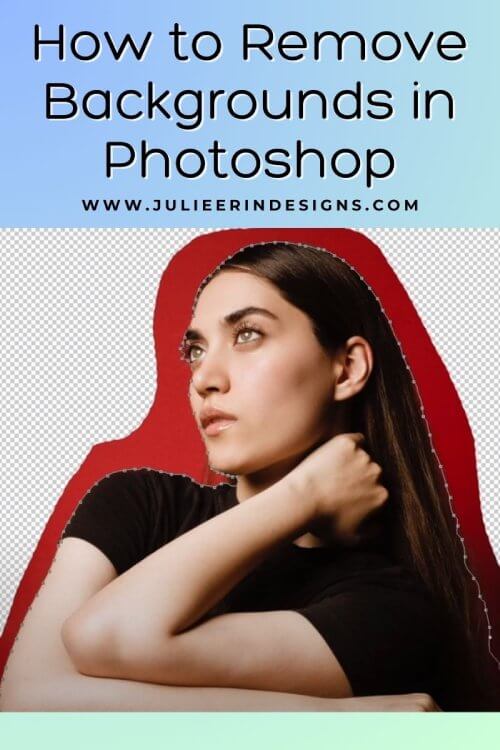
Learn how to remove backgrounds in Photoshop with this quick tutorial. Create professional and transparent images with ease.
How to Remove Backgrounds in Photoshop
read more

Learn how to remove backgrounds in Photoshop with this quick tutorial. Create professional and transparent images with ease.
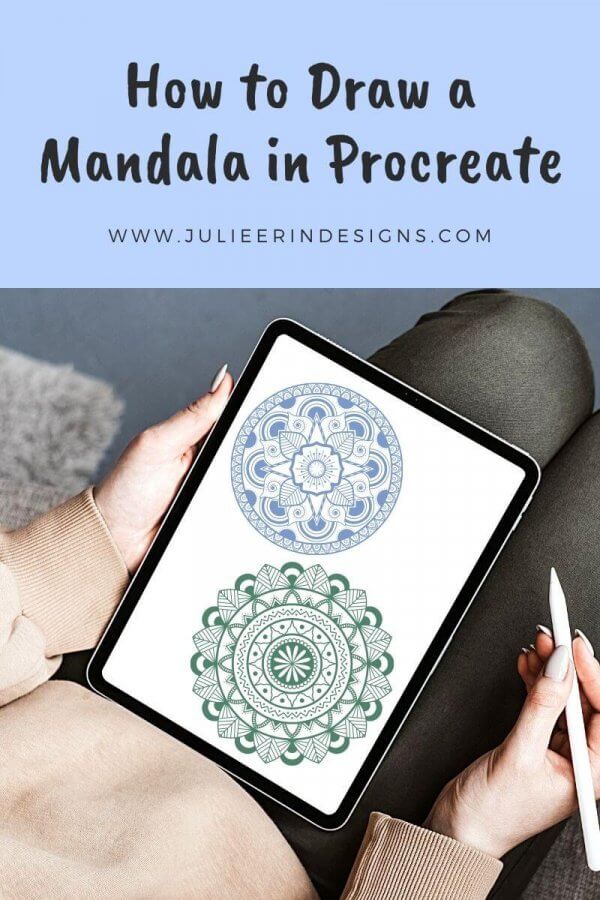
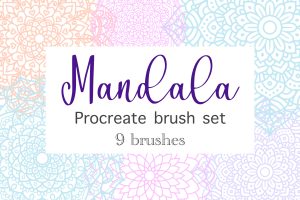
Want to learn how to draw mandala art in the Procreate app for Apple iPad? You’ve come to the right place because I have a tutorial for that!
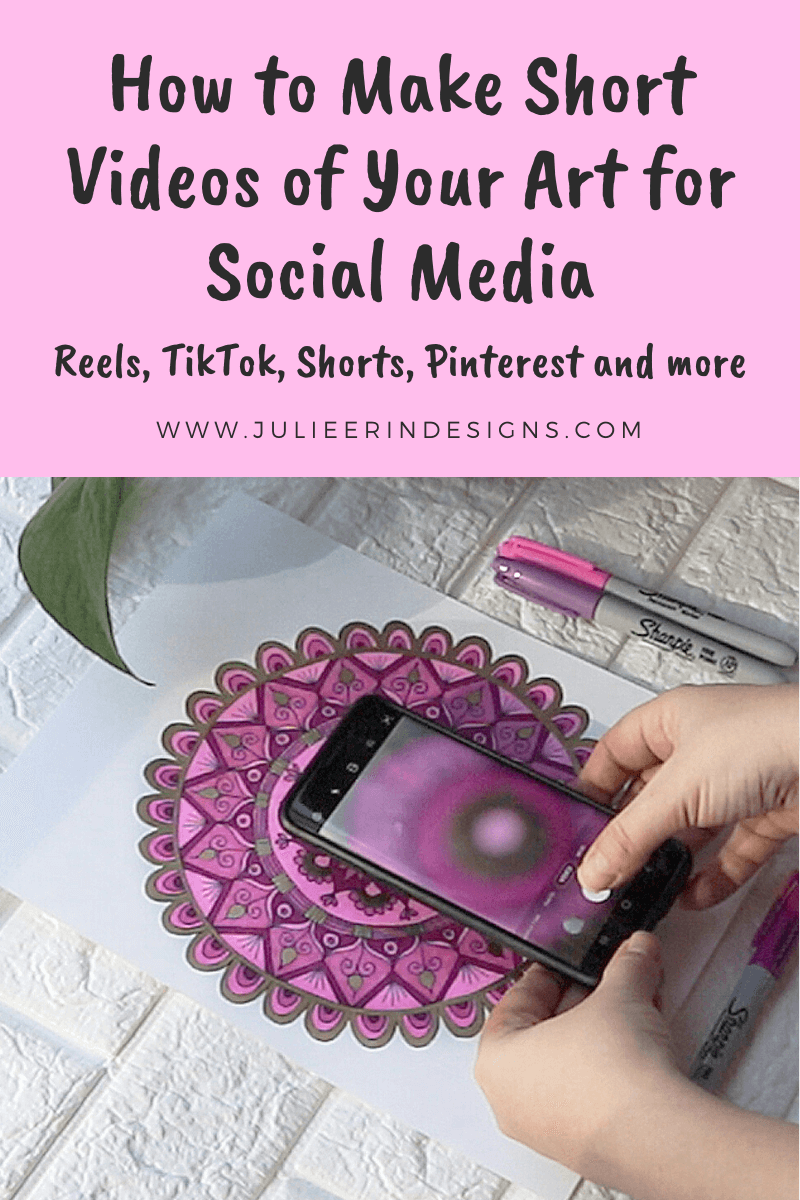
Do you want to learn how to make short videos of your art for social media like Instagram Reels and TikTok? Then this class is for you!
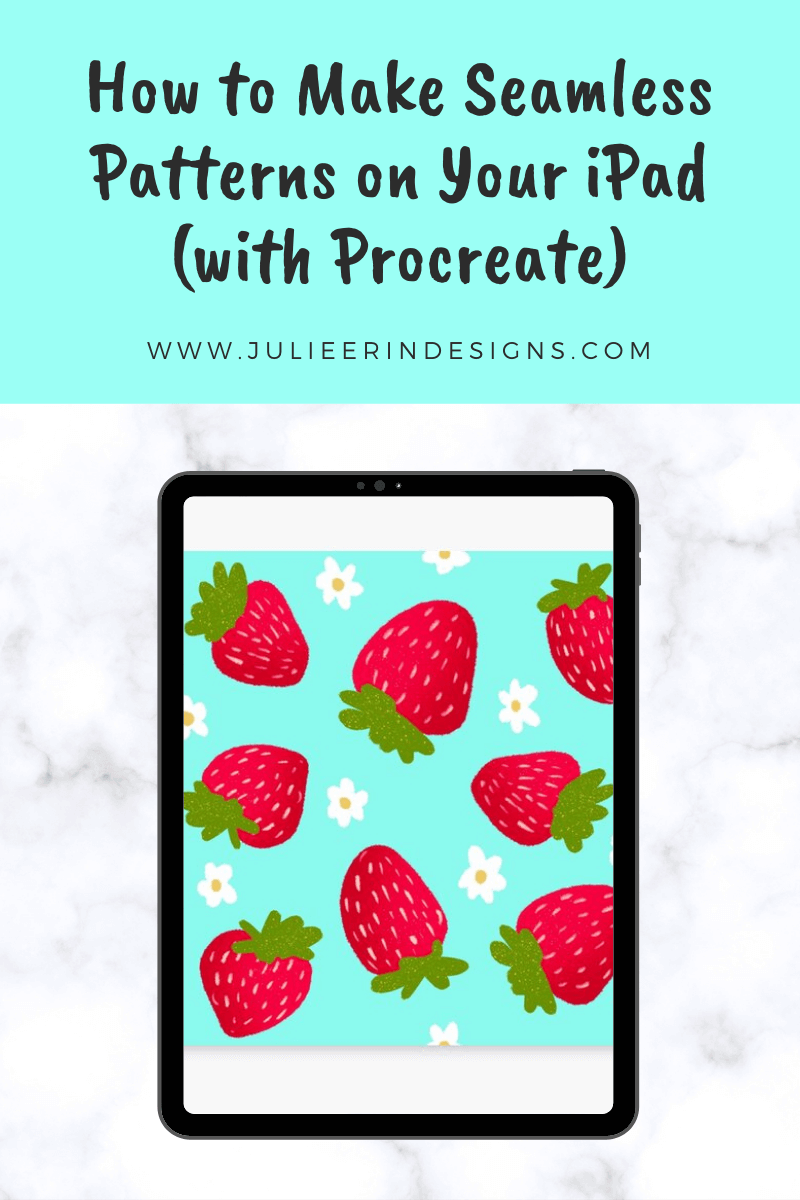
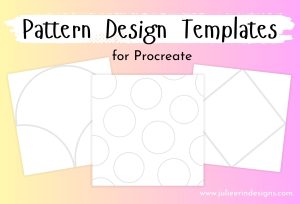
Learn how to make a seamless pattern on your iPad with the Procreate app! Watch my video tutorial along with step by step instructions.
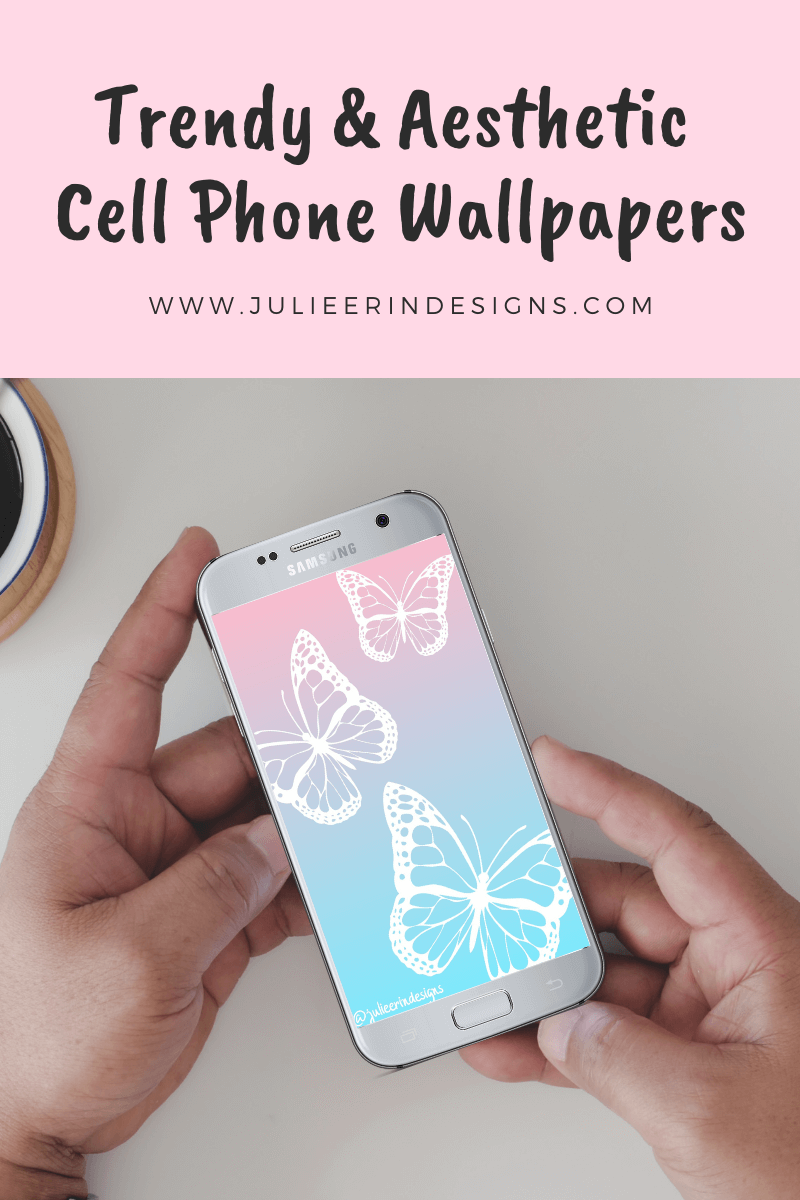
An assortment of aesthetic wallpaper for your phone. Brighten up your phone with aesthetic art wallpaper by Julie Erin Designs!

A list of print on demand automation tools and software to help you scale your print on demand business for artists and designers.

Brighten up your virtual Holiday parties with these free festive Zoom or Teams meeting backgrounds, sure to spread some Christmas cheer.
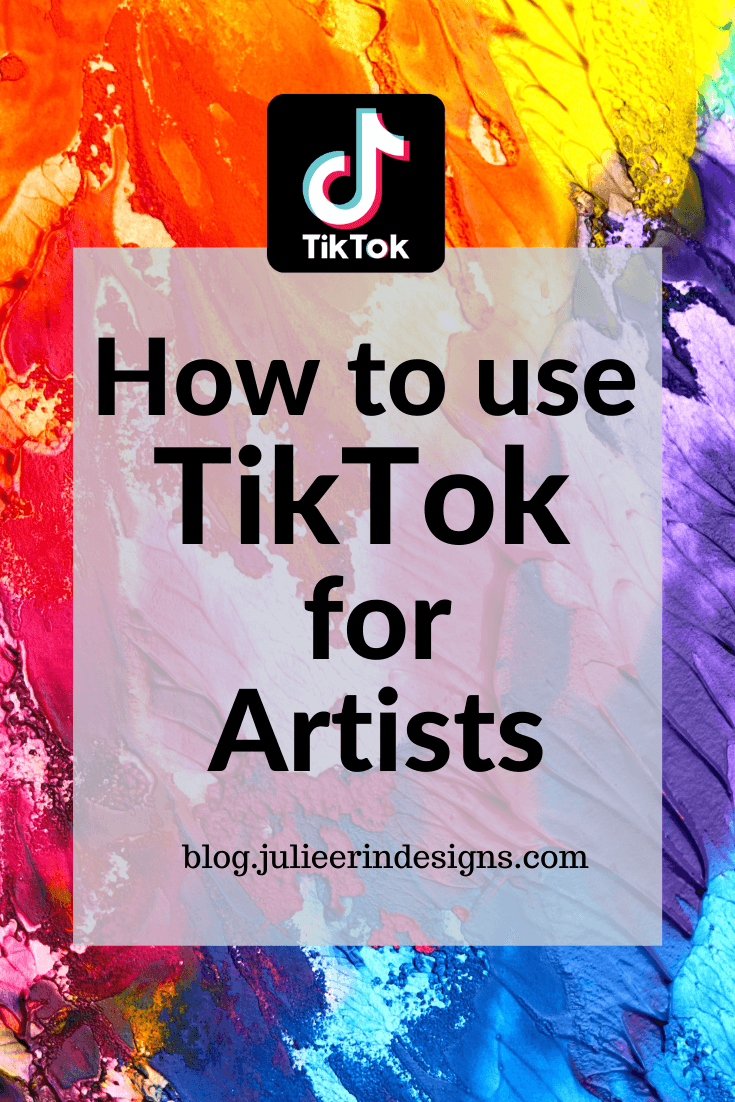
By now you’ve probably heard of TikTok. It’s an app where you can make short videos along with music, filters and other effects to share with your followers and others using hashtags, similar to Instagram. I’ve been experimenting with growing a following on there so I wanted to share some tips for how artists can use TikTok to expand their audience.

Introducing PodConnect, a software which allows you to bulk upload your designs to multiple print on demand websites at once.
I’m an digital artist, surface designer, and online educator from Vancouver, Canada.
I’ve sold thousands of physical and digital products worldwide through print on demand companies.
Through my online classes and blog, I teach other artists how to sell their own art online and turn their passions into a business they love.