Easily preview your pattern designs with this simple drag and drop seamless pattern preview tool for Procreate users!
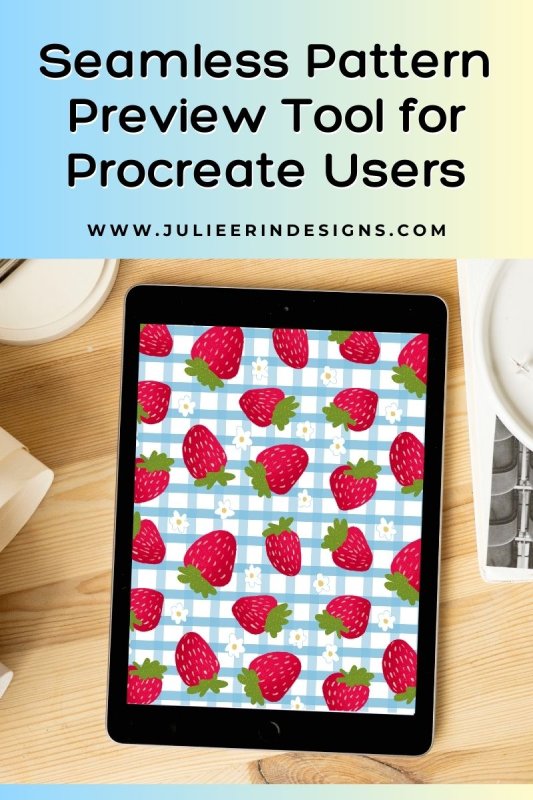
Seamless Pattern Preview Tool for Procreate Users
read more

Easily preview your pattern designs with this simple drag and drop seamless pattern preview tool for Procreate users!
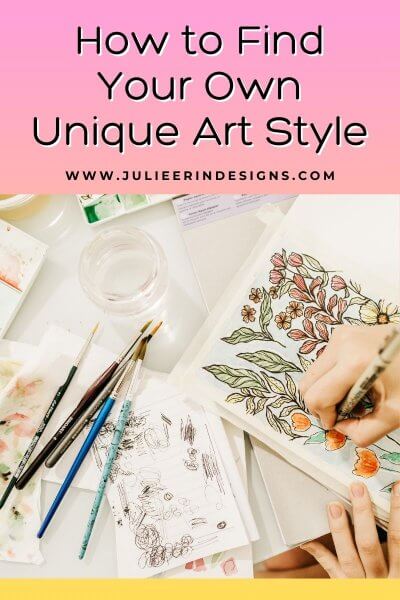
In this post we discuss how to find your own unique art style by experimenting, drawing inspiration, and creating a large body of work.
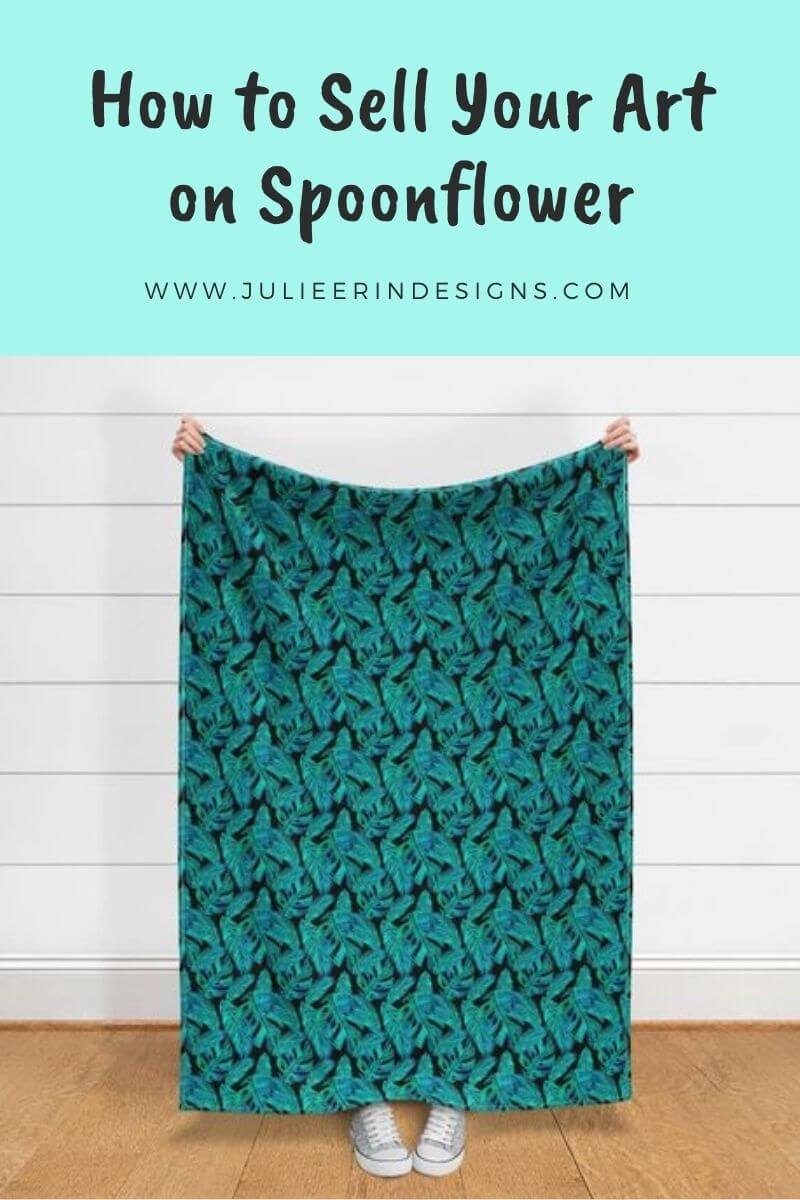
Are you an artist wondering how to sell your art on Spoonflower? You’ve come to the right place. Spoonflower is a print on demand company…
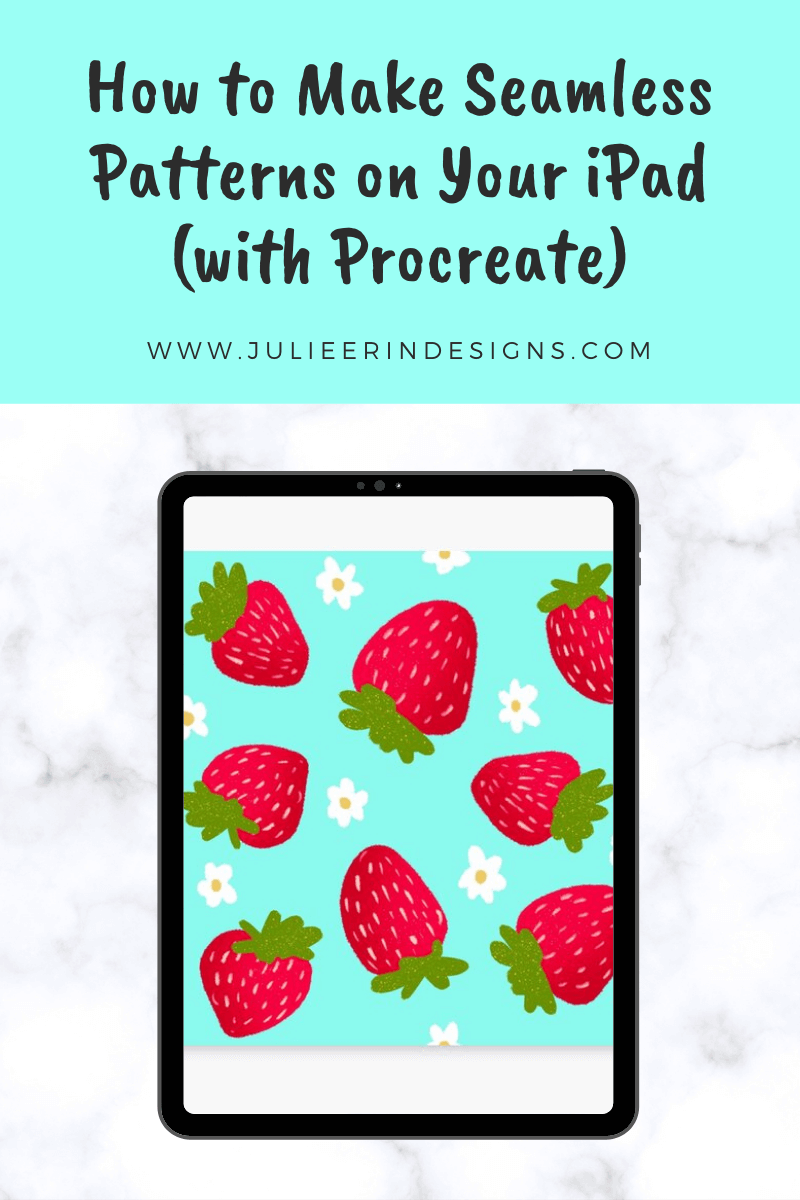
Learn how to make a seamless pattern on your iPad with the Procreate app! Watch my video tutorial along with step by step instructions.
I’m an digital artist, surface designer, and online educator from Vancouver, Canada.
I’ve sold thousands of physical and digital products worldwide through print on demand companies.
Through my online classes and blog, I teach other artists how to sell their own art online and turn their passions into a business they love.