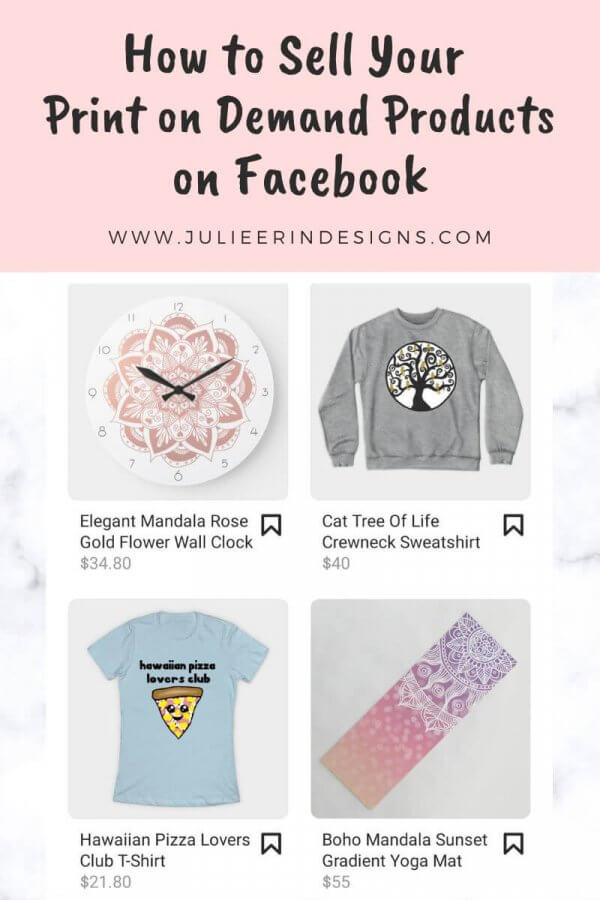
Do you want to start selling your print on demand products through social media? In this post I’m going to explain how you can sell your print on demand products, from multiple stores, on your Facebook page.
You can include products from multiple print on demand sites like Redbubble, Society6, Zazzle and more!
If you’re looking for how to sell your print on demand products specifically on Instagram, I have written a more detailed post on that. But this is the first step to that process.
The first step to being able to sell print on demand products on Facebook is to have a Facebook Page set up for your business. You’ll also need to have it set as a Business or Creator account.
If you don’t have a Facebook page for your business yet, you can also set it up at the same time as you are creating your shop.
Your page will have to meet their eligibility requirements including location and other criteria. It also helps if you have your own website domain to use as a primary domain (it does not have to be set up as a store, and you can still direct people to your print on demand links).
Here you can read more about making your page eligible for shopping on both Facebook and Instagram.
If you’re selling Print on Demand products through your own website using Shopify (or a similar service) you can use their partner connect option. This is more simple, but today I’m discussing how to add third party print on demand products from websites you don’t own, such as Redbubble or Society6.
How to set up a Facebook Store
Apply for shopping through the Commerce Manager (connected to your Business or Creator Facebook account)
Once you’ve applied and been approved for Shopping (this may take a few days for them to review your eligibility), head back over to the Commerce Manager. Now you can start adding products!
For this to work you will have to add products manually (Under Catalog > Items, then Add Items > Add Multiple Items). This will give you a sort of spreadsheet which you can fill out with an image of your products, link, description, title etc. Fill out as much as you can here, but you don’t have to fill out everything.
Just add a couple of products to get started.
Now obviously this will take time since you may have hundreds or more products across multiple retailers. So I recommend starting by adding a few best sellers from each of your stores. This will drive people to those stores where they can browse the rest of your offerings from there.
After you’ve submitted your products it may take about 30 minutes to an hour for them to process before showing up in your Facebook store.
Tips for Selling Print on Demand Products on Facebook
- Be patient, each step in the process takes time.
- Familiarize yourself with the Commerce Manager and how it works.
- Create “sets” to organize your products by product type.
- You can also create collections to showcase on your storefront.
- You can only use ONE currency in your store (ex. list everything in USD or your local currency).
- Add a few of your best selling designs and products from your different stores.
- Add a few products per week, or per month, or whatever you have time for. This can help drive traffic to your shop since they will show up on some people’s feeds.
- Don’t add too many products at one time or it will spam people’s feeds and they may unfollow or miss the new items you’ve added.
- You can’t tag these products in your photos unfortunately. This only works for products from a domain you own (such as a Shopify store).
- Check the Insights section for analytics to see how many people are clicking on your products and visiting your stores!
I hope you’ve found this blog post useful! Make sure to follow my blog for more art business content in the future.
Cheers,