In this post we explore how artists can sell their art online using integrated print on demand services, Printful and Printify.

Sell Your Art Online with Printful & Printify: A Guide for Artists
read more

In this post we explore how artists can sell their art online using integrated print on demand services, Printful and Printify.

As an artist, there are many different ways to monetize your art. In this post I share 10 different ways for artists to make passive income.
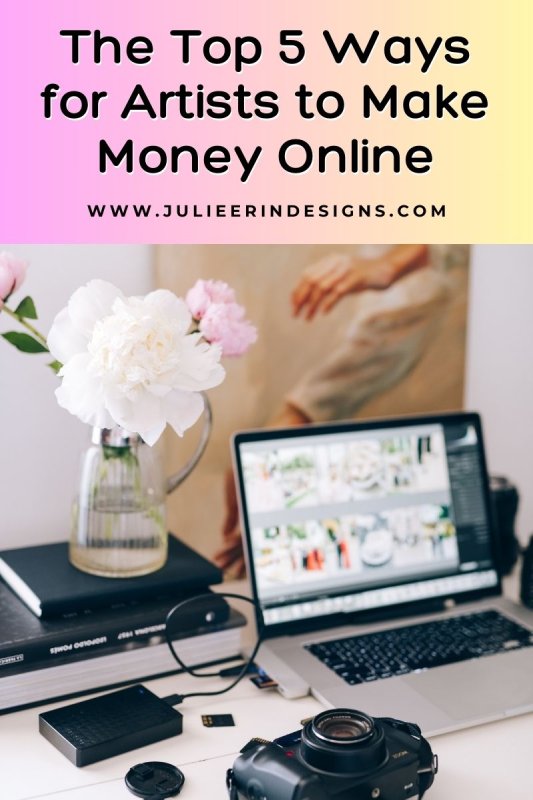
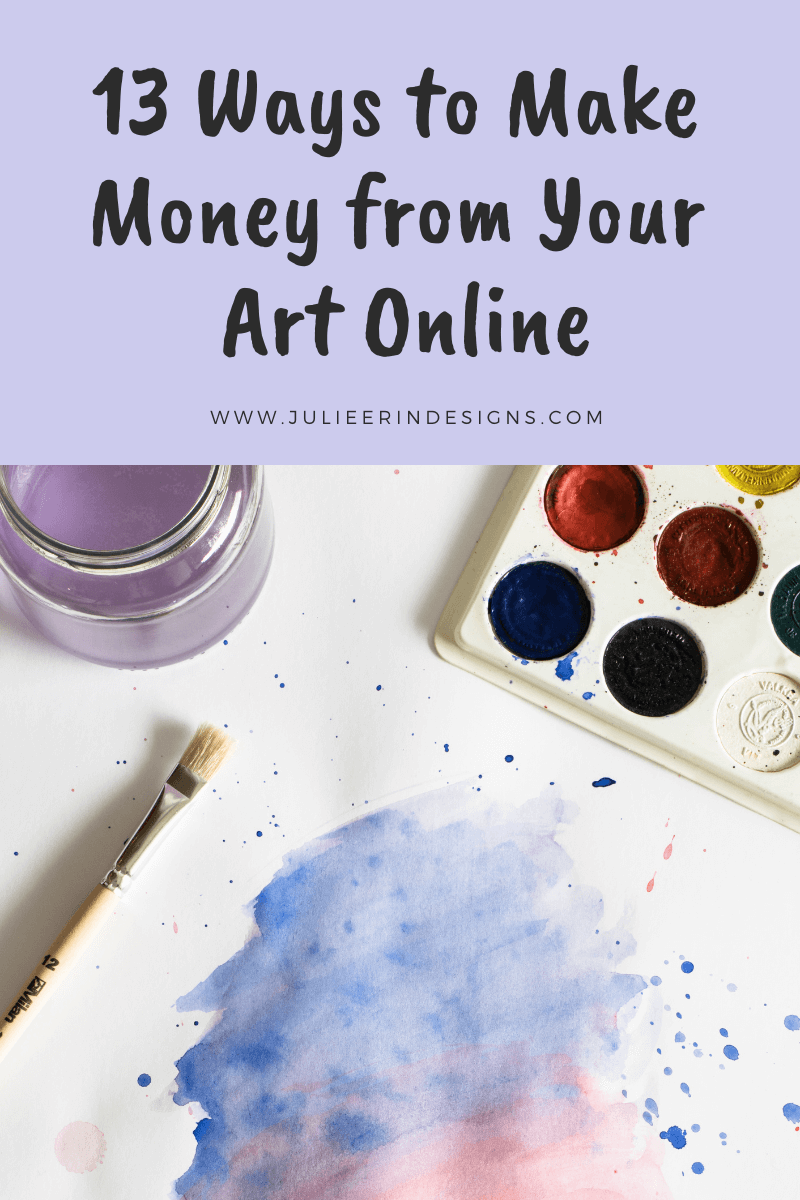
In this post I discuss the top 5 ways for artists to make money online in 2023, based on my own earnings and experience.
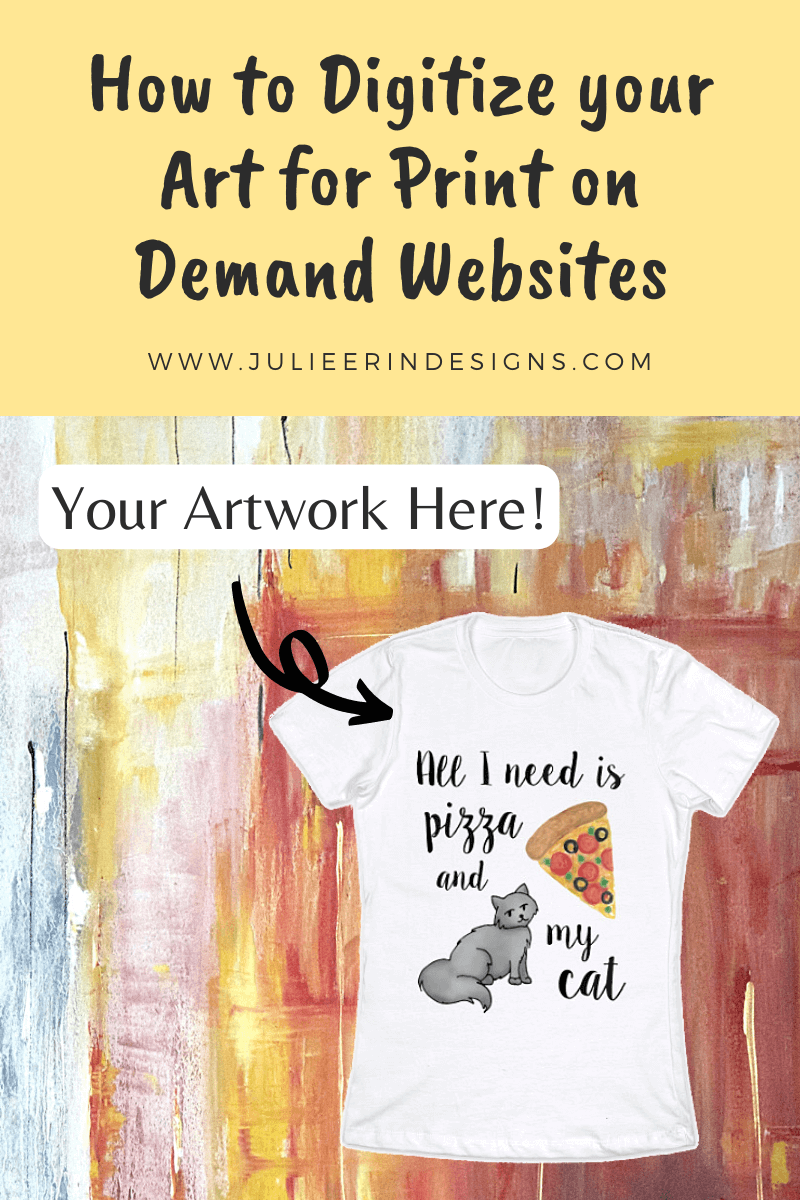
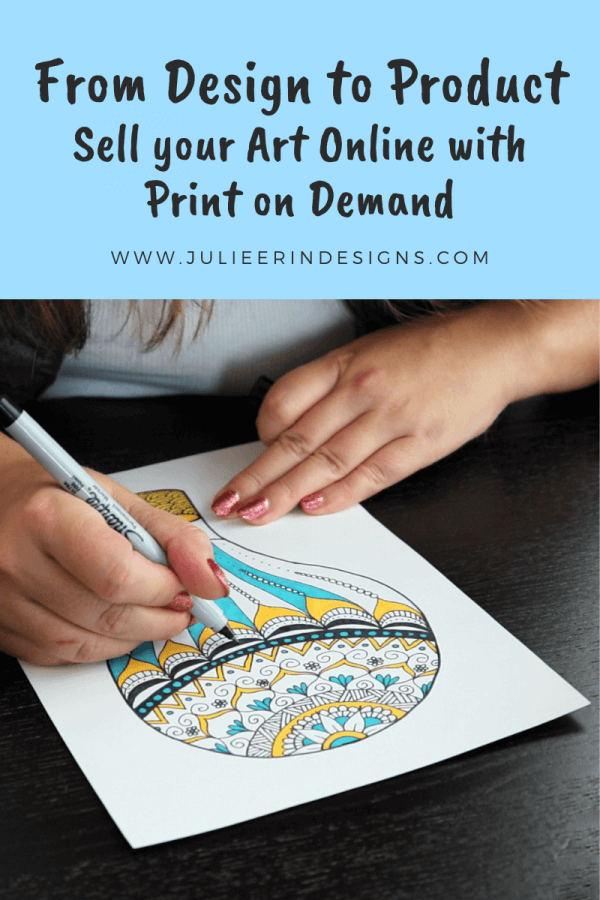
Want to learn how to digitize your art for Print on Demand websites? You’ve come to the right place, because I’ve got a tutorial for you.
I’m so excited to share my first Skillshare class: Make Passive Income: Sell Your Art Online Through Print on Demand.
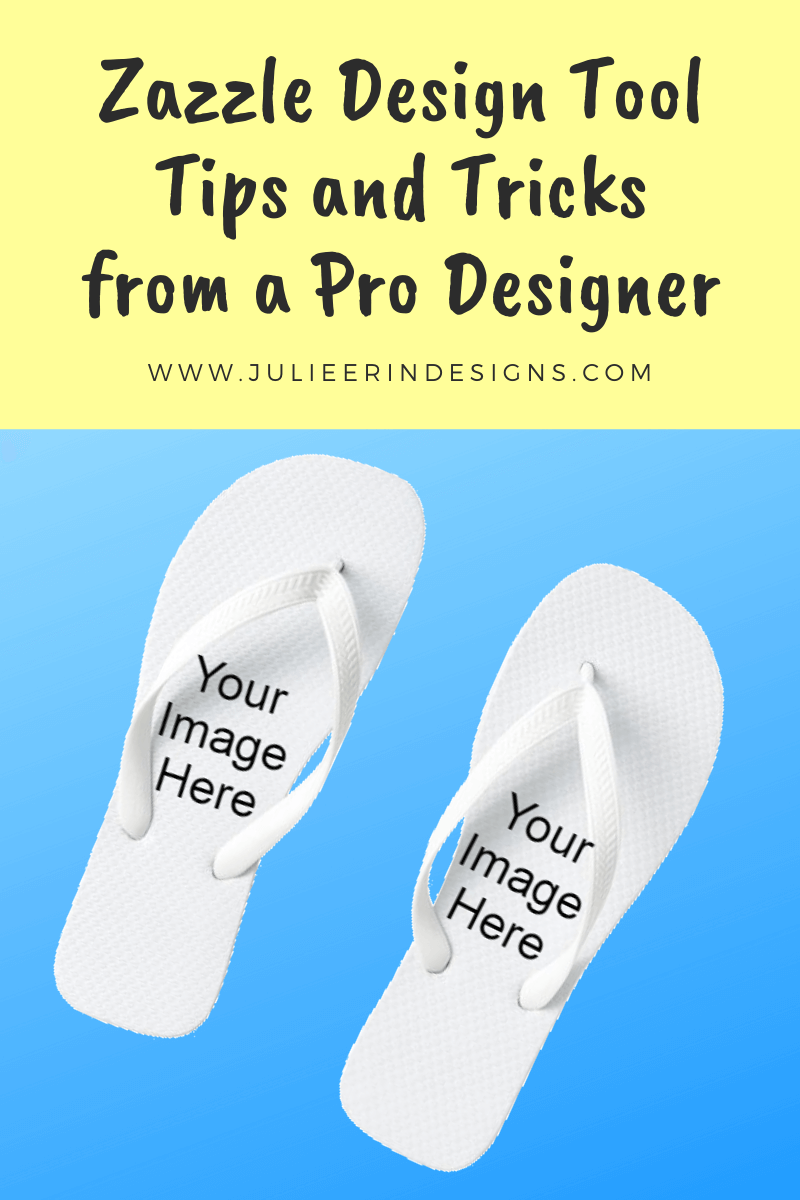
Do you struggle with the Zazzle design tool? See tips and tricks from a Pro designer to help you with creating products for sale.
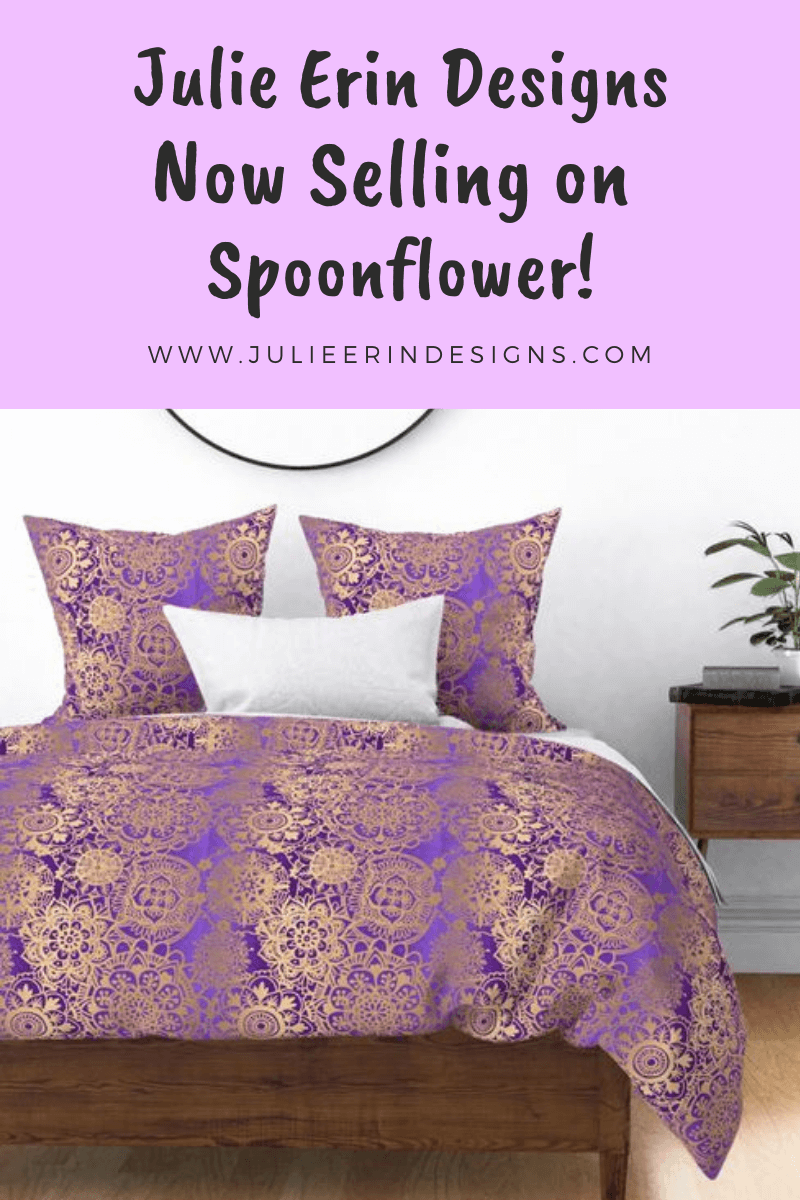
Julie Erin Designs is now selling on Spoonflower, a print on demand retailer specializing in fabric with seamless pattern designs.
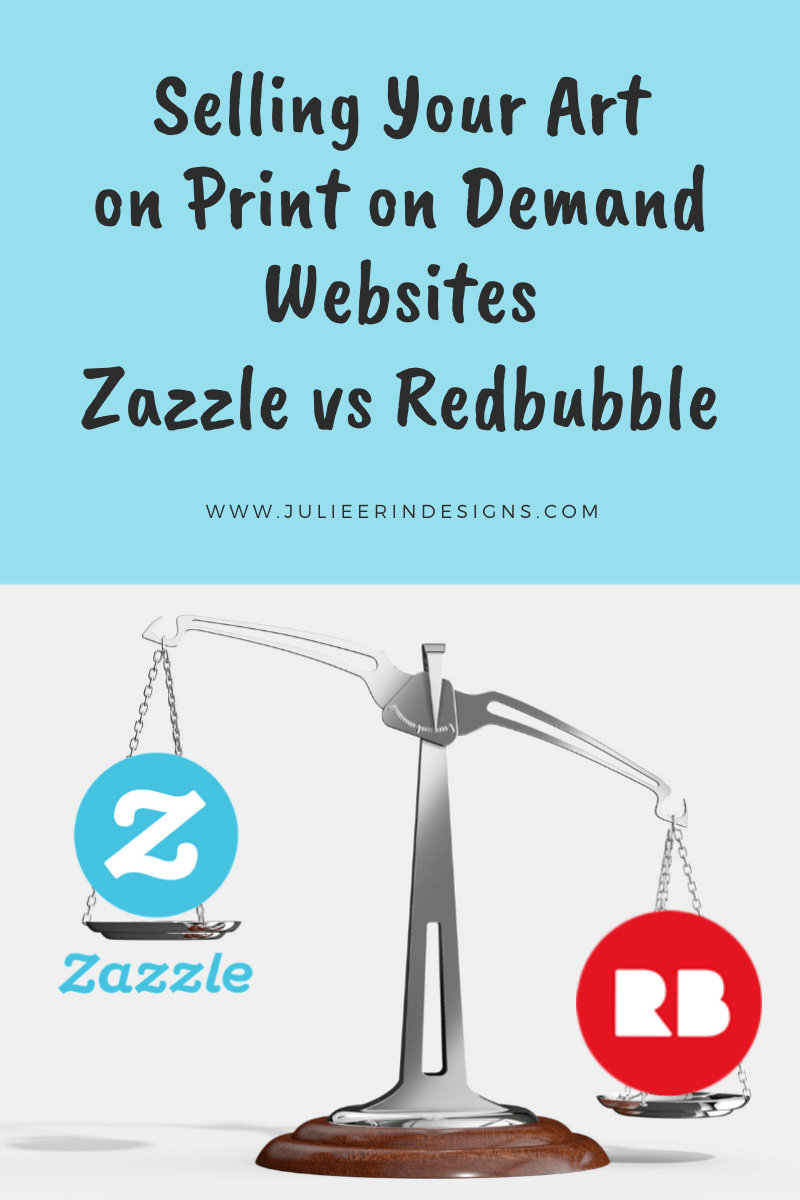
Selling your art online through Print on Demand website series. An in depth comparison of Zazzle vs Redbubble for selling art online.
After generating a decent income from my art I’m sharing a list of ideas of ways you can make money from your own creative skills online.
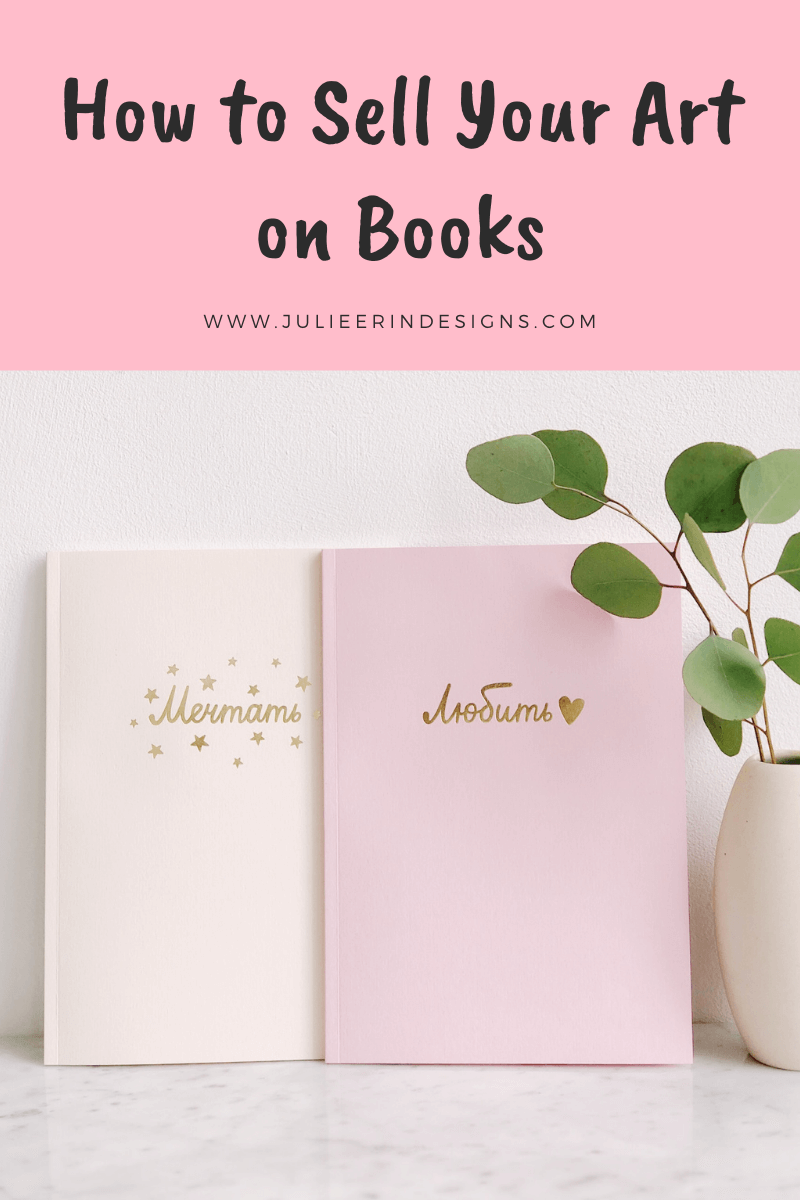
Today I’m sharing how you can sell your art on “low content” books through Amazon KDP using the Book Bolt app.
I’m an digital artist, surface designer, and online educator from Vancouver, Canada.
I’ve sold thousands of physical and digital products worldwide through print on demand companies.
Through my online classes and blog, I teach other artists how to sell their own art online and turn their passions into a business they love.