In this post I’m sharing some tips on how to make money as an artist on Skillshare, based on my own experience as a Skillshare teacher.

How to Make Money as an Artist on Skillshare
read more

In this post I’m sharing some tips on how to make money as an artist on Skillshare, based on my own experience as a Skillshare teacher.

Learn how to sell your art online with Zazzle! Check out my complete guide to setting up your Zazzle print on demand store.
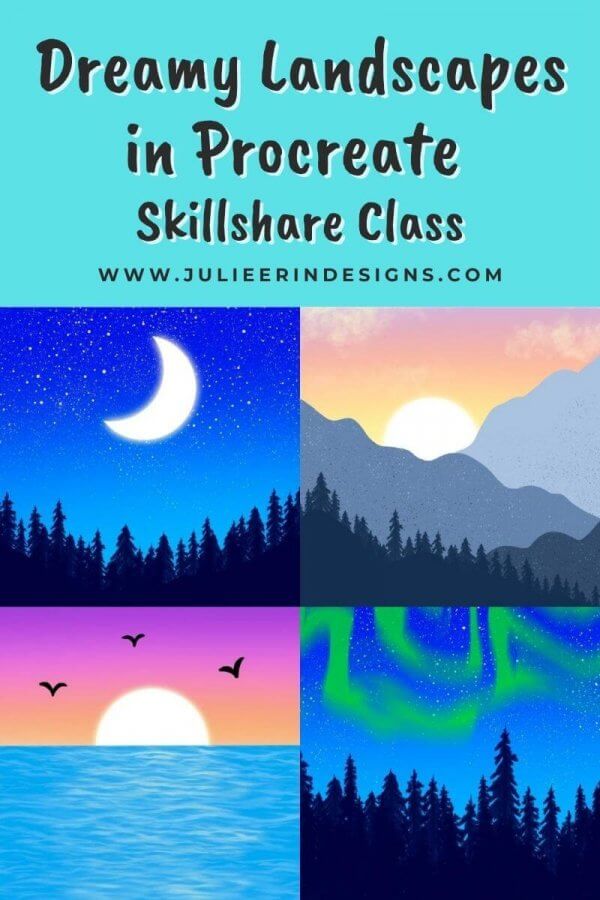
Do you want to create dreamy digital landscapes in Procreate? Then this class is for you! Perfect for both beginners and intermediate users.
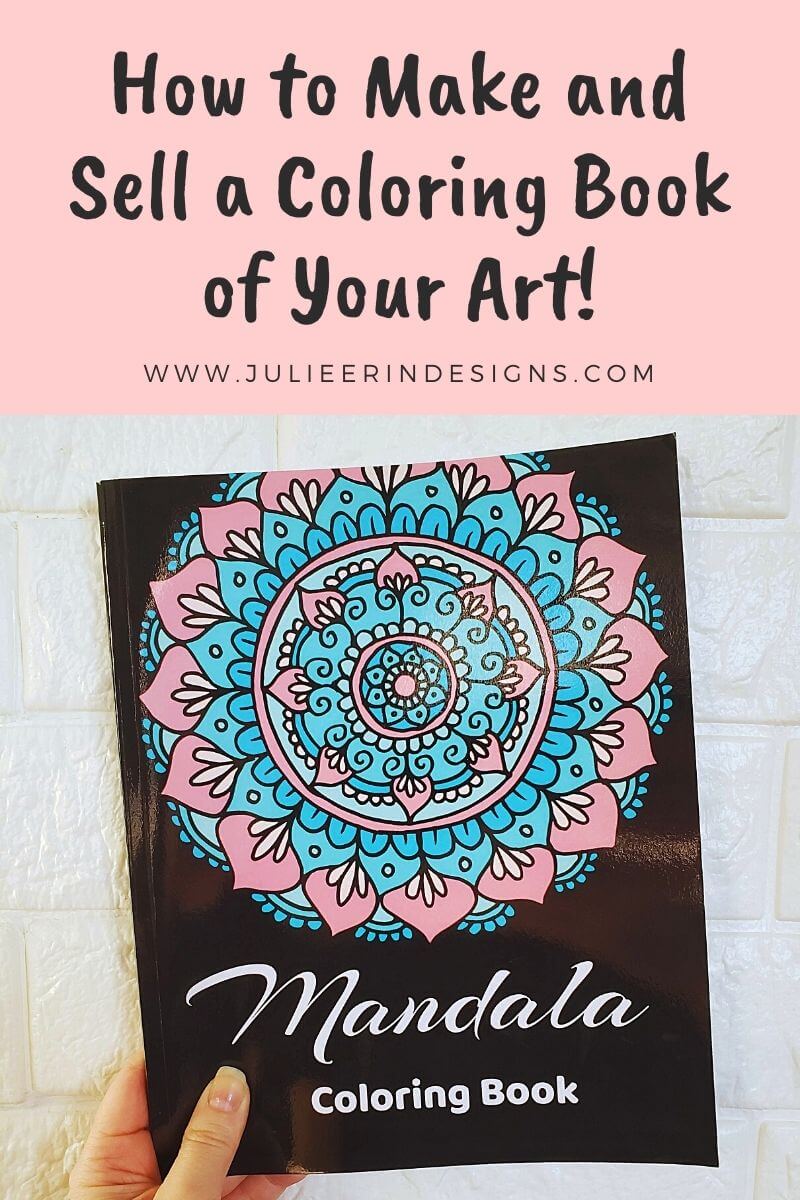
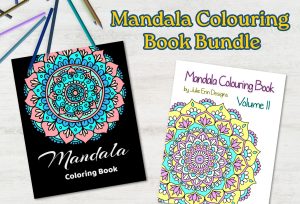
In this post I’m sharing with you how to make and sell a coloring book of your own art! I take you through the process using Amazon KDP.
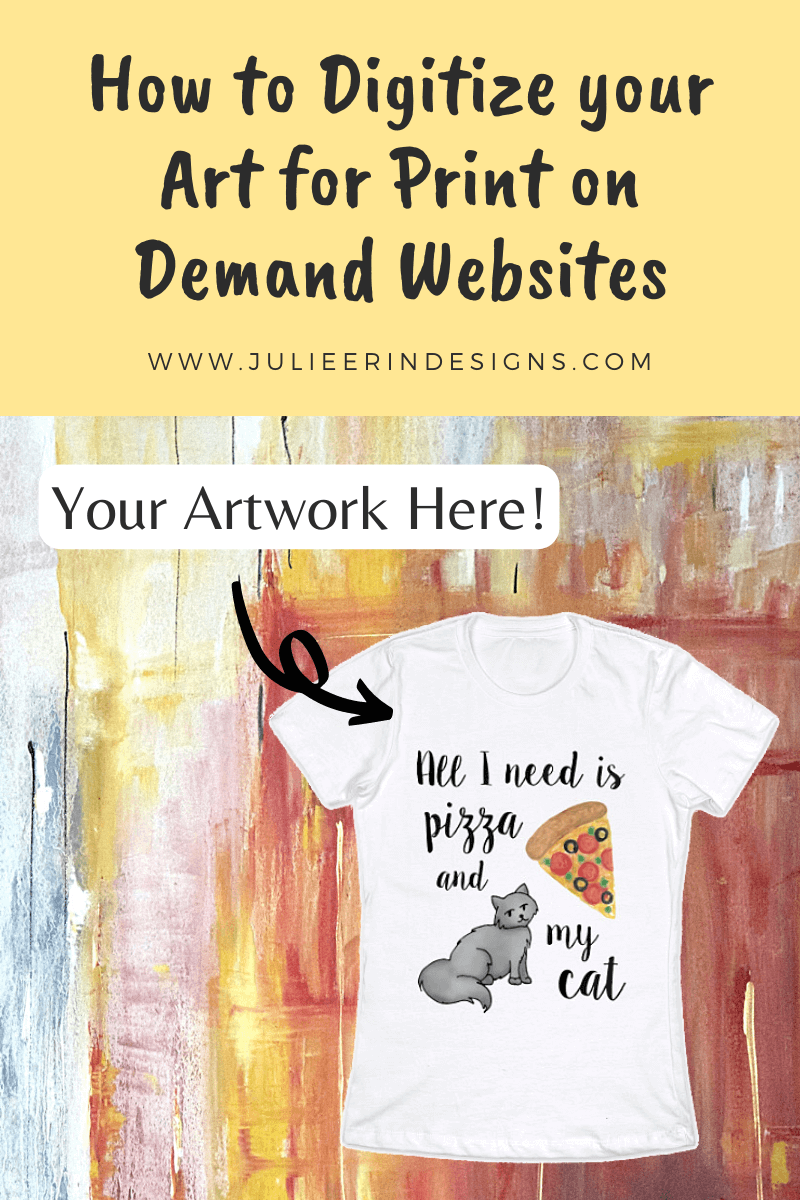
Want to learn how to digitize your art for Print on Demand websites? You’ve come to the right place, because I’ve got a tutorial for you.
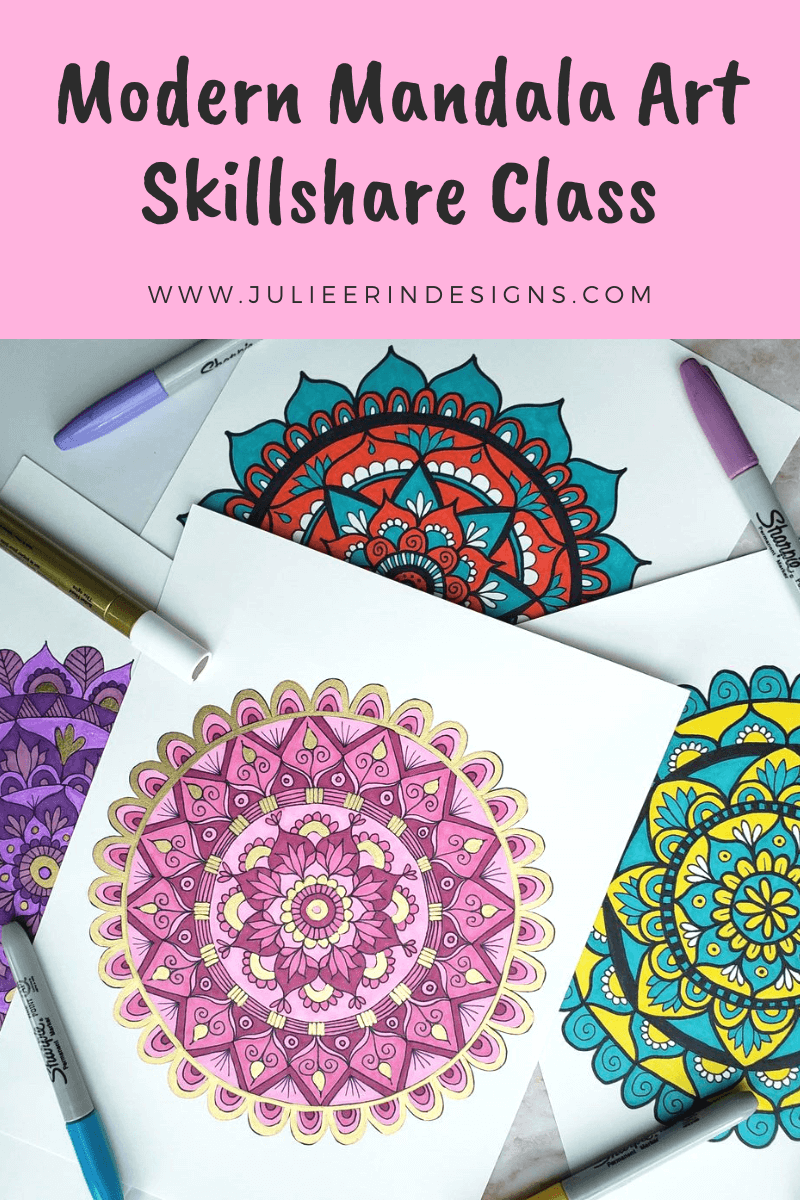
Introducing my mandala drawing class on Skillshare – Modern Mandala Art: Draw and Color 2 Stunning and Unique Mandalas
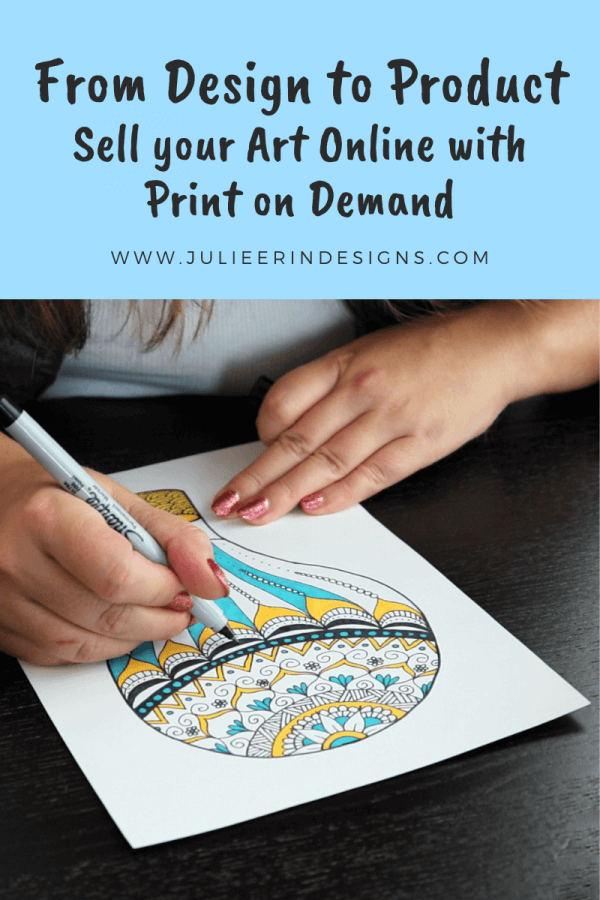
I’m so excited to share my first Skillshare class: Make Passive Income: Sell Your Art Online Through Print on Demand.
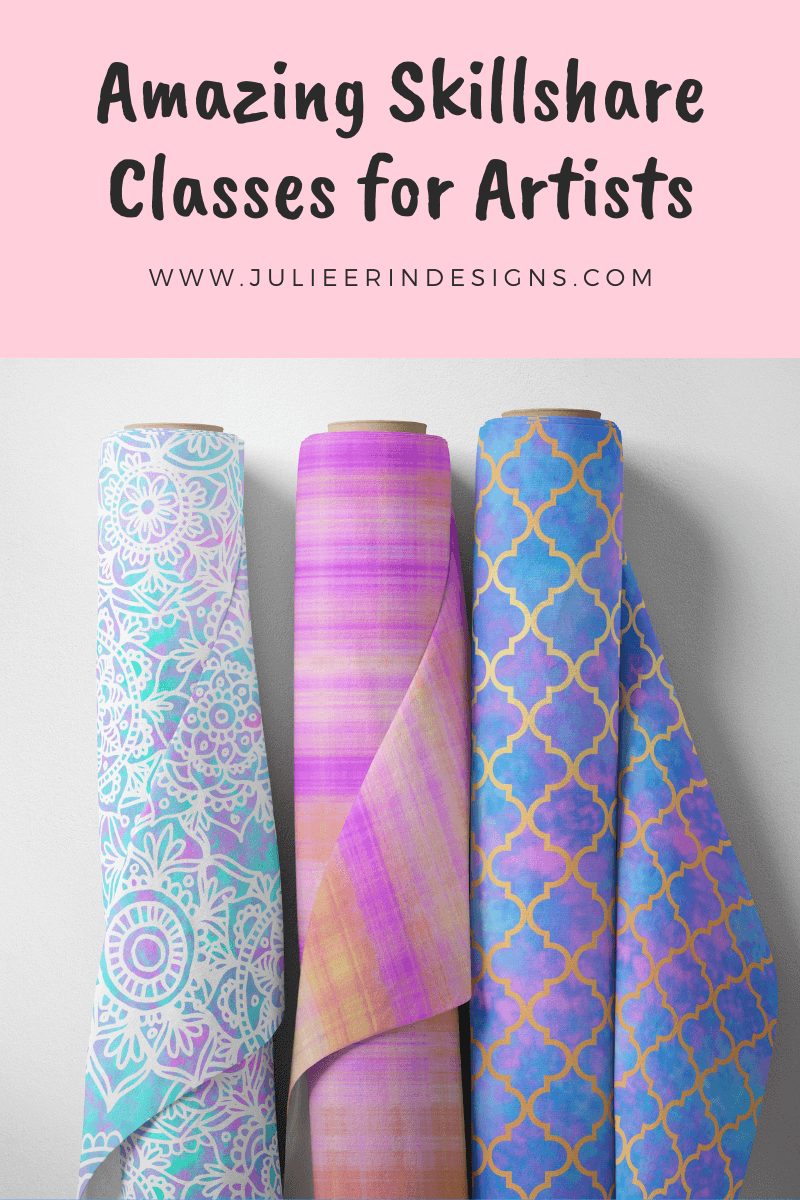
Today I’d like to share some amazing Skillshare classes for artists and creatives that I’ve personally followed and recommend!
I’m an digital artist, surface designer, and online educator from Vancouver, Canada.
I’ve sold thousands of physical and digital products worldwide through print on demand companies.
Through my online classes and blog, I teach other artists how to sell their own art online and turn their passions into a business they love.