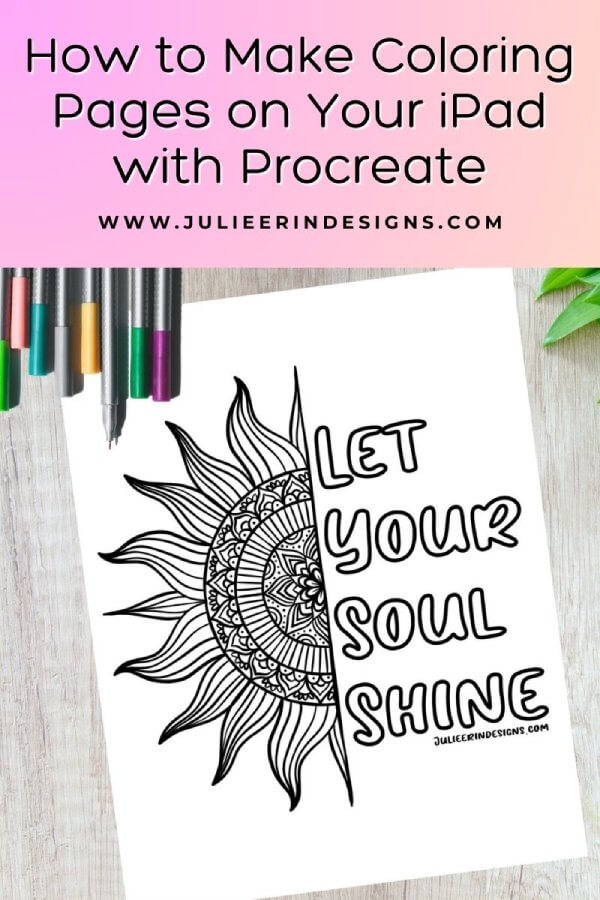
How to Make Coloring Pages on Your iPad with Procreate

Hey there, fellow creatives! I’m excited to share with you a fun tutorial on how to make your very own coloring pages on your iPad using the Procreate app.

coloring pages ipad procreate tutorial

In this step-by-step tutorial, we’ll dive into the world of creating beautiful mandala coloring pages on your iPad, complete with inspiring quotes that will uplift your spirits. So, grab your iPad and let’s get started!

How to Make Coloring Pages on your iPad with Procreate

Step 1: Setting up your Canvas

To start, open the Procreate app on your iPad and create a new canvas. Choose the dimensions and resolution that you prefer for your coloring page.

To create coloring pages for print, I suggest using the Paper size, which is 8.5 x 11 inches.

coloring pages ipad page setup

Step 2: Drawing the Mandala

Navigate to the Actions menu (the wrench icon on the top left of the screen), click on Canvas, turn Drawing Guide on and then click Edit Drawing Guide.

Then go down to Symmetry > Options, and select the Radial option.

Now, using the drawing tools in Procreate, begin drawing your mandala. Play around with different shapes, patterns, and intricate details to make your mandala unique.

drawing a mandala in procreate

Step 3: Adding Inspirational Quotes

Now, it’s time to incorporate an inspirational quote (or other text) into your coloring page. Select a quote that resonates with you or your audience.

To add your text, go to the Actions menu again, click on Add, and then click on Add Text. Type out your quote, then go to Layers, tap on the text layer, and then select Edit text. Under Attributes, select the icon that looks like an O (next to Underline). This will make the text appear as just the outline of the font (note: this does not work on all fonts).

Then, you can go through your fonts and select one you like. You can download additional fonts from Creative Fabrica, if you like.

If the letters of your chosen font are connecting, they may overlap. You can then go to Layers, tap on the text layer and select Rasterize. Then you can go in and erase the overlapping lines to make the text connect cleanly.

Finally, position the text around the mandala, ensuring it complements the overall design.

ipad coloring page tutorial

Step 4: Final Touches and Exporting

Once you’re satisfied with your coloring page, take some time to add any final touches or details.

When you’re done, export the file in a high-resolution format, such as a PDF, PNG or JPEG, depending on your specific needs.

To share your mandala go up the Actions menu (wrench icon), click on Share, and then select the file type you require, and save it to your iPad.

Now you’re ready to print or share your new coloring page however you like!

coloring pages ipad procreate export

Conclusion

Congratulations! You’ve successfully created a stunning inspirational quote mandala coloring page using Procreate on your iPad.

Coloring pages are not only a great way to relax and unwind but also make wonderful gifts or digital products to share with others. You could even make and sell your own coloring book if you make enough of these.

You can also download the coloring pages featured in this tutorial by clicking on the image below or visiting the Downloads section of this website. There, you’ll find a collection of intricate mandalas and uplifting quote designs ready to be colored and enjoyed.

Whether you choose to unwind with a cup of tea or share the joy of coloring with friends and family, these printable coloring pages are sure to bring moments of tranquillity and creativity into your life.

coloring pages ipad procreate tutorial

I hope this tutorial has inspired you to create your own coloring pages! Feel free to experiment with different styles, themes, and techniques to create unique coloring pages that reflect your artistic vision. The possibilities are endless!

If you enjoyed this tutorial, don’t forget to like and subscribe to my YouTube channel for more art-related content. Stay tuned for future videos where I’ll be sharing additional tips, tutorials, and creative inspiration.

Thank you for joining me, and I can’t wait to see your beautiful creations!


Cheers,

julie signing off

Custom Cover Photos on Zazzle: Make Your Products Stand Out

zazzle custom cover photos
custom cover photos on zazzle: make your products stand out

In this post I’m sharing a new feature on the print on demand website Zazzle, which is the ability to add your own custom cover photos to your listings! This is a really great way to make your listings stand out on the Zazzle marketplace.

* Please note, some links in this post are affiliate links. If you make a purchase using the links I may earn a commission at no additional cost to you. I appreciate your support and it helps me create more content for you to enjoy!

In a world filled with nearly identical products, it’s important to find ways to make your products stand out. Zazzle custom cover photos are one way to do this. With a little creativity, you can use cover photos to give your products a unique look and make them more reflective of your own brand.

Zazzle custom cover photos are easy to create and can be applied to any product via the individual product page. Cover photos can be changed at any time, so you can experiment with different looks to find the one that best represents your brand.

To learn more about the custom cover photos directly from Zazzle, read their cover photo landing page.

In the video below I demonstrate how to add custom cover photos to your listings, and how I’ve been designing them on my iPad. Aside from creating your own cover photos in Procreate or another app like Photoshop, you can also purchase or find free mockups for your listings on Placeit, Creative Market, Google and other websites.

A great way to make your products stand out from the competition.

When potential customers are browsing through all the different products on Zazzle’s marketplace, it’s the cover photo that will initially catch their eye. Therefore, it is important to have an eye-catching and visually appealing cover photo.

People are more likely to purchase a product if they are able to see what it looks like in a realistic setting. If you have a great product but are using unappealing or generic stock photos, then you are not doing your product justice. Take advantage of Zazzle’s custom cover photo feature to make your products stand out and attract more customers!

You can purchase a sample of your product and take your own photos of it, use a mock-up you’ve purchased, or create your cover photo in a graphic design software. Either way, adding a custom cover photo to your product will make it more eye-catching and likely to sell.

Use a variety of backgrounds and graphics to create a unique look for your product.

If you want your products to really stand out on Zazzle, you need to put some thought into your cover photos. Luckily, there’s a lot of flexibility when it comes to design. You can use a variety of backgrounds and graphics to create a unique look for your product.

The first thing you need to do is decide what kind of mood you want to create. Do you want something fun and whimsical? Or are you going for a more sleek and modern look? Once you’ve decided on the overall tone, you can start finding or creating some backgrounds and graphics. If you’re not sure where to start, take a look at what other people have done. See what kind of designs are popular and see if you can find any inspiration there. I’ve personally been using my own photographs, and actually going out and finding textures and photographing them specifically for cover photos.

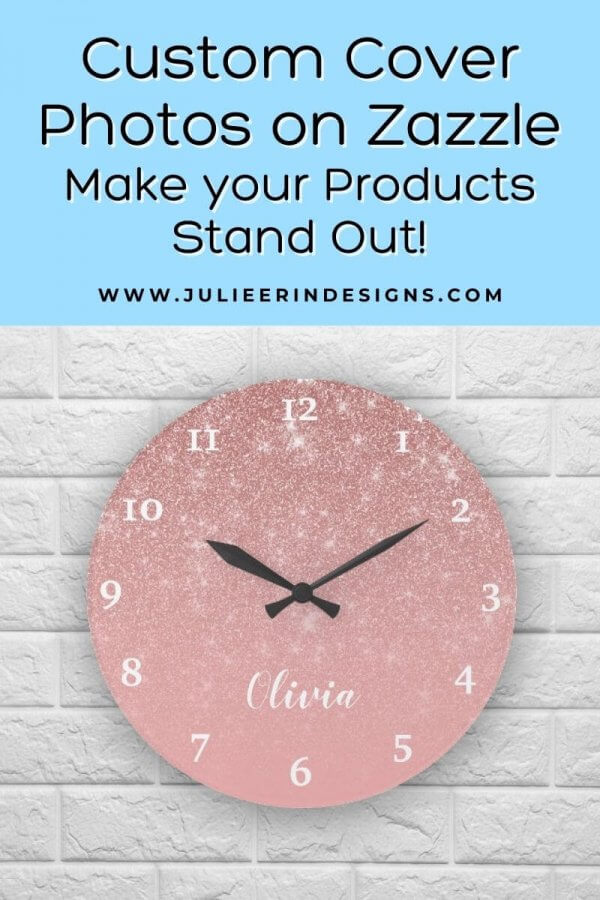
Also think about the real-life setting you might find the product being used in. For example, I used a sandy beach background for flip flops vs. a wall texture background for a clock.

zazzle custom cover photos for flip flops
custom zazzle cover photo clock mockup

Once you have a general idea of what you want your cover photos to look like, it’s time to start putting it all together. Remember, your cover photo is the first thing people will see when they come across your product. So make sure it’s something that will grab their attention and make them want to learn more. With a little effort, you can create a design that’s truly unique and will help your product stand out from the rest.

Keep your cover photos high quality and eye catching

There are a few things to keep in mind when creating custom cover photos for your products.

  1. Make sure the photo is high-quality and resolution. Zazzle recommends using a PNG or JPG file that is at least 300 DPI. This will ensure that your photo looks sharp and clear.
  2. Next, consider the size of the photo. You want to make sure that the photo is large enough, but not so big that it looks blurry or distorted. A good rule of thumb is to use a photo that is at least 1000 pixels wide.
  3. Finally, think about the background of the photo. You want to make sure that the background is simple and uncluttered so that your product is the main focus. A simple background, blurred photo or a contrasting solid color is usually best.

With these tips in mind, you can upload your own photos to create unique and eye-catching cover photos for your Zazzle products.

Conclusion

There are a few things to keep in mind if you want to use custom cover photos to make your products stand out. First, you want to make sure the cover photo is high-quality and fits well with the product. Second, you want the cover photo to be unique and not like anything else that’s out there. And finally, you want to make sure the cover photo accurately represents the product. If you keep these things in mind, then you’re well on your way to using custom cover photos to make your products stand out on Zazzle.

I hope this post has inspired you to add custom cover photos to your Zazzle listings. Go ahead and give it a try – you may be surprised at the results!

Cheers,

julie signing off

How to Paint Dreamy Landscapes in Procreate

landscapes in procreate tutorial
dreamy landscapes in procreate skillshare class

Do you want to learn how to create dreamy digital landscapes in Procreate, while learning the basics of the app? Then this class is for you!

Join me as I teach you how to paint these 4 different stunning digital landscape paintings in the Procreate app for Apple iPad. This class is great for both beginners and more seasoned Procreate users!

Watch the class introduction below:


In this class, I will guide you through each step of the process of creating these beautiful digital landscape paintings while demonstrating some of the basic tools and functions of the Procreate app.

I’ve also created some custom brushes and a colour palette exclusively for the students of this class!

This class is perfect for beginners, or already established Procreate users who are looking for a fun and beautiful project to share on social media or elsewhere.

If you have your iPad charged up and ready to go, then you’re ready for this class.

So let’s get started!

Click here to watch Dreamy Landscapes in Procreate: Create 4 Stunning Digital Landscape Paintingsand get 1 free month of Skillshare membership!

For the class project, you can share one or more of the digital landscape paintings we created in this class. If you share your project on Instagram, be sure to tag me @julieerindesigns and I will share it to my Instagram stories!

digital landscape paintings in procreate

The supplies you will need for this class are: 

  • an Apple iPad
  • the Procreate app
  • an Apple pencil
  • the brush pack and colour palette provided in the Resources section of the class

You might also enjoy these blog posts:

I hope to see you in the class! Have a great rest of your day.

Cheers!

julie signing off

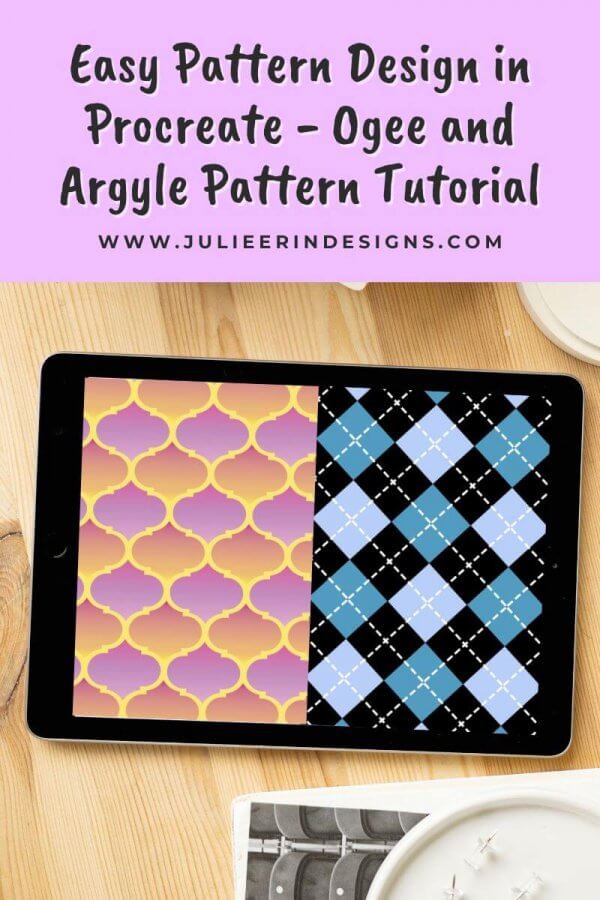
Easy Pattern Design in Procreate – Ogee and Argyle Pattern Tutorial

pattern design in Procreate - ogee and argyle

I recently created this fun and easy pattern design tutorial in which I teach you how to make an ogee and an argyle pattern with the Procreate app for Apple iPad.

In this tutorial I take you step by step through the process of making these 2 easy seamless pattern designs, an ogee and argyle pattern, right on your iPad in Procreate. Watch the video below!

Check out my other digital art tutorials over on my Youtube channel.


In this video I take you through the following steps:

  • Creating an argyle pattern using simple shapes and lines
  • Creating an ogee pattern using symmetry tools
  • Testing both patterns to ensure they repeat seamlessly using the snapping and magnetics tool

You can make all sorts of variations of these patterns to use for backgrounds, print on demand products or anything else you can think of.

Pink Argyle Pattern Socks in my Redbubble store

I hope you’ve enjoyed this easy and fun Procreate pattern design tutorial. You might also like my other tutorial on how to create seamless patterns in Procreate, which you can see here.

I’ve also got a video for Procreate newbies which includes several tips and tricks to help you get started with the app.


I’ve been kind of obsessed with creating designs and patterns in Procreate over the past year. So I’ll likely be creating more tutorials and videos on this topic in the near future.

Let me know in the comments below if this is something you’re interested in, or if there’s something else you’d like me to cover!


Thanks for stopping by, have a great rest of your day.

Cheers,

julie signing off

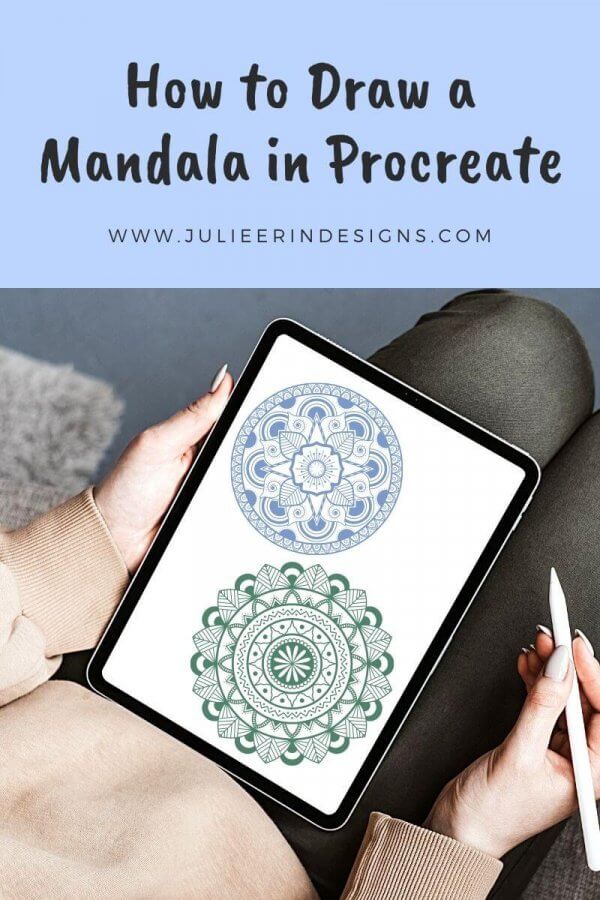
How to Draw a Mandala in Procreate

how to draw mandalas in procreate
how to draw mandala art in procreate

Want to learn how to draw mandala art in the Procreate app for Apple iPad? You’ve come to the right place because I’ve posted a tutorial on my Youtube channel showing you how to do just that!

The symmetry tools in the Procreate app make it super easy and fun to create beautiful mandala designs on your iPad.

I figured the easiest way to explain how to draw mandalas in Procreate is to just demonstrate in this quick video tutorial! However, keep scrolling if you prefer to read the instructions in a list format.

In this video I demonstrate the following:

  • Two types of symmetry tools to draw mandalas in the Procreate app.
  • A few mandala drawing tips and tricks.
  • How to use gradients to get different color variations.
  • How to make your own gradients.
  • Using hue/saturation for even more color variations.

How to Draw Mandalas in Procreate Step by Step

  1. Create a new square canvas. Ex. 3000 x 3000 pixels.
  2. Go to Actions > Canvas > Drawing Guide > Edit Drawing Guide
  3. Click on Symmetry > Options > Radial
  4. Toggle Rotational Symmetry on or off as desired.
  5. You can change the color of the drawing guide with the colored line at the top of the screen.
  6. Click Done.
  7. Start drawing your mandala from the center of the canvas and work your way out.

I hope you will see how quick and satisfying it is to draw mandala art in Procreate!

To add further complexity to your mandala art, download my Mandala Drawing Templates for Procreate:

mandala drawing templates procreate brush set

Don’t have Procreate but want to learn how to draw mandalas on paper? I have a Skillshare class for that!

Modern Mandala Art: Draw and Color 2 Stunning and Unique Mandalas with Julie Erin Designs on Skillshare

mandala art Skillshare class

Looking for even more mandala content? I have some other blog posts you might enjoy:

I’ve also got more Procreate tutorials including how to make seamless patterns in the app.

I hope you’ve found this tutorial helpful, and I’ll see you in my next blog post. Don’t forget to subscribe!

Cheers,

julie signing off

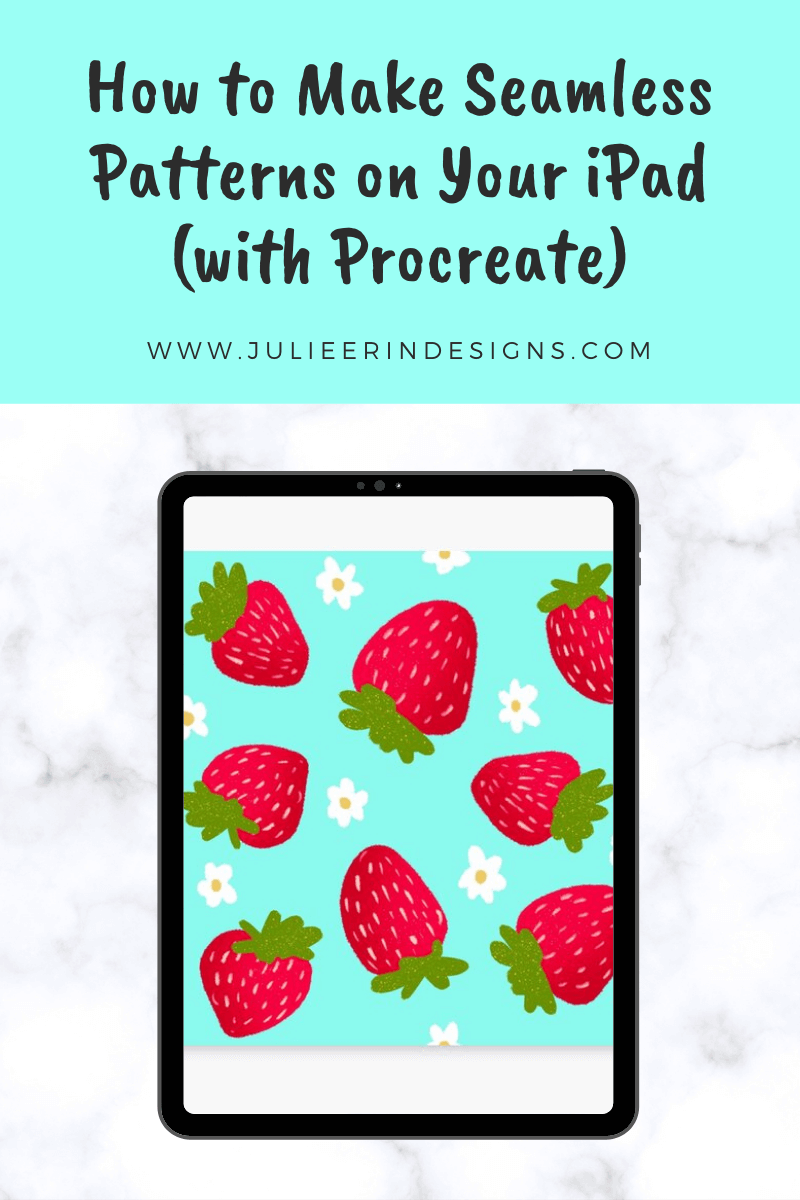
How to Make a Seamless Pattern in Procreate

how to make patterns in procreate
how to make a seamless pattern in procreate for ipad

Did you recently get an iPad with the Procreate app? If so, congratulations! If you’re a surface designer like me, you’re probably wondering how you can make seamless pattern designs in the Procreate app!

I’m here to show you my method of creating seamless offset patterns in Procreate. Keep in mind there are multiple ways to achieve the same result!

Check out my video below for step by step instructions to make seamless patterns on your iPad with Procreate.

How to make a Seamless Pattern in Procreate

  1. Begin with a square canvas (ex. 4000 x 4000 pixels).
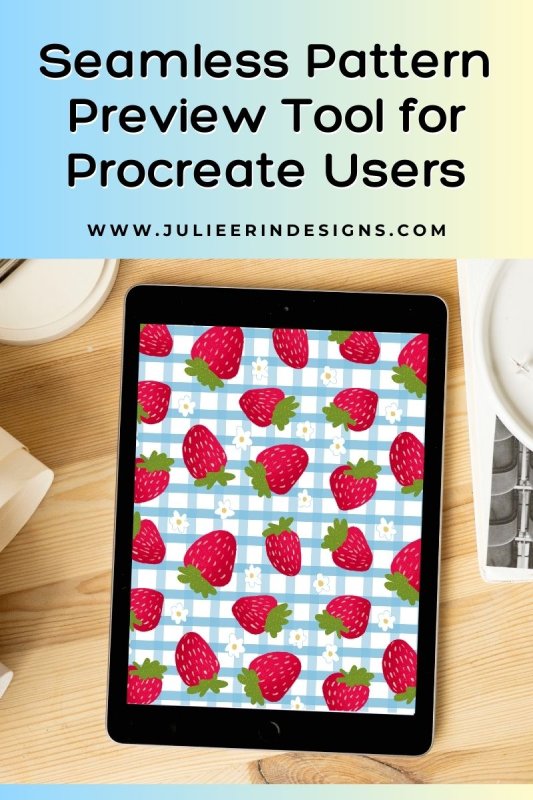
  2. Draw your motifs (I drew some simple strawberries).
  3. Arrange your motifs so they are somewhat close to the center of your square canvas.
  4. Create a group from your motifs and duplicate it.
  5. Hide your original group.
  6. Pinch the new group together into 1 layer.
  7. Create a new layer and fill it with a solid color background (can be any color, it doesn’t matter).
  8. Group the layer with your motifs with the solid background layer.
  9. Duplicate this group 4 times.
  10. With snapping and magnetics ON, move each of those layers into the 4 corners of the document.
  11. Now you can delete those solid background layers.
  12. Turn back on your original group of motifs and arrange them so they fit nicely between the others.
  13. Now you have your seamless pattern tile!

If you want to test your pattern swatch to make sure it all lines up correctly, I’ve shown you how to do that too in the video above.

Once you have your final seamless pattern you can export it and use it for many projects or upload your patterns to print on demand stores so they can be printed on products!

Here’s an example of what I created with my strawberry pattern. I added some more florals to it.

(You can shop this design in my Redbubble store by the way!)


I hope you’ve found this post helpful and you learned how to make a seamless pattern in the Procreate app!


You may also be interested in these posts:

Cheers,

julie signing off