Looking for the best digital tools for artists? Discover the essential apps and platforms I use daily to run my art business.
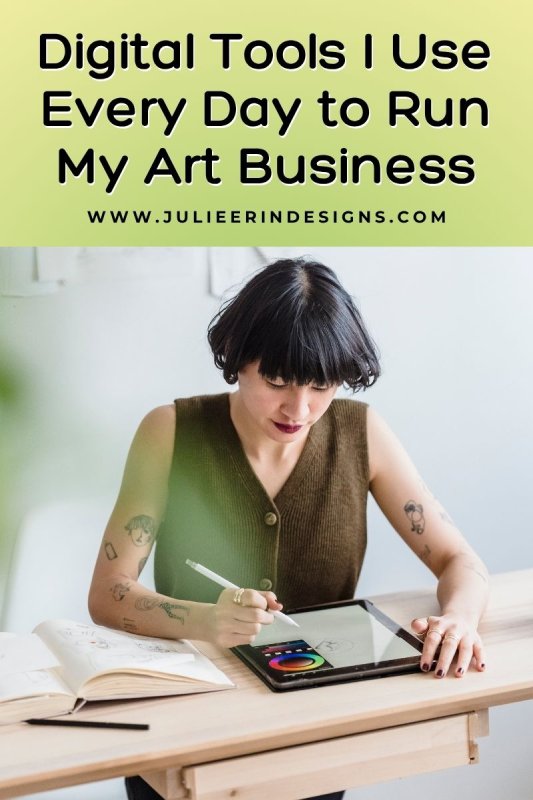
Digital Tools I Use Every Day to Run My Art Business
read more

Looking for the best digital tools for artists? Discover the essential apps and platforms I use daily to run my art business.

In this post we explore how artists can sell their art online using integrated print on demand services, Printful and Printify.
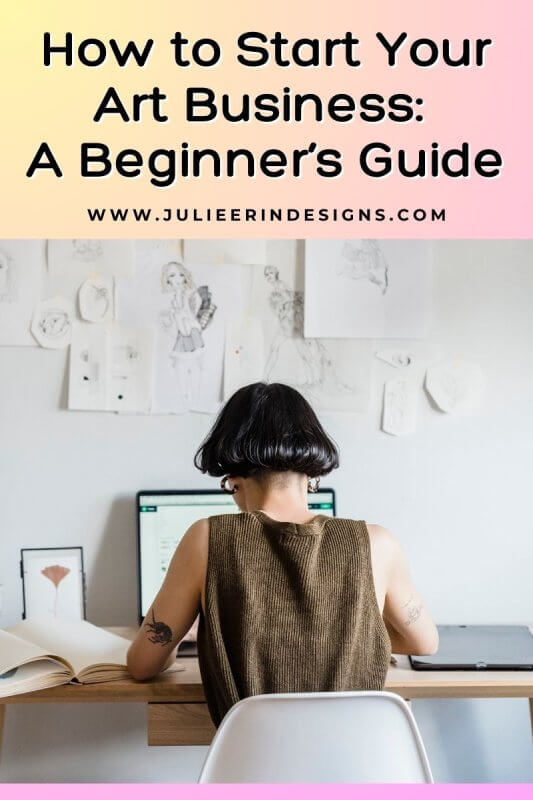
Are you a budding artist ready to turn your passion into a business? Here’s a step-by-step guide to help you get started with your art business.
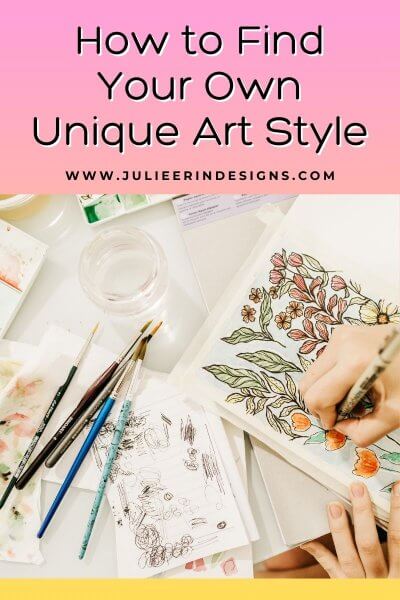
In this post we discuss how to find your own unique art style by experimenting, drawing inspiration, and creating a large body of work.
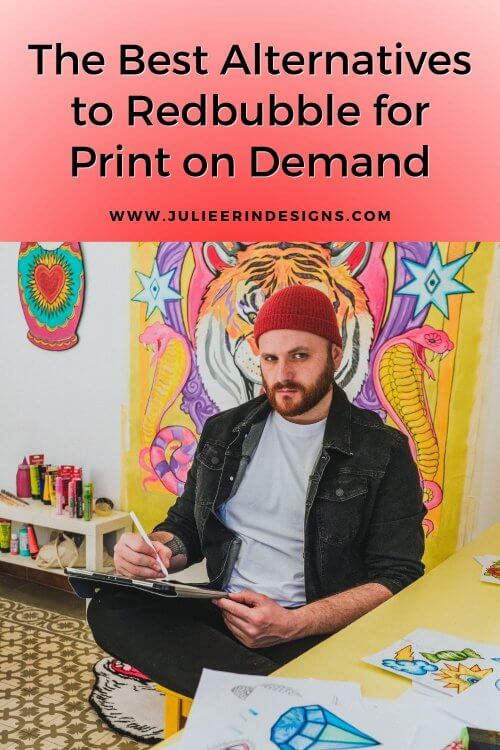
This blog post aims to share some lesser-known alternatives to Redbubble, to provide artists with new avenues to showcase their work.
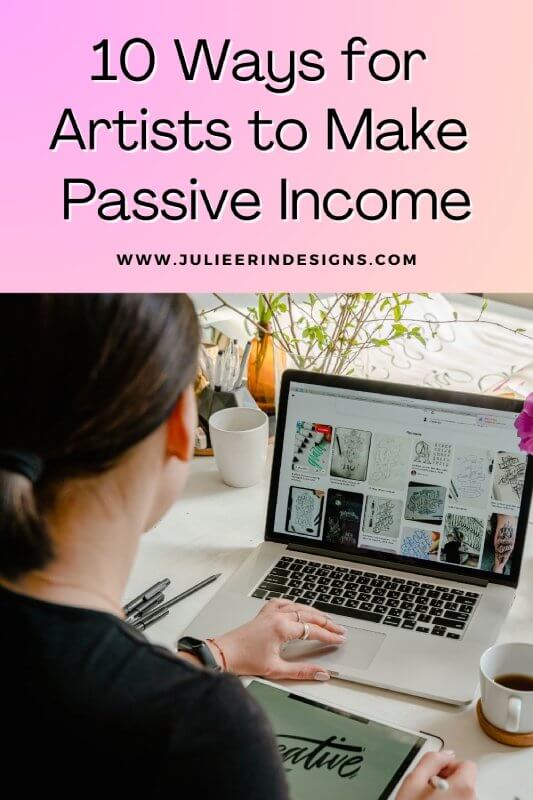
As an artist, there are many different ways to monetize your art. In this post I share 10 different ways for artists to make passive income.
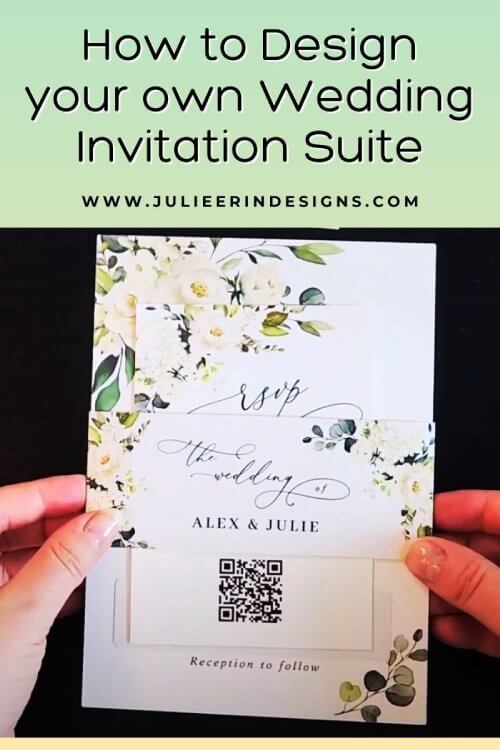
Learn how to design your own wedding invitation suite with Zazzle. Get inspired to create your own stunning invitations with this tutorial.
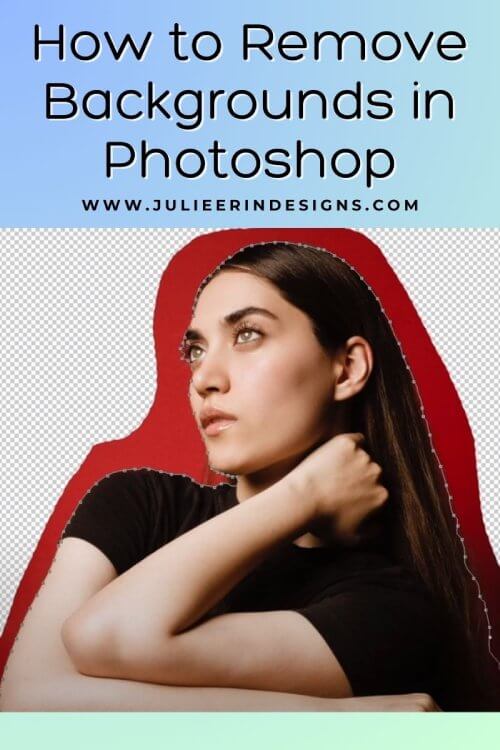
Learn how to remove backgrounds in Photoshop with this quick tutorial. Create professional and transparent images with ease.

Learn how to sell your art online with Zazzle! Check out my complete guide to setting up your Zazzle print on demand store.
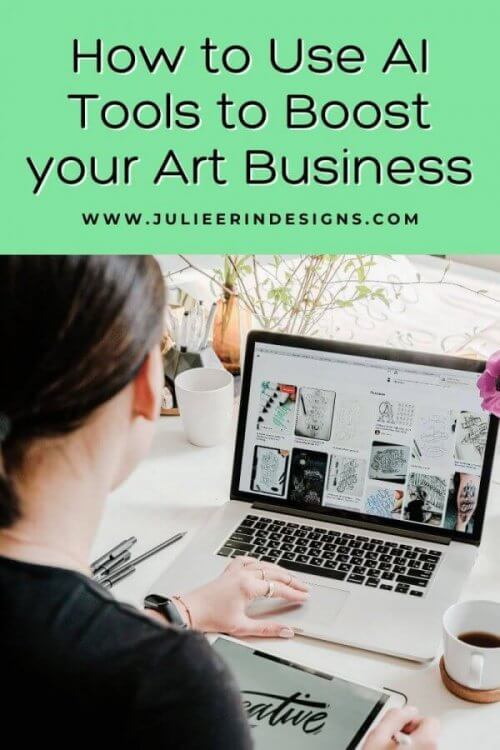
AI is everywhere! Discover how to use AI tools in your art business to enhance your artwork, gain market insights, and boost productivity.
I’m an digital artist, surface designer, and online educator from Vancouver, Canada.
I’ve sold thousands of physical and digital products worldwide through print on demand companies.
Through my online classes and blog, I teach other artists how to sell their own art online and turn their passions into a business they love.