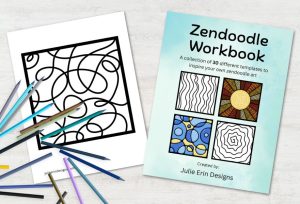
If you’re looking for easy drawing ideas, art prompts, or sketchbook inspiration, these zen doodle ideas will help spark your creativity.
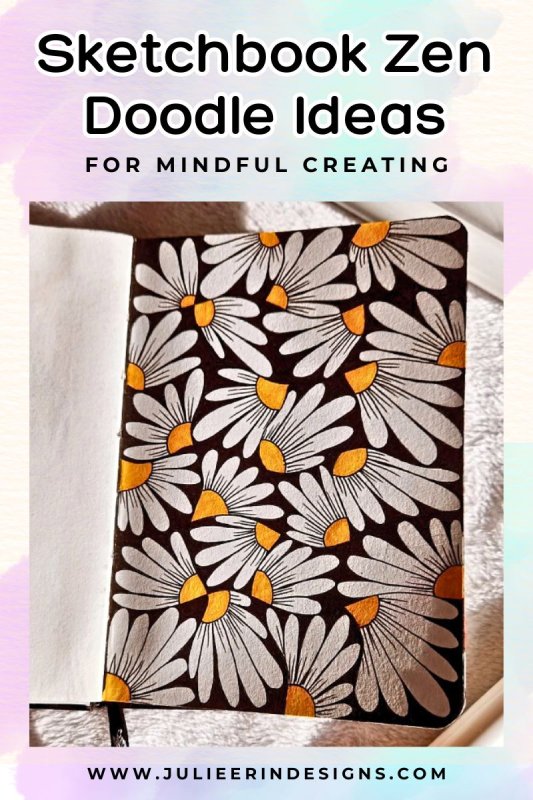
Sketchbook Zen Doodle Ideas for Mindful Creating
read more

If you’re looking for easy drawing ideas, art prompts, or sketchbook inspiration, these zen doodle ideas will help spark your creativity.
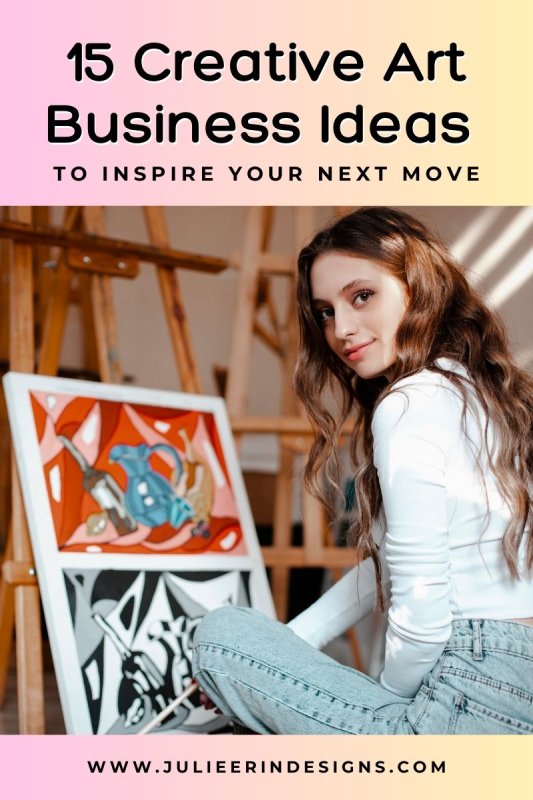
In this post I’m sharing 15 art business ideas you can start exploring right now, along with my own personal experience (if any) with each.
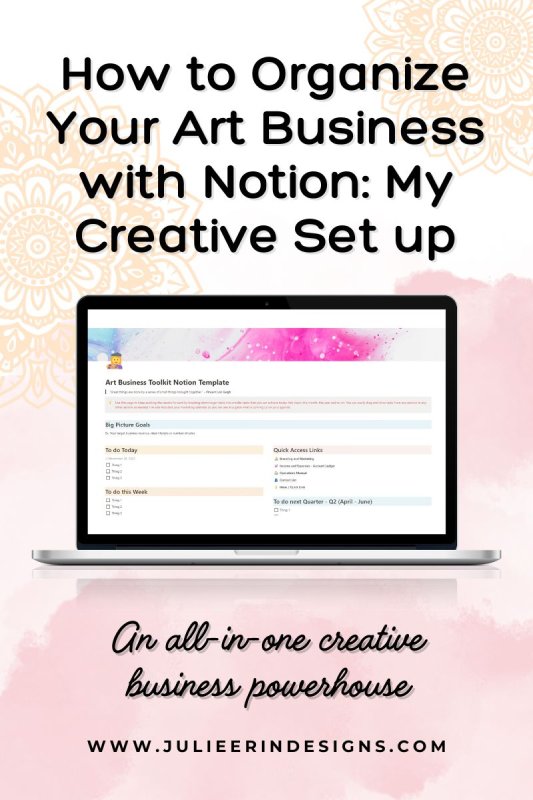
In this post, I’ll show you how I use Notion to stay organized as a creative entrepreneur and introduce you to my Art Business Toolkit template, designed specifically for artists.
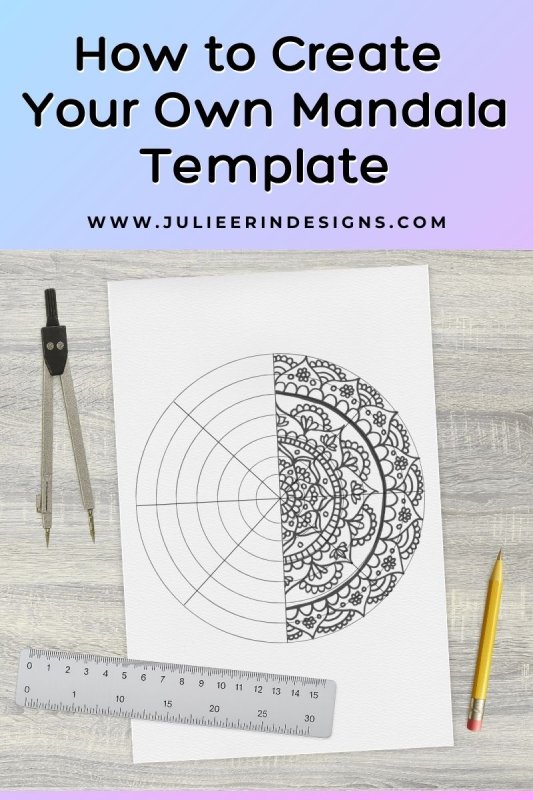
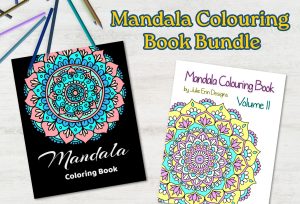
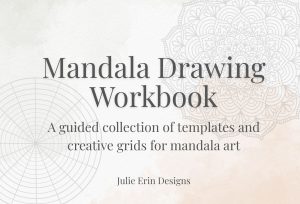
Learn how to create your own mandala template step-by-step and start drawing beautiful, symmetrical mandalas today.
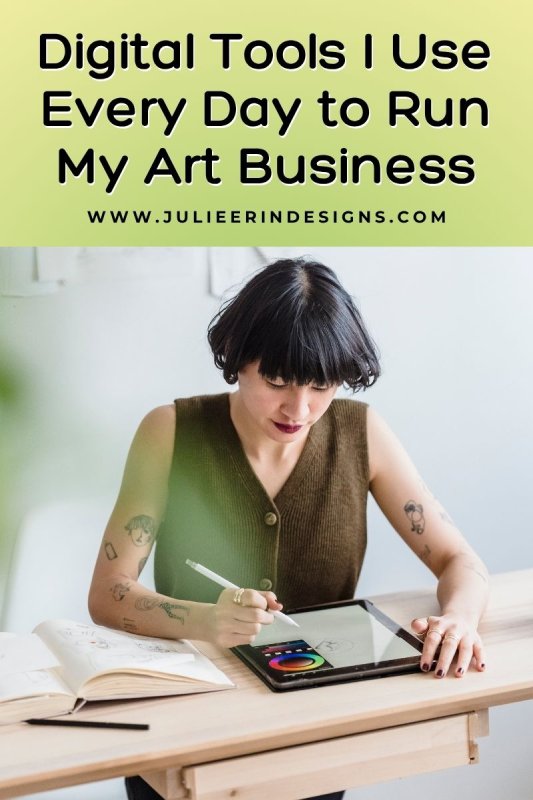
Looking for the best digital tools for artists? Discover the essential apps and platforms I use daily to run my art business.

In this post, we’ll explore the best iPad art apps for digital artists, covering their features, costs, and providing links to download them.

In this post we’ll explore the benefits of using a black paper sketchbook, discuss different art techniques, mediums and example artwork.
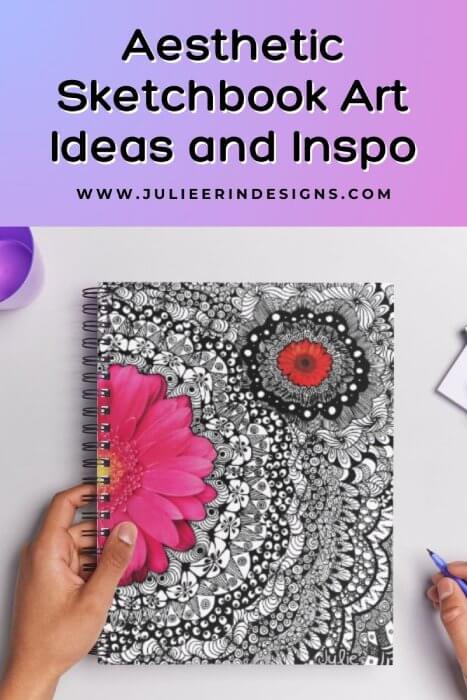
In this post, we’ll explore a variety of beautiful and imaginative sketchbook art ideas and inspiration to fuel your artistic journey.
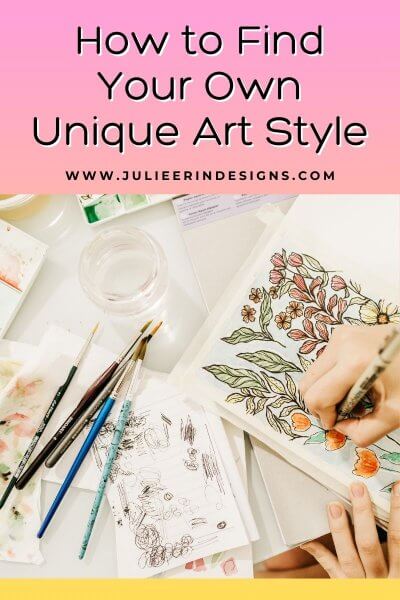
In this post we discuss how to find your own unique art style by experimenting, drawing inspiration, and creating a large body of work.
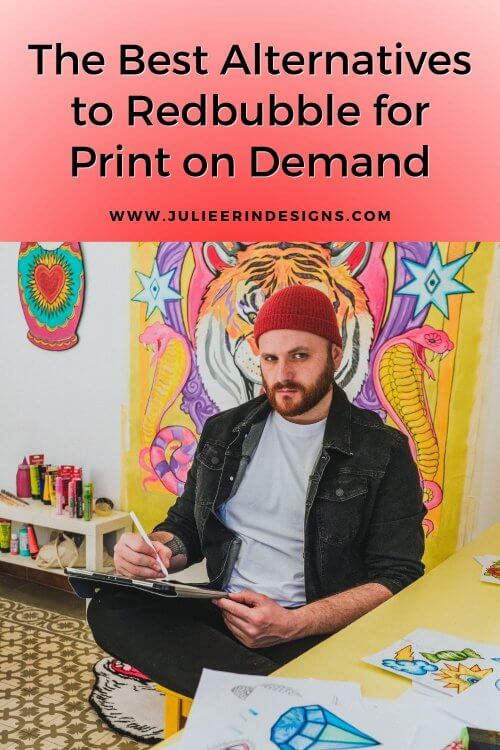
This blog post aims to share some lesser-known alternatives to Redbubble, to provide artists with new avenues to showcase their work.
I’m an digital artist, surface designer, and online educator from Vancouver, Canada.
I’ve sold thousands of physical and digital products worldwide through print on demand companies.
Through my online classes and blog, I teach other artists how to sell their own art online and turn their passions into a business they love.