
Hello fellow artists! Today I’m sharing some info about how to sell your art on Redbubble, a popular Print on Demand website where artists can upload and sell their work on a variety of physical products.
In this post I will be giving a review of my experiences with Redbubble where I have been selling my art for a few years now.
Learn more about how to sell your art on Redbubble
You can also watch this video I created about the pros and cons of selling your art on Redbubble and other Print on Demand websites.
Store Front
My first impressions of Rebubble is that they are artist focused, cater to a young and trendy audience and have a sense of humour.
Their website layout is sleek and easy to navigate. On the home page there are rotating featured artists and art works that are updated daily.
You can easily customize your store front with a header, profile photo, bio, collections and a featured collection which shows at the top. Your art is displayed on a variety of products in order of the most popular or most recently purchased.
You can also “like” other people’s designs and “follow” other artists, and leave comments on their work.
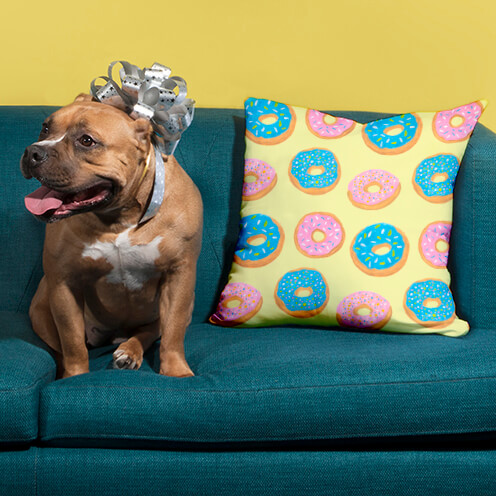
Products
In terms of products, the range is similar to Society6, which includes apparel, various electronics cases, and home décor items. The prices are about the same as other print on demand websites, and they often offer 20% off or other promotions.
Redbubble has some unique products that are not available from other suppliers, such as mini skirts, dresses and scarves.
Below is a scarf I purchased featuring my Blue and Gold Mandala Pattern.

I love this scarf, the print turned out beautiful and the fabric is and soft and silky. I actually wrote a full review of the scarf in this blog post.
I’ve also purchased a hoody, t-shirt and stickers with my own designs. All are good quality and I’ve had no issues, however I did find the t-shirt ran a bit large.
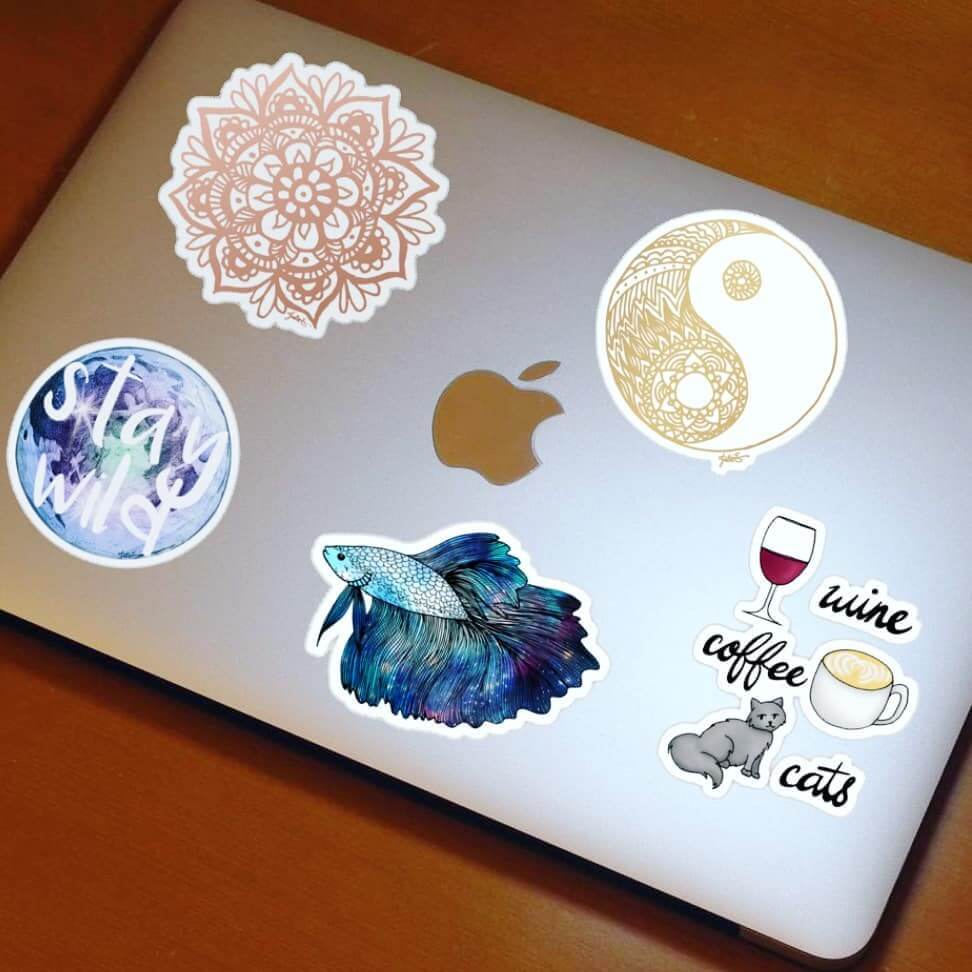
One really popular product on Redbubble are stickers. I usually sell a few of these daily. So optimizing your designs for stickers is a great way to sell your art on Redbubble. Below is a picture of several of my sticker designs. They are super cute, and affordable too!
I’ve also created a Youtube video showing all of the products I’ve bought from Redbubble over the years, in case you want to see them in real life:
Ease of Upload
Redbubble’s uploading tool is by far my favourite out of all the print on demand sites I’ve tried.
I find it efficient because you can upload one image of your main design and adjust it straight in the browser for each product. There are also pattern tiling options, or you can replace the image entirely if neither of those options work.
You can also change the background colour which can be very handy when working with transparent designs.
You can also copy existing settings from another design, making uploading similar designs a breeze!
Earnings and Payment
It took about a month after opening my store before I saw any sales, but since then I have been getting consistent earnings every month. (I should note here that I was lucky enough to have a design featured on the front page which boosted my sales a lot.)
It’s not going to replace my day job any time soon, but any amount of extra cash is always welcome!
You can adjust the markup for individual products (in Account Settings), but it is automatically set to 20%.
Earnings are paid out automatically around the 15th of every month (to Paypal, or direct deposit), and there is a $20 minimum threshold.
Marketing
Redbubble has their own marketing team who are pros at driving traffic to their website, so it’s just a matter of getting your own designs on the website and seen by then. If you’re lucky and get featured on their front page, then you’re good to go for a long time
It also doesn’t hurt to do some marketing yourself. Check out my post on Social Media Marketing Tips for Artists for help with that.
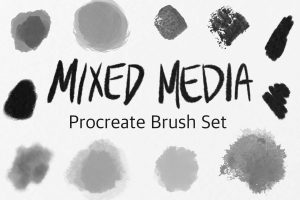
You can also find some nice promotional tools on the Redbubble blog. For example, fun marketing templates like this one:
Shipping
Redbubble has headquarters located in San Francisco (U.S.) and Melbourne (Australia). Products are shipped from suppliers in one of those areas depending on your location.
I have found they offer reasonable shipping costs to Canada, and even more reasonable within the U.S. The shipping is generally pretty quick, and you can choose a faster shipping method if required.
Also, you get a free sticker with every purchase!
Summary of How to Sell your Art on Redbubble
In sum, I highly recommend Redbubble for selling your art online!
For an in depth, step by step guide on how to get started selling your art with Redbubble, check out my Skillshare class: From Design to Product: Sell Your Art Online Through Print on Demand.
I hope you’ve found some useful information here about how to sell your art on Redbubble. If you have any questions, or want to share your own experiences with Redbubble, feel free to leave a comment below! Also check out the Artists Resources section of this website for even more print on demand selling tips.
Cheers,


Really great article and very useful! Lately, I wanted to try with RedBubble but they state they prefer CMYK images and I use only RGB as I do not have Photoshop, so I am a bit concerned that when the products will be printed the colors could look very different. Do you have any suggestions? Thank you so much!
The colours may look a bit different when printed but that’s the same for any POD like Society6 or Zazzle as well. Most of my designs are RGB anyways since when I upload as CMYK it makes the preview image all messed up (I think it’s a glitch, it like reverses the colours – its super weird). I wouldn’t let it stop you. The colours will look different no matter what and depending on the product (on fabric I find the colours are a bit more dull). If you’re terribly concerned, you could always order a cheap product to see how it looks and adjust your image if needed.
Thank you so much for your great answer! Sorry for the delay in responding, I wasn’t active on WordPress for awhile. I tried an online converter for one of my designs and it really looked completely different. Apparently the problems arise specially for bright colors like magenta, bright green and blue, which is what I use! Thank you, it makes more sense now!!