How to Remove Backgrounds in Photoshop

how to remove backgrounds in photoshop

Are you looking to take your image editing skills to the next level? Then look no further than this tutorial on how to remove backgrounds in Photoshop!

how to remove backgrounds in photoshop

In this video tutorial I take you step by step through the process of removing backgrounds from images using the selection and lasso tools.

I demonstrate how to do this with a both a simple image of a laptop, and a more complex image featuring a person in the foreground.

You can use these skills to edit your photographs, or create designs with transparent backgrounds to use for stickers, t-shirts and other print on demand products with Photoshop!

How to Remove Backgrounds in Photoshop with Lasso Tools

  1. Open your image in Photoshop and double-click the background layer to unlock it.
  2. Use the Eraser tool to erase out major parts of the background, without getting too close to your subject.
  3. Select the appropriate lasso tool for your image, such as the Lasso Tool, Polygonal Lasso Tool, or Magnetic Lasso Tool.
  4. Begin by making a rough selection around the object or subject you want to keep. For straight edges, use the Polygonal Lasso Tool. For irregular shapes, use the Lasso Tool or Magnetic Lasso Tool.
  5. Continue tracing the outline of the object, and close the selection by connecting the endpoint with the starting point.
  6. If needed, use the Add to Selection or Subtract from Selection options to refine the selection (Can also use + or ).
  7. Hide or delete the original background layer (if there is one remaining) to see the transparency.
  8. Use the Eraser Tool or Layer Mask to further refine the edges of the object if necessary.
  9. Create a new layer below, and fill it with a solid color to check for any stray pixels.
  10. Save your image in a format that supports transparency, like .PNG.

With practice and experimentation, you’ll become more proficient in using lasso and selection tools to remove backgrounds in Photoshop.

In conclusion, removing backgrounds in Photoshop using the lasso tools is a powerful technique that allows you to isolate objects and create images and graphics with transparent backgrounds. With the flexibility and precision of the lasso tools, you can achieve clean and professional results.

Remember to practice and experiment with different selection tools to find the one that works best for your specific image. So go ahead and give it a try in your next project!


Cheers,

julie signing off

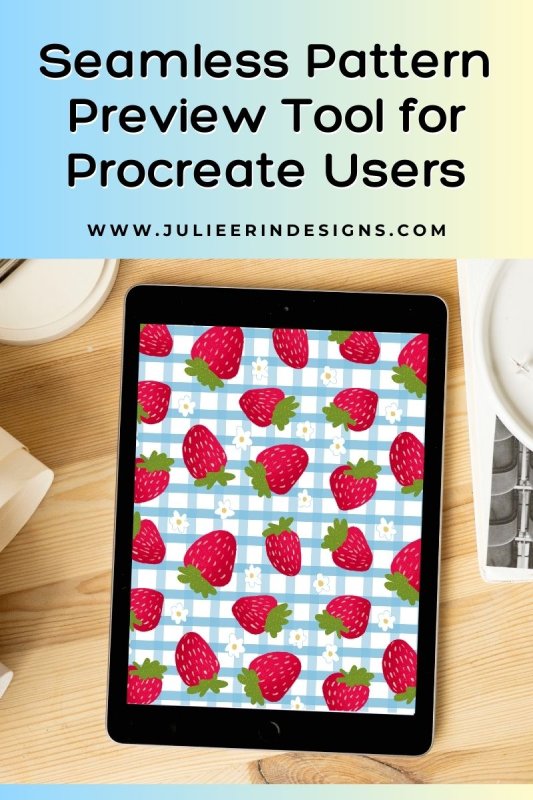
How to Make an Offset Pattern in Photoshop Tutorial

offset pattern photoshop tutorial

Hey friends! Today I’m sharing with you a video tutorial I made on how to make an offset repeating pattern in Photoshop.

Offset patterns are a great way to add interest and texture to your designs, and they’re fairly easy to create in Photoshop. In this tutorial, I’ll walk you through the steps for creating an offset pattern of your own. You’ll learn how to use the Offset Filter, how to adjust your layer properties, and how to save your pattern for future use. Let’s get started!

Watch my video tutorial below on how to make an offset pattern in Photoshop


Creating a offset pattern is simple and especially useful for designing artwork for Print on Demand websites.

Some Print on Demand websites, like Redbubble, let you make a tiled pattern right in their uploading tool. However, it might not always look just how you want it to. Being able to make your own offset pattern will ensure that your design looks good on the full range of products like leggings, dresses or curtains.

Making a pattern from your design can also be helpful if your artwork is too small to cover the product. Instead of up-sizing and losing quality, you can make a pattern instead.

Below are some examples of products I’ve made with this technique.

Offset pattern photoshop tutorial sunflower curtains

pastel pineapple offset pattern backpack

Although there are many ways to create an offset pattern in Photoshop, this tutorial outlines a simple and effective way to create an eye-catching pattern that can be used for a variety of purposes. With just a few clicks, you can easily create an offset pattern that can be applied to your designs.

I’d love to hear your thoughts on my tutorial. If you have suggestions for other tutorials you would like me to make let me know in the comments below!

You might also like: Cleaning up Line Art in Photoshop and Illustrator

Check out the resources section of my website for even more tutorials and tips for selling your art online.

Cheers,

julie signing off

How to Clean up Line Art using Photoshop and Illustrator

clean up line art photoshop
cleaning up line art in photoshop illustrator

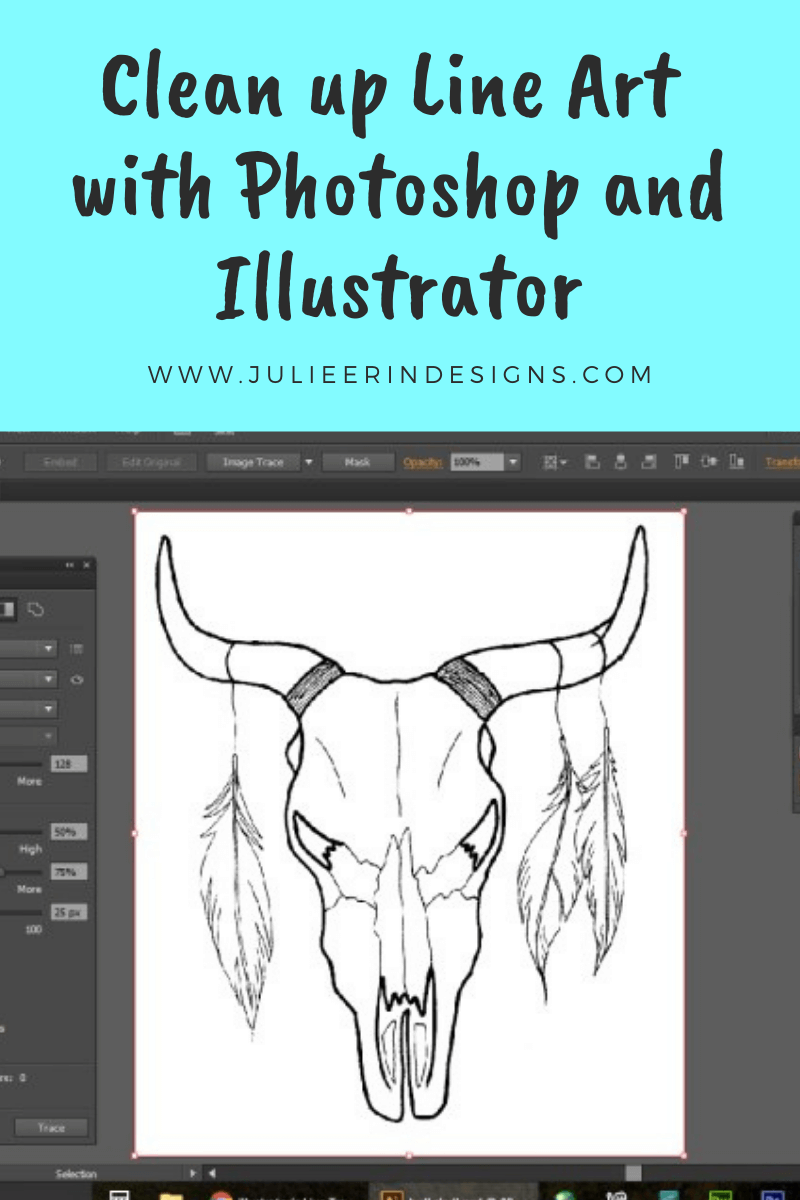
Hello friends! Today I would like to share with you how to clean up line art drawings using Photoshop and Illustrator.

Smoothing out your line art is especially important if you are selling artwork printed on shirts and other products through Print on Demand stores like Redbubble, Zazzle, Society6, etc.

This is just one of many ways I create designs, and a technique you can use to turn black and white drawings into digital line art — which you can then use any way you choose.

How to Clean up Line Art using Photoshop and Illustrator

 Start out with some ideas in your sketchbook, and make a short list of designs to try drawing.  I often look online for inspiration and have a few things in mind before I get started.

sketchbook

  • Once you have a design you like, re-draw it lightly on a clean page in pencil.
  • Go over the pencil drawing with a black Sharpie or another fine black ink pen, to get something like this:
sketches black and white

  • Make sure you erase all pencil lines.
  • Scan each design separately into Photoshop.
line drawing in photoshop

  • Clean up the image as much as possible using tools such as desaturate, Brightness/Contrast, Curves, and erase to clean up any little black dots or dust bits that are showing.  
  • You can also use the colour selection tool to select the black line only, then create a new layer and fill it in with black. Once I am finished with this step, I save the file as a .PSD.
  • Next open the .PSD file in Illustrator, and use the Live Trace or Image Trace tool to turn your design into a nice smooth vector image. This is a great tutorial on using Live Trace in Illustrator that I often follow.
live trace in illustrator

  • The result of this process is that you get much smoother lines. This is important if you are having the designs printed, especially in large sizes.
  • Save the image as a .AI file.
  • Open up the file in Photoshop and set the pixel size to something large, like 10,000 x 10,000 pixels.
  • Fill or colour your line drawing however you like.  I like to use layers, fill with gradients and use layer settings (ex. Screen) or just paint on another layer using a drawing tablet.  There is basically an endless variety of ways you can use your line art.
  • Save your finished design as the correct file type and size(s) for the POD site you are creating for.  I always save a .PSD file as well (with all my layers in tact) so I can open it again later and use the same design multiple times.

Here are some examples of work that I have used this technique for:

tangled black and white yin yang mandala live trace illustrator
pot head teapot live trace illustrator tutorial

And there you have it!  Hopefully you now have a little bit of insight into how I create my designs for sale, and maybe even learned a new technique to try out for yourself.

Feel free to leave any questions or comments about this process in the comments section below.

Have a great week everyone!

Cheers,

julie signing off