Julie Erin Designs is now selling on Spoonflower, a print on demand retailer specializing in fabric with seamless pattern designs.
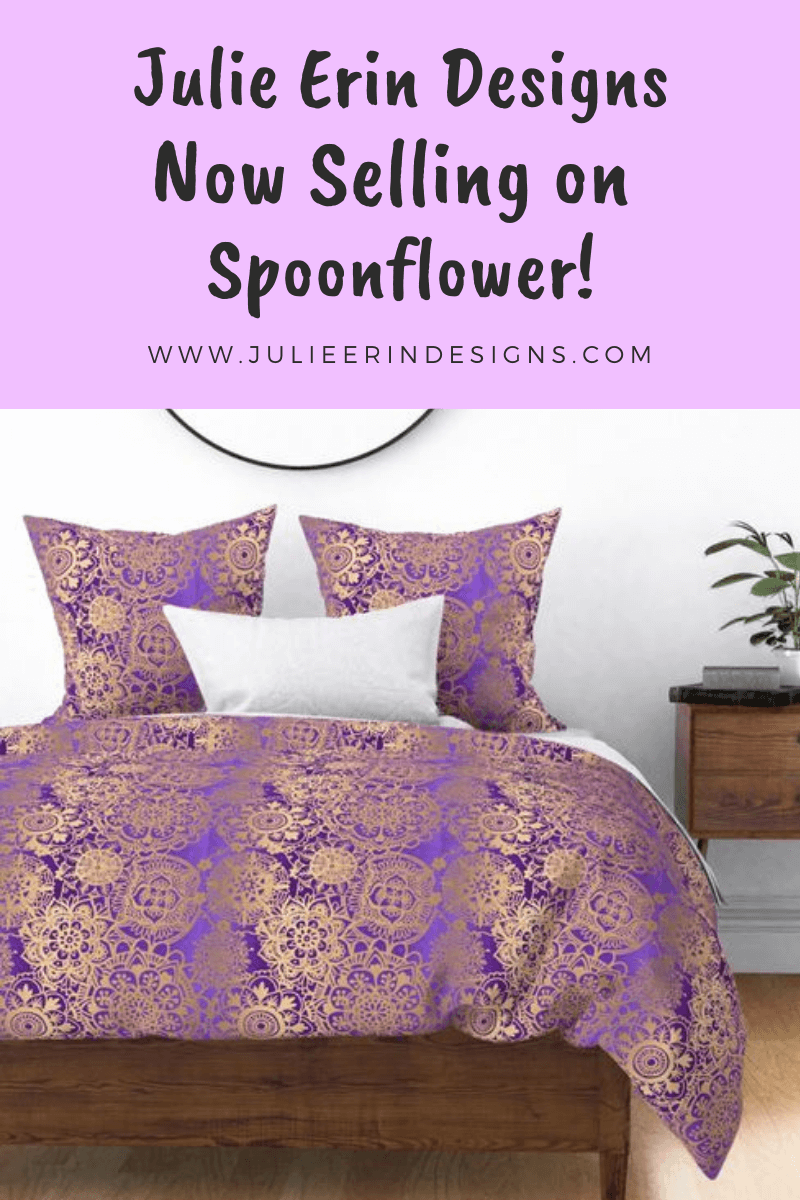
Julie Erin Designs Now Selling on Spoonflower!
read more

Julie Erin Designs is now selling on Spoonflower, a print on demand retailer specializing in fabric with seamless pattern designs.

The process of painting a large scale mandala wall mural using acrylic paints. Step by step instructions plus a time-lapse video!

The 5 main steps to sell your art online. This easy guide will help you get started selling your artwork through Print on Demand websites.

Selling your art on Print on Demand websites: TeePublic edition
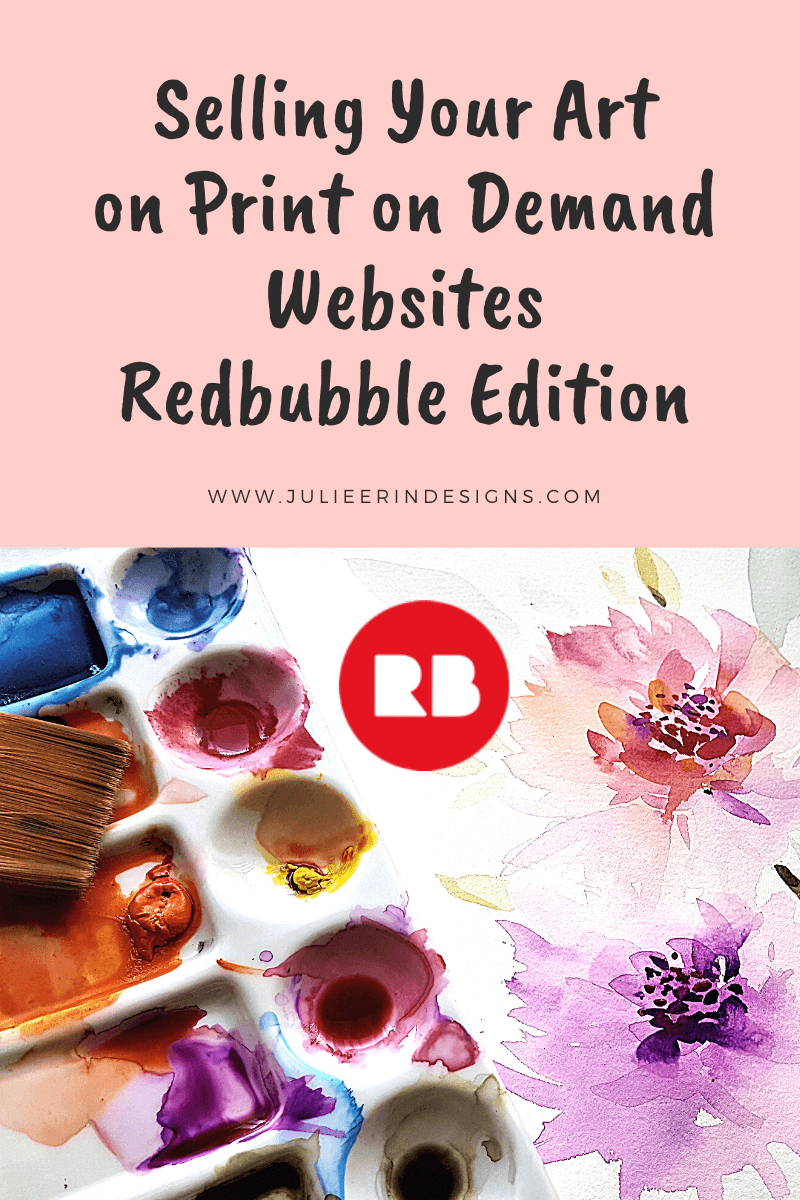
A post all about how to sell your artwork on Redbubble; a print on demand website for art, fashion, home décor and accessories.
I’m an digital artist, surface designer, and online educator from Vancouver, Canada.
I’ve sold thousands of physical and digital products worldwide through print on demand companies.
Through my online classes and blog, I teach other artists how to sell their own art online and turn their passions into a business they love.