Social media tips for artists, especially for those using Print on Demand to sell their artwork online.
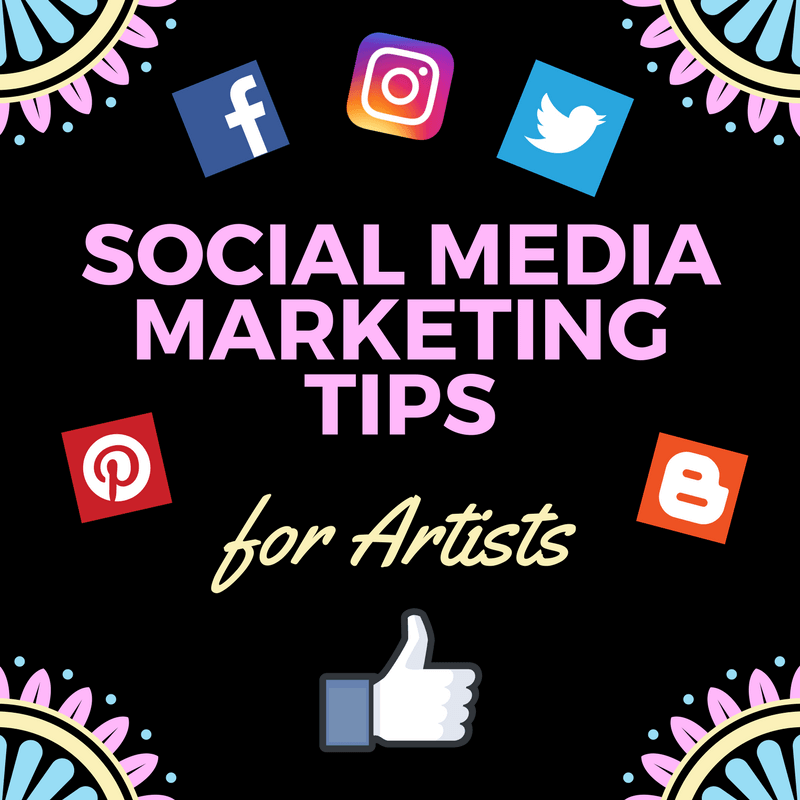
Social Media Marketing Tips For Artists
read more

Social media tips for artists, especially for those using Print on Demand to sell their artwork online.
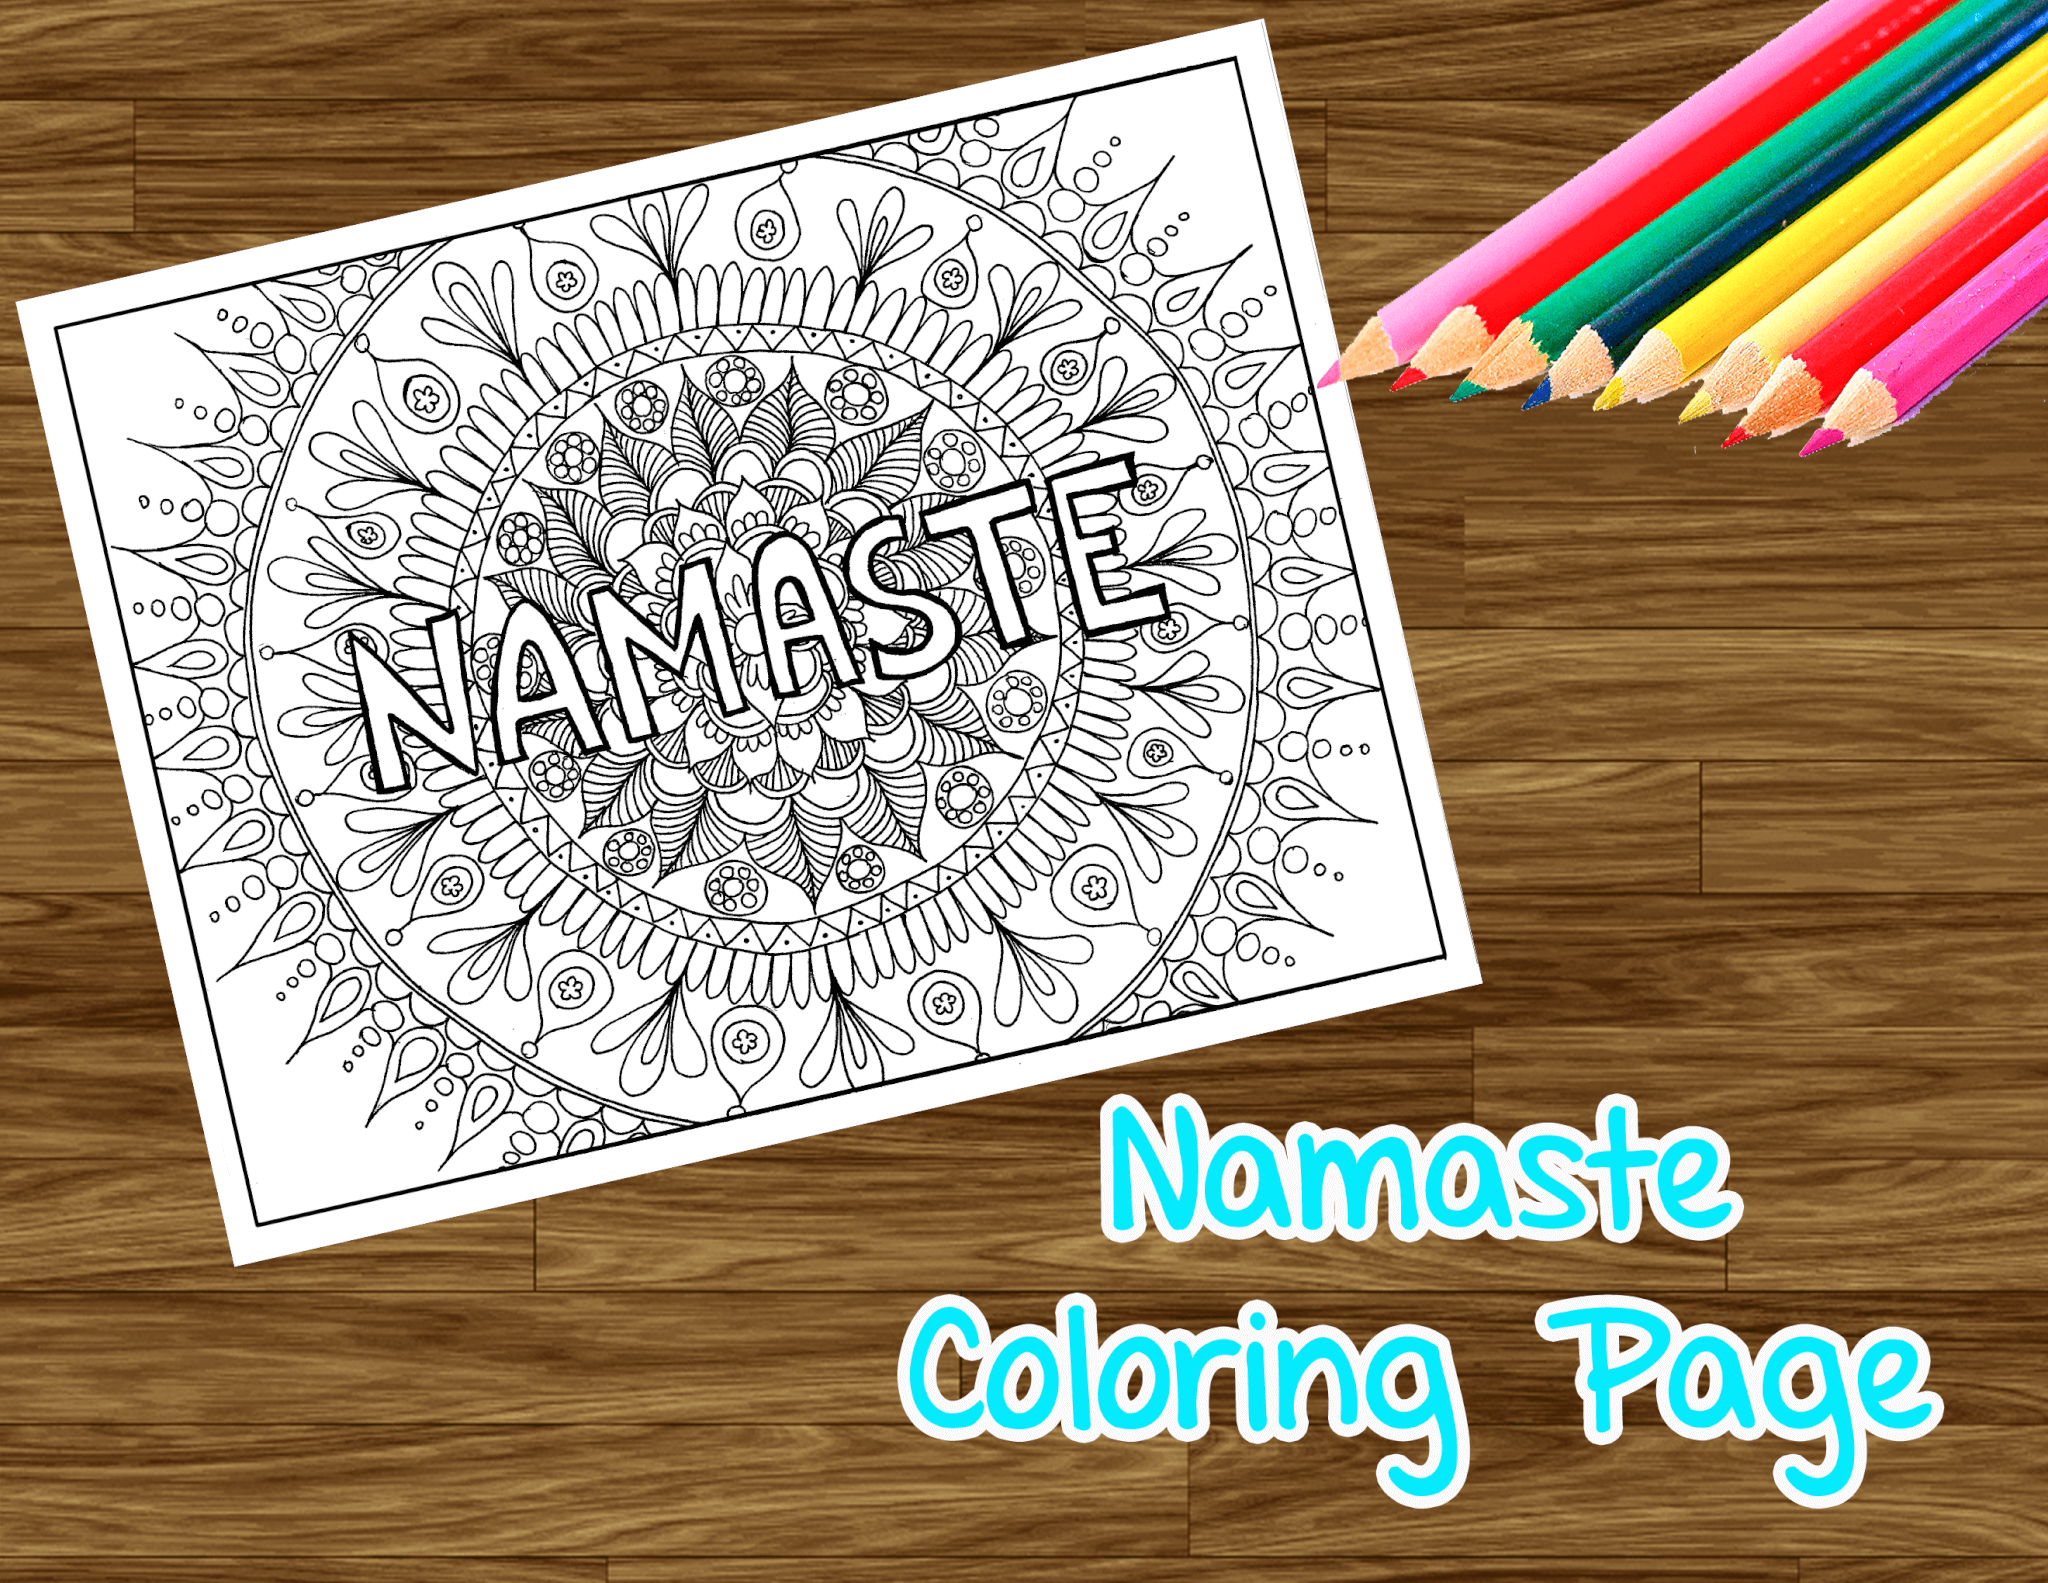
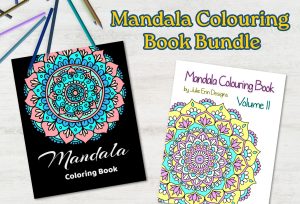
Free download adult colouring page: Namaste Mandala
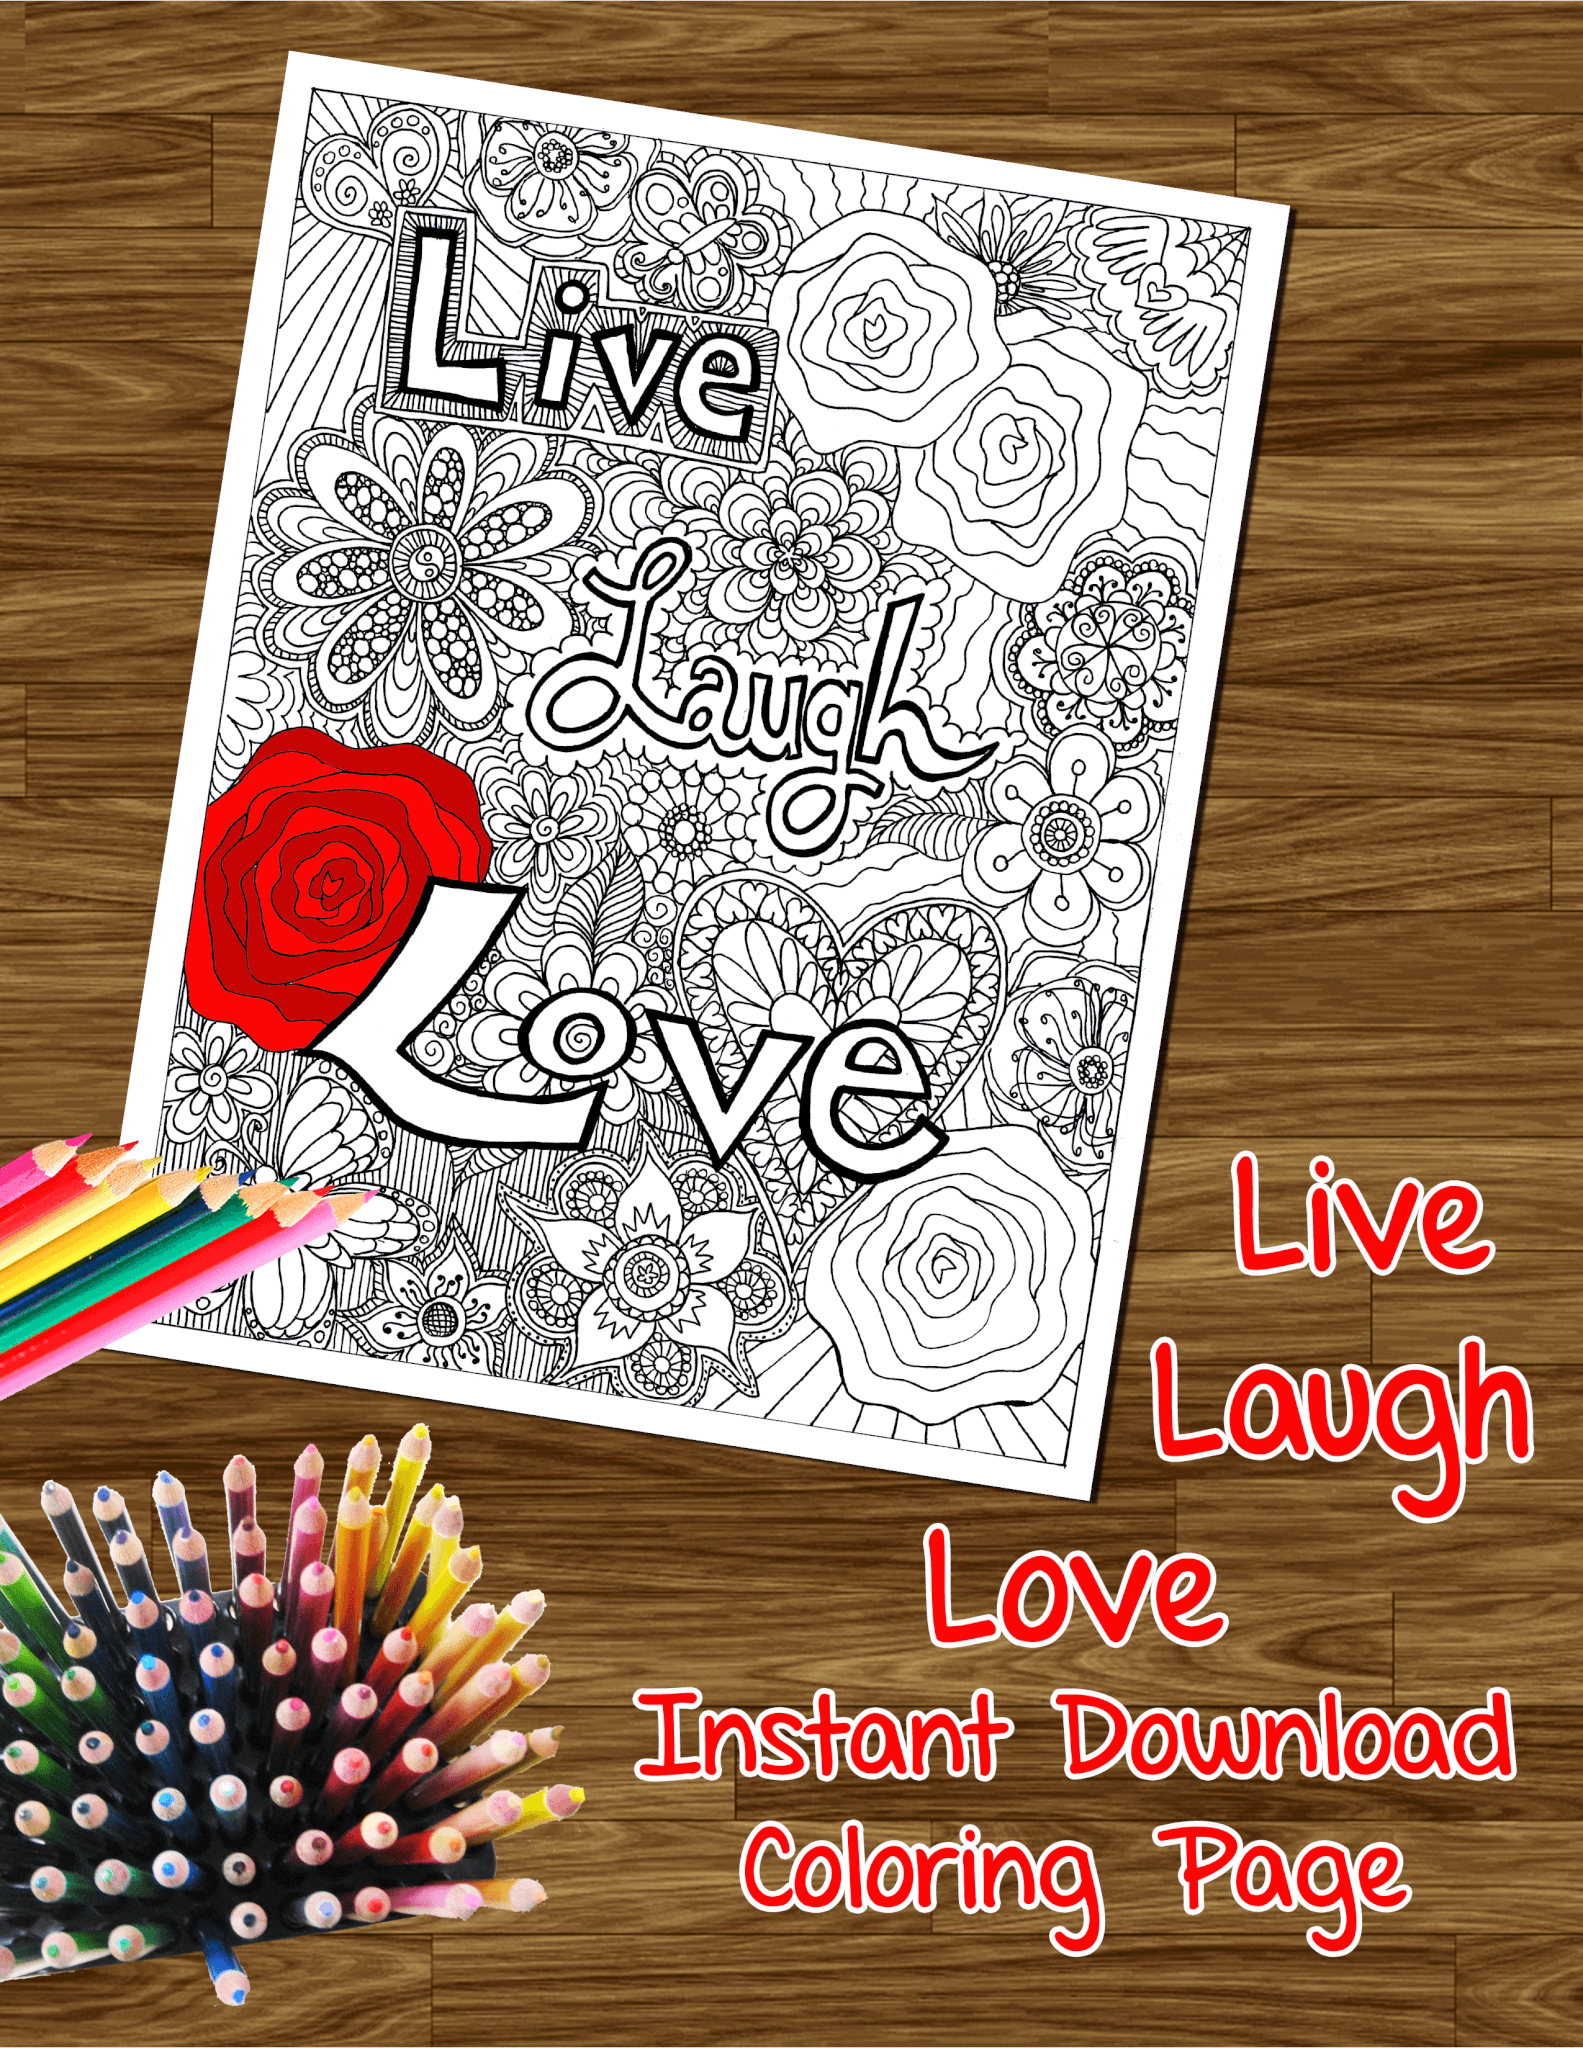
A free downloadable and printable coloring page with the words Live Laugh Love with doodles and patterns surrounding it.

A tutorial on how to make God’s eye mandalas, an easy DIY yarn craft to make beautiful ornaments also known as Ojo de Dios.
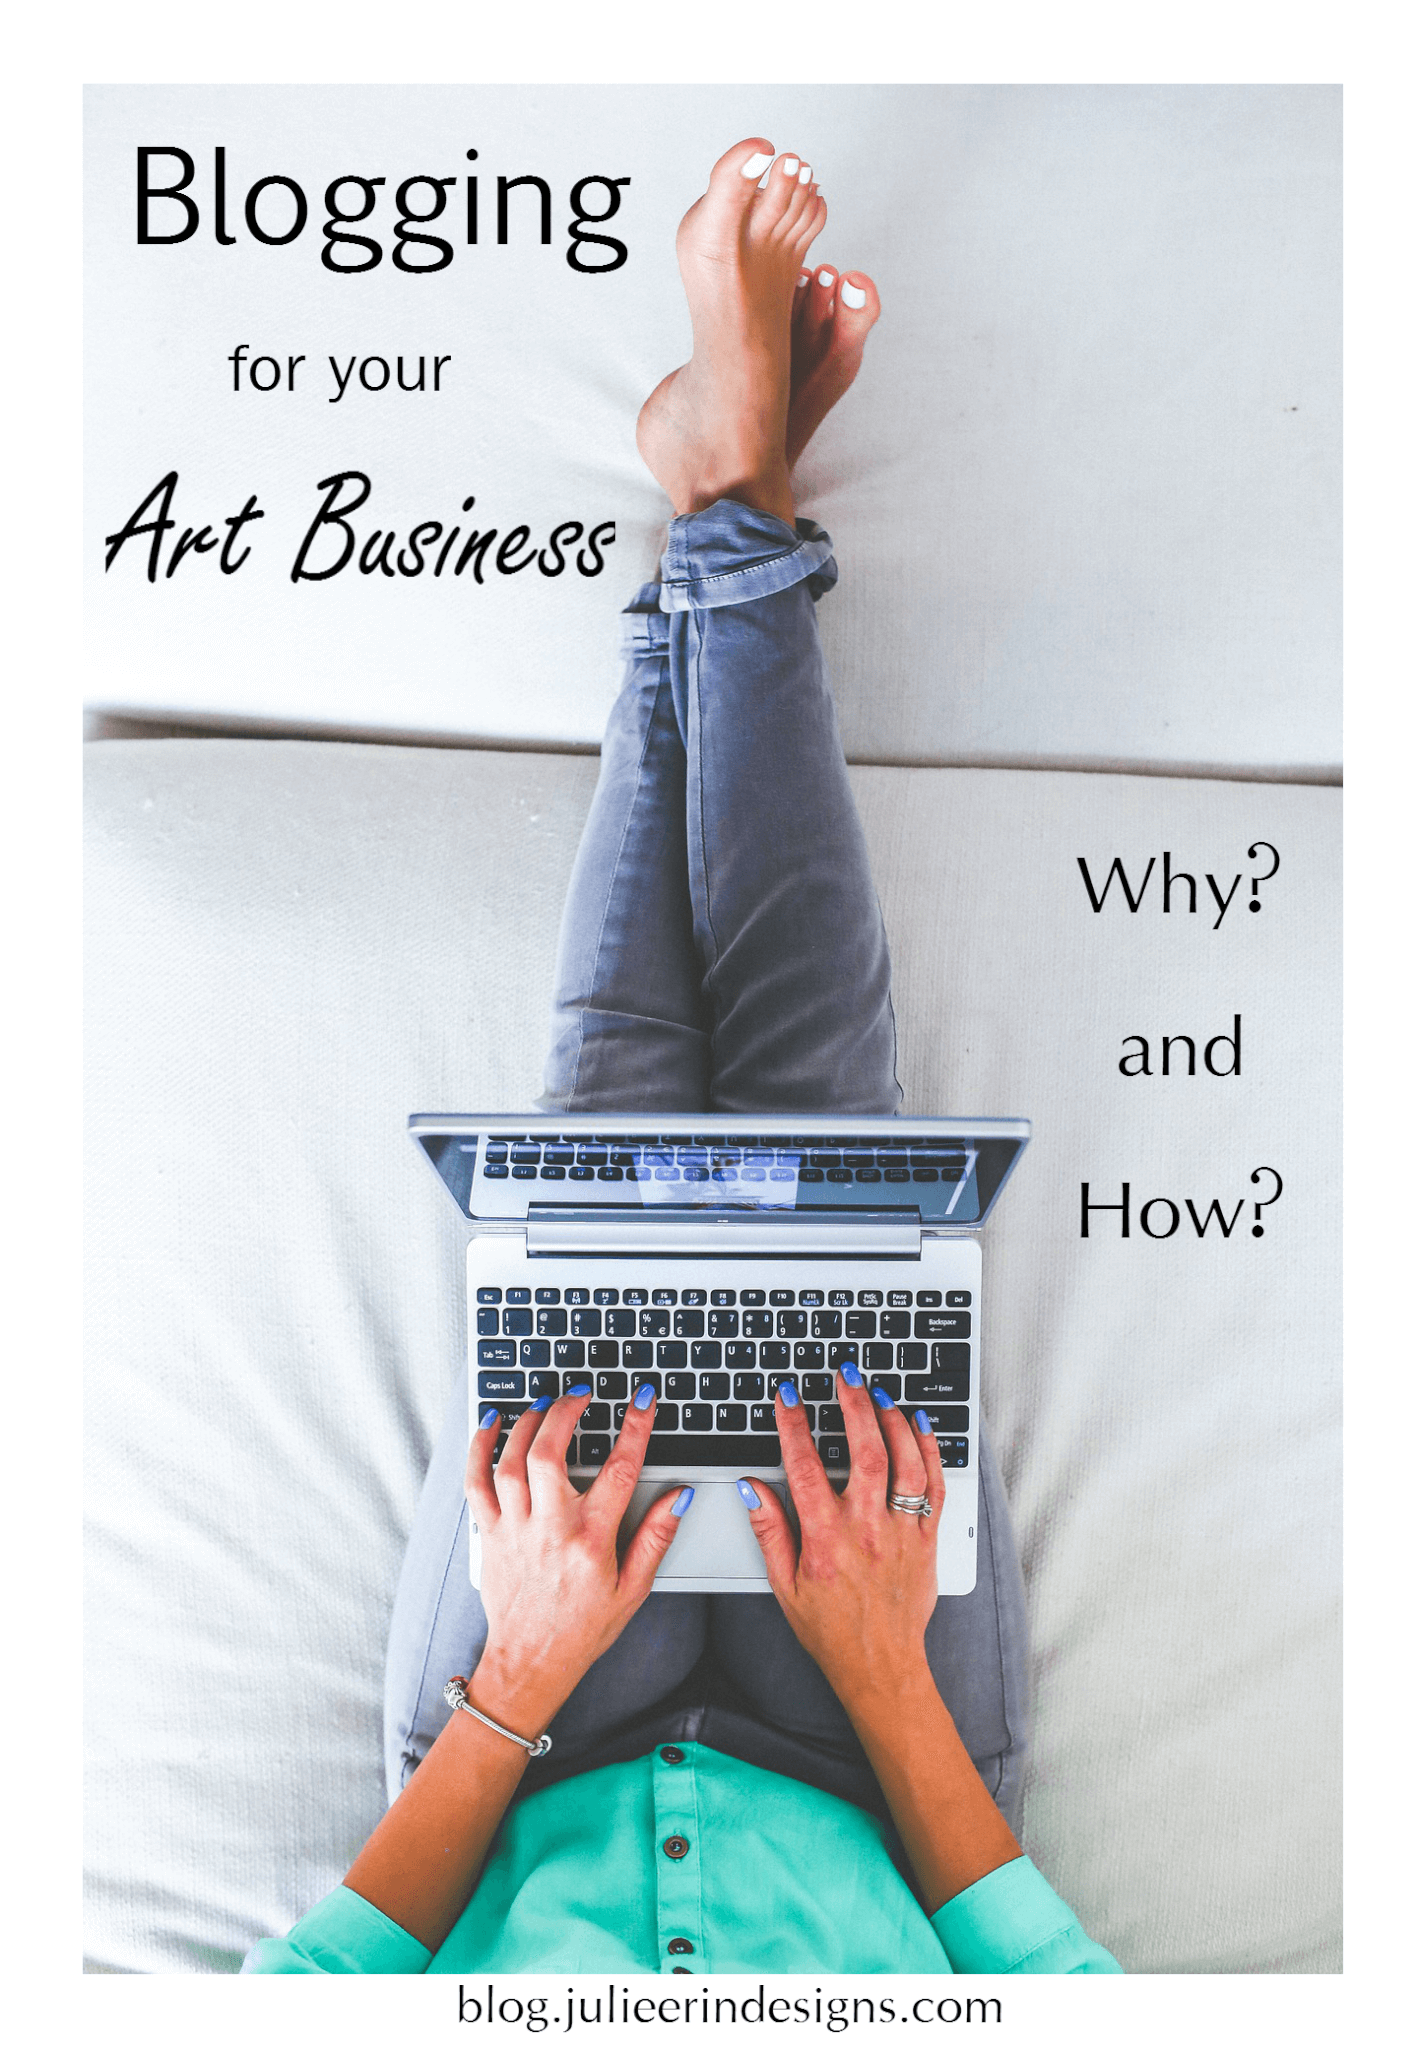
Why you should start blogging for your art business, and how to get started. Actionable tips on how to start and monetize your blog.
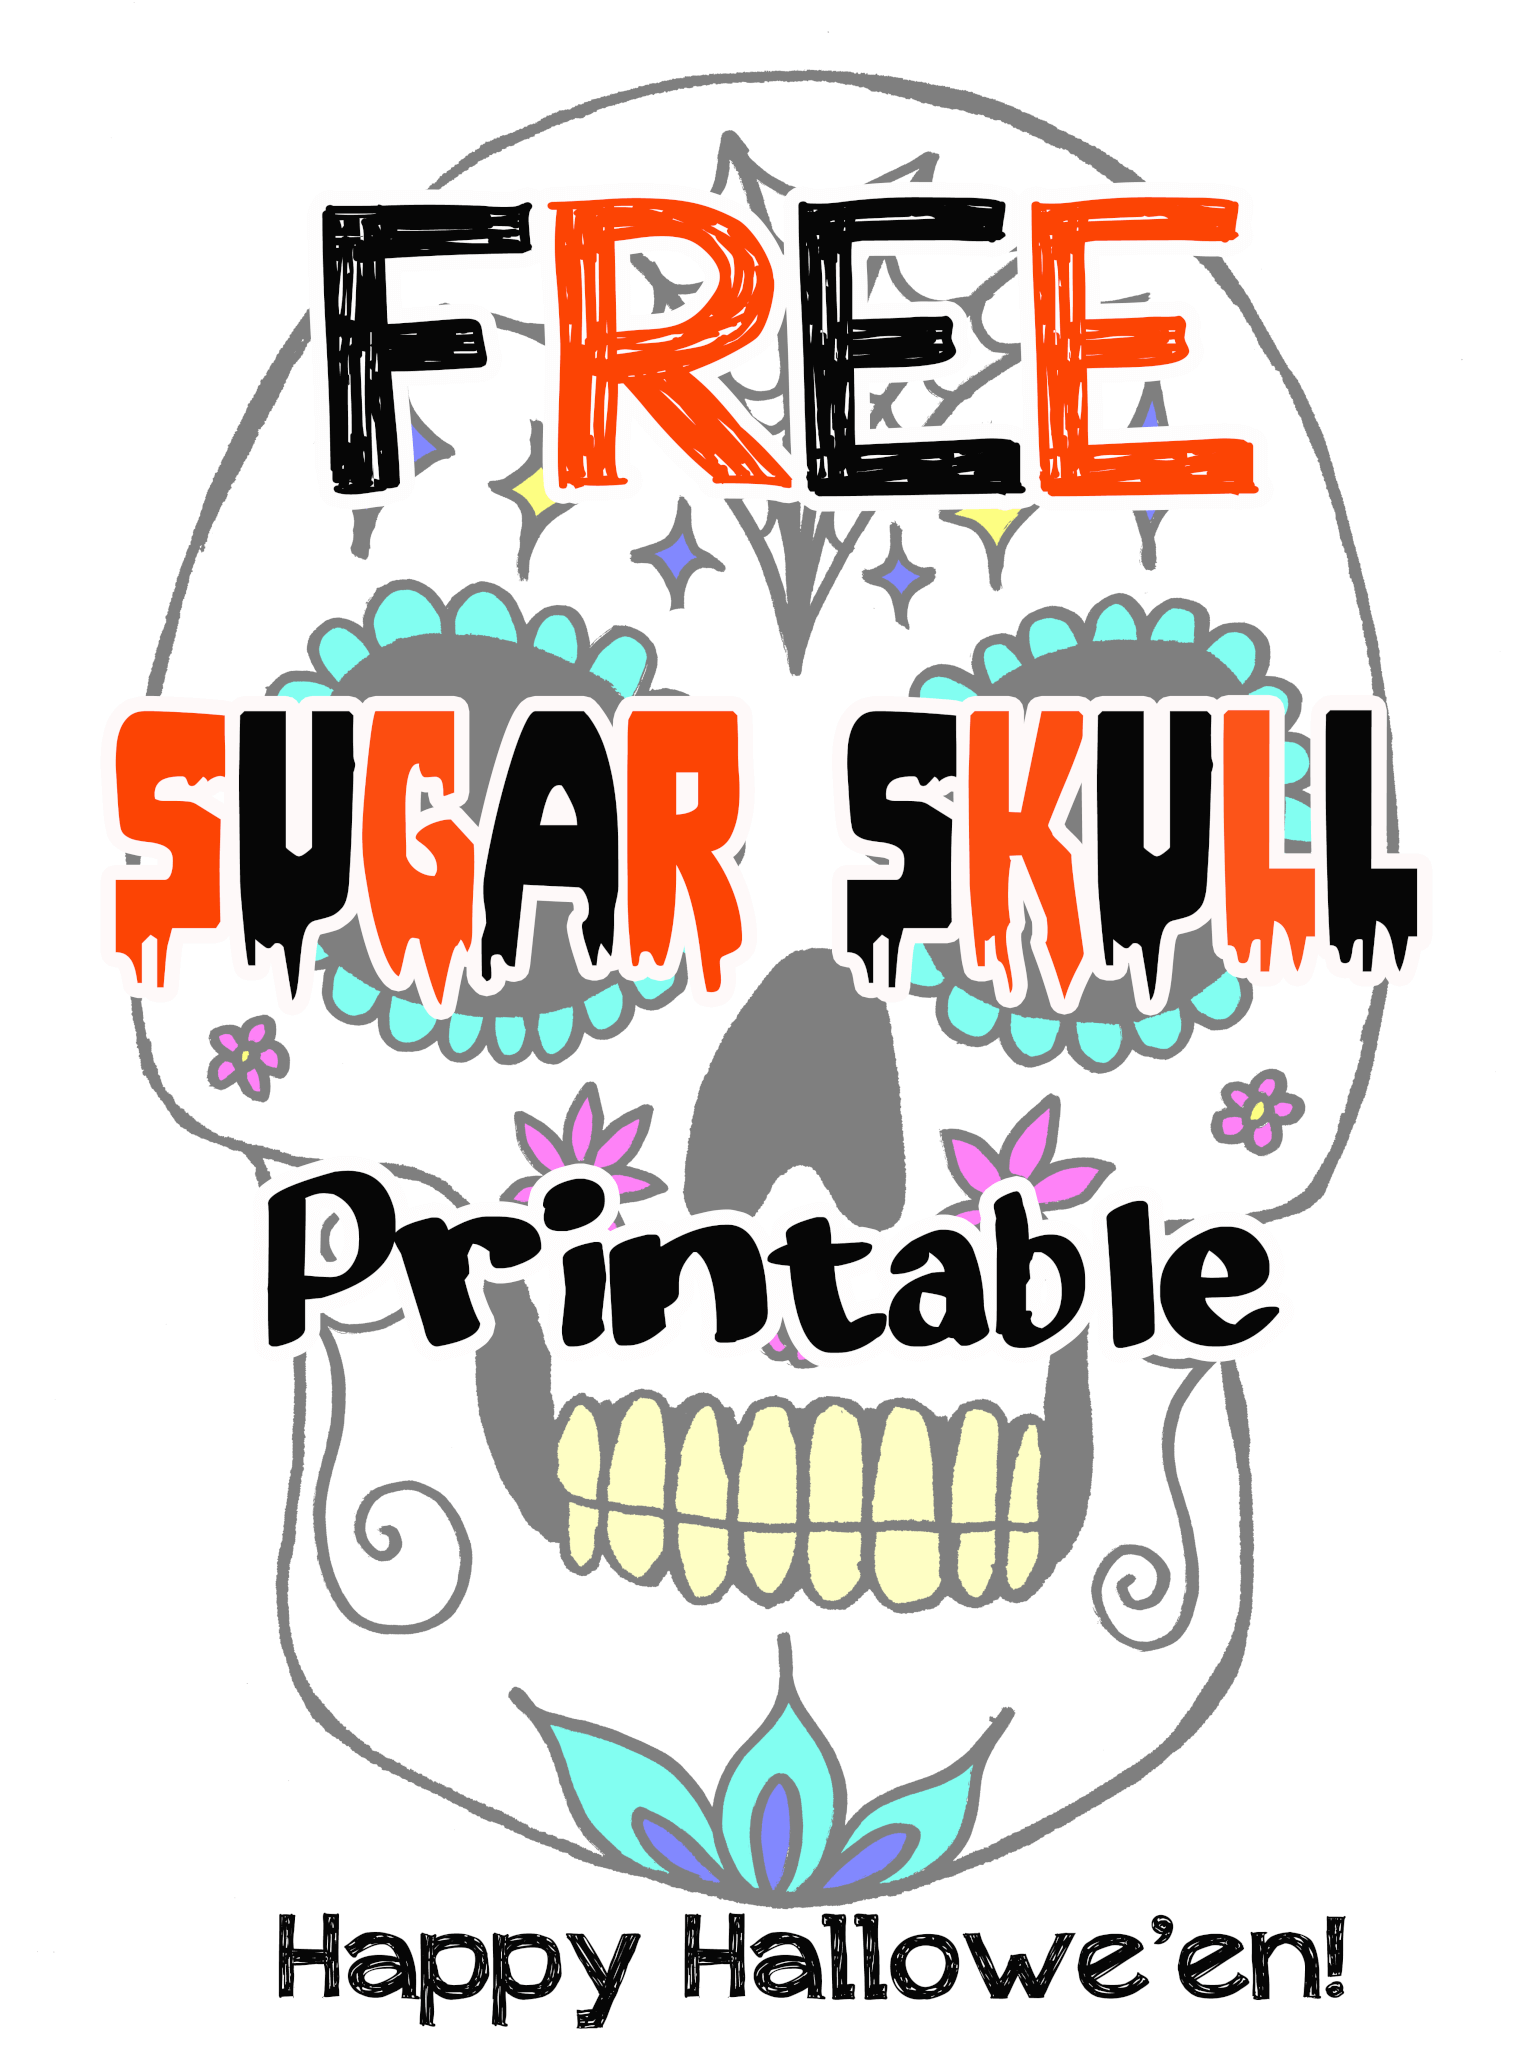
A free skull printable to download and print and color yourself.
I’m an digital artist, surface designer, and online educator from Vancouver, Canada.
I’ve sold thousands of physical and digital products worldwide through print on demand companies.
Through my online classes and blog, I teach other artists how to sell their own art online and turn their passions into a business they love.