
Coloring in Procreate is one of my favorite parts of the digital art process. Whether I’m working on an illustration, a seamless pattern, or just doodling for fun, adding color is when everything really starts to come to life. But when I first started using Procreate, I’ll admit—I was kind of overwhelmed by all the tools. There were so many brushes, layers, and settings that I had no idea where to begin!
If you’ve ever felt the same way, don’t worry—I’ve got you! In this post, I’m sharing some simple, beginner-friendly tips on how to color in Procreate to help you get started. Plus, be sure to check out my YouTube video below, where I walk through these techniques step by step!
Choosing Brushes and Colors
One of the best things about Procreate is its massive selection of brushes. But that also means it’s easy to get lost trying to pick the perfect one. My advice? Start simple. The Studio Pen works great for clean lines, while the Soft Airbrush is perfect for smooth gradients and shading. If you want something with more texture, try the Gouache or Watercolor brushes.
Looking for unique Procreate brushes to get started on your journey? Check out my Trees and Stars brush set!
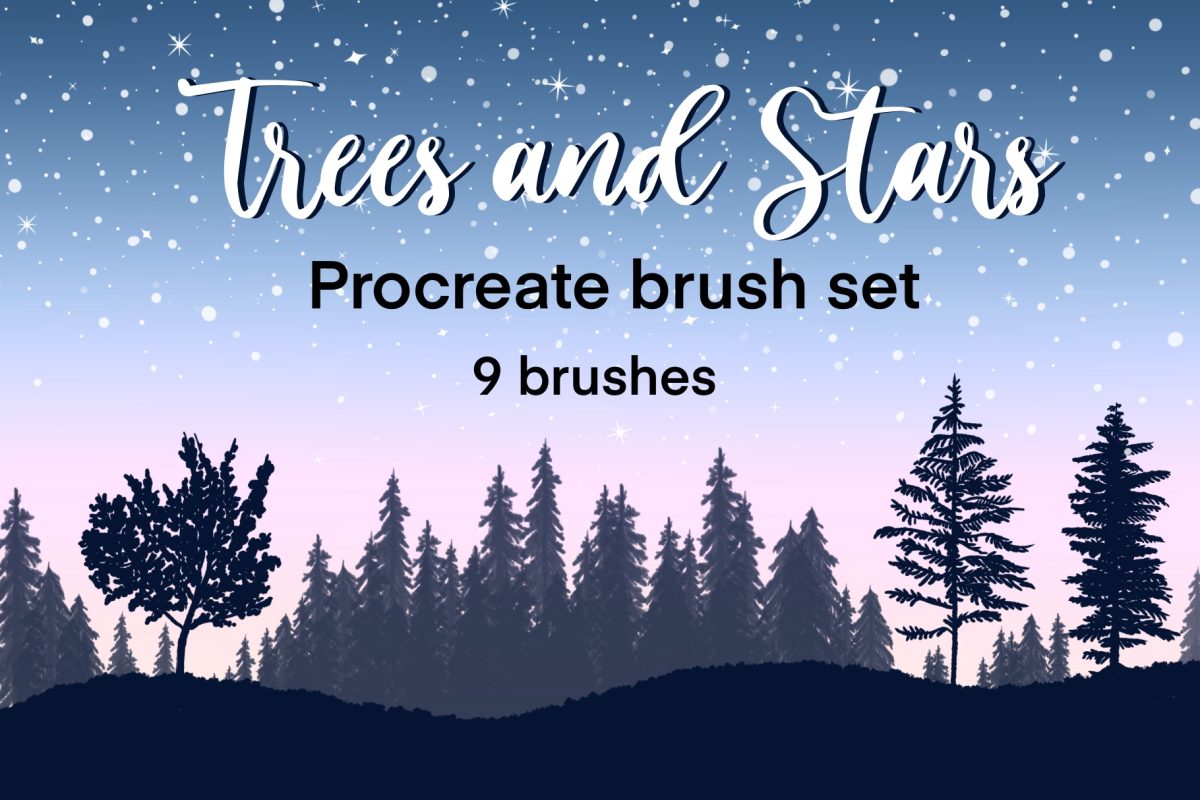
Trees and Stars Brushes | Procreate Brush Set
Create whimsical nature scenes in seconds with this set of 9 trees and stars brushes for Procreate and add a touch of magic to your digital art.
For colors, I love using the Color Harmony tool to find complementary shades—it’s an easy way to create a balanced color palette without overthinking it. You can also save color palettes inside Procreate, which I highly recommend if you tend to use the same color schemes over and over.
Layering for Easy Coloring
When I first started using Procreate, I used to color directly on my linework layer (big mistake). The best way to keep your artwork neat and flexible is by creating a new layer underneath your linework for coloring.
You can also use Clipping Masks and Alpha Lock to color within specific areas. Alpha Lock locks transparent pixels so you can paint only within existing shapes, while Clipping Masks allow you to apply color to a base layer without affecting the whole canvas. These two tools are life-changing once you get the hang of them!
Filling in Colors Quickly
If you’re coloring large areas, drag and drop your color from the color wheel into a shape to fill it instantly. If the color spills out, adjust the Color Drop Threshold by holding down and sliding left or right.
Another trick I love is using the Selection Tool + Color Fill to quickly block in areas before going back in with shading. This saves so much time when coloring detailed illustrations or patterns!
Blending and Adding Depth
Flat colors are great, but if you want to add dimension, shading is the way to go.
My go-to method for shading is:
- Duplicate the base color layer
- Set the top layer to Multiply
- Use a soft brush (like Airbrush) to add shadows
This instantly adds depth without messing up your base colors. You can also use the Smudge Tool to blend colors smoothly or try Overlay and Soft Light layers to add soft highlights.
Fine-Tuning with Adjustments
One of my favorite things to do after finishing an illustration is to tweak the colors using Hue, Saturation & Brightness or Color Balance. Sometimes, a small adjustment can make a huge difference in how polished your artwork looks.
If you ever feel stuck on colors, try Procreate’s Recolor Tool to swap shades without repainting everything. It’s a game-changer!
Watch My YouTube Video on How to Color in Procreate
Want to see these techniques in action? I walk through my coloring process step by step in my latest YouTube tutorial—watch it below!
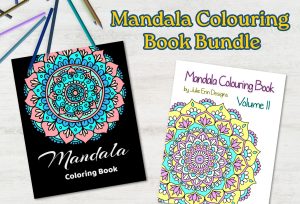
Download Free Coloring Pages for Procreate
Want to practice coloring in Procreate without having to draw your own designs? I’ve got you covered! 🎨
I’ve created several free coloring pages that you can download and use in Procreate. They’re perfect for testing out different brushes, blending techniques, and color palettes.
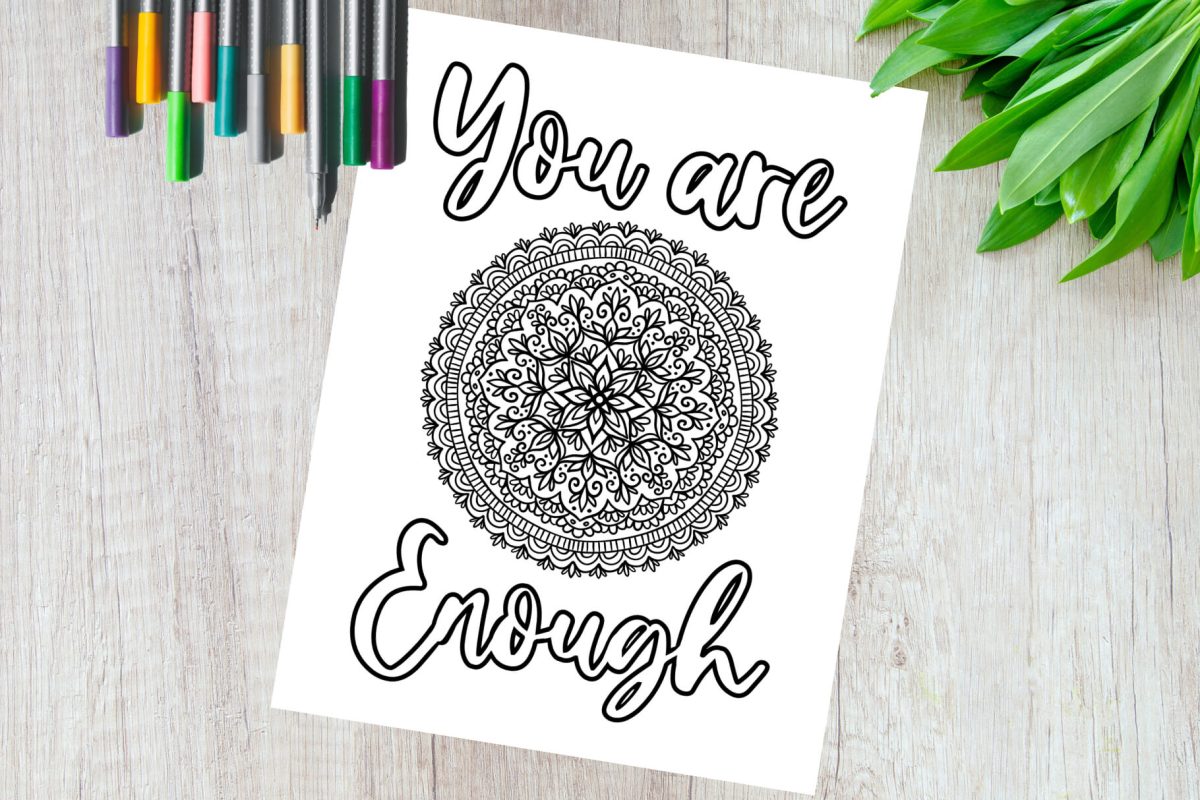
You Are Enough Mandala Coloring Page
Discover inner peace and empowerment with this free mandala coloring page featuring the words “You Are Enough” to inspire and uplift you.
Final Thoughts
Learning how to color in Procreate doesn’t have to be overwhelming. By using layers, blending tools, and some simple adjustments, you can bring your artwork to life with ease. I hope these tips help you feel more confident in your digital coloring process!
If you found this helpful, be sure to check out my free coloring pages for extra practice! You can download them here and start experimenting with these techniques right away.
Happy coloring! 🎨✨
Cheers,


0 Comments